SIDDHGAD
TYPE : HILL FORT
DISTRICT : THANE
HEIGHT : 3215 FEET
GRADE : HARD
For one-day treks in the Mumbai–Thane region, there are many forts to explore. Among these, the Siddhagad Fort, also known as Siddha’s Hill, located in the Bhimashankar mountain range within Murbad taluka, is a place that truly tests the endurance of trekkers. Though the nearby Gorakhgad Fort is quite popular among hikers, very few feet tread the path to Siddhagad. Nestled deep in the dense forests of the Bhimashankar Wildlife Sanctuary, this fort is 120 km from Mumbai and just 80 km from Thane.
To the north of the fort lies the village of Narivali, and to the south, Borwadi — both serving as routes to the fort. There are two approach roads: Kalyan–Murbad–Mhasa–Narivali–Uchale–Dhaptapada (about 60 km) and Kalyan–Murbad–Mhasa–Jamburde–Borwadi (about 70 km). Since public transport is available up to Narivali, most trekkers prefer this route.
...
If one has a private vehicle, particularly a jeep, it is possible to reach Dhaptapada via Uchale, cutting down the trek by about an hour.
Though the paths from Dhaptapada and Borwadi are well-trodden, the Dhaptapada route has a few diversions leading to nearby waterfalls, which attract visitors during the monsoon. This can cause confusion, so it is advisable to confirm the route at Dhaptapada before starting the trek.
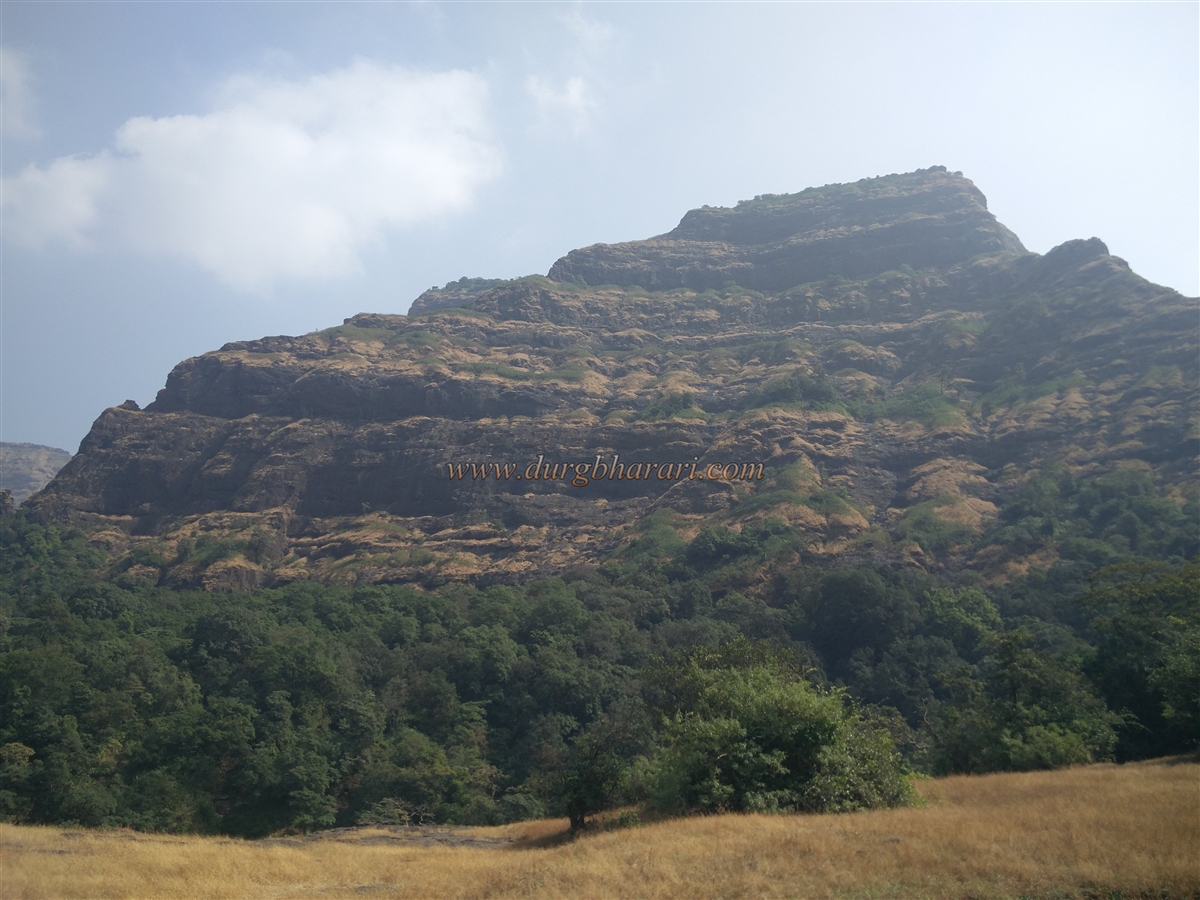
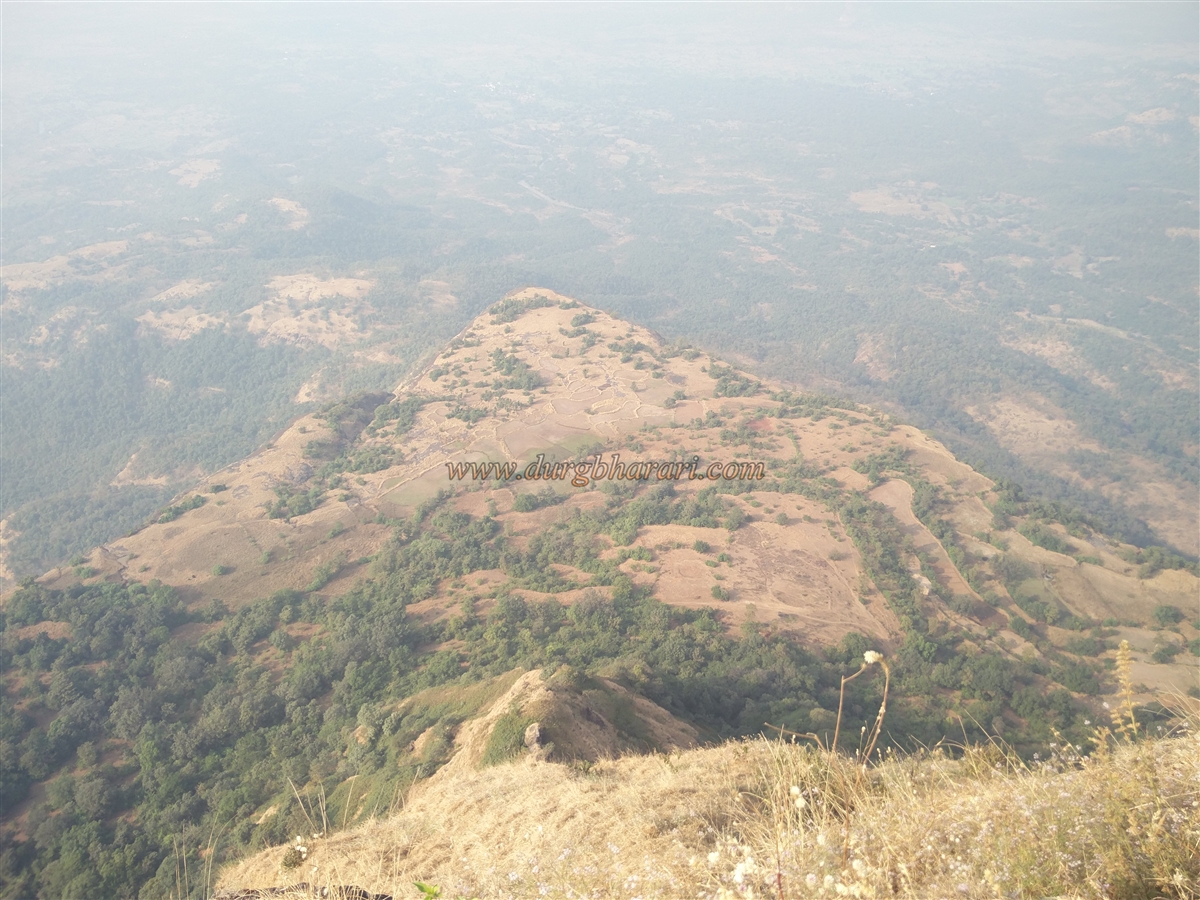
Siddhagad is divided into two sections: the machi (plateau) and the Balekilla (citadel). On the machi lies Siddhagad wadi, a small hamlet of 10–12 houses. Since the villagers frequently travel up and down, the trail remains in good condition. It takes about three hours to reach the machi from Narivali or Borwadi and an additional hour and a half to ascend to the Balekilla. From Uchale, it takes about half an hour to reach Dhaptapada, and from there, a short ten-minute walk leads to a plateau behind the village. From this spot, you can see Siddhagad to the right — shaped like a ship jutting out from the main range — Ahupe to the left, and Dhamdhamya Hill in the middle.
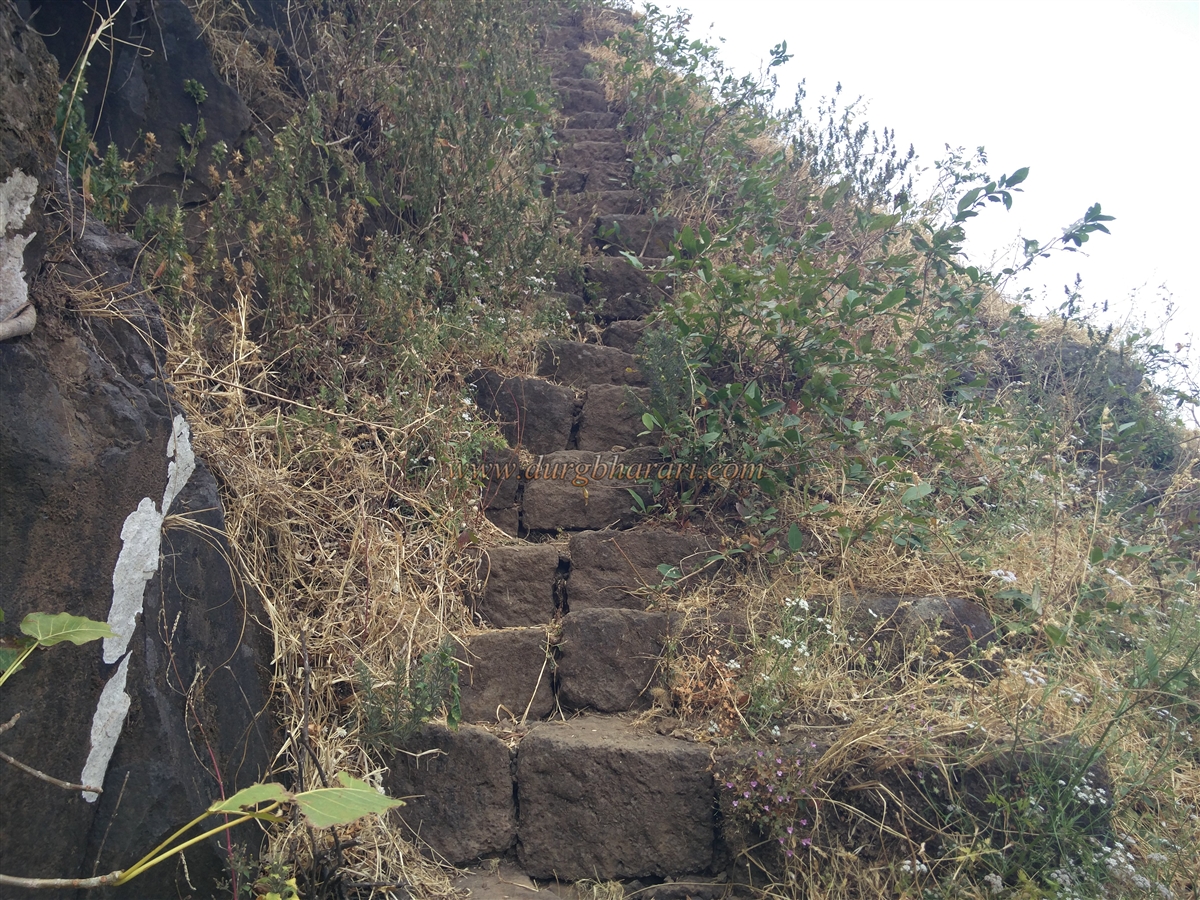
A hut stands here, with the right-hand path leading to the waterfall and the left-hand path leading to Siddhagad wadi. A half-hour climb from here brings you to another hut. Walking for ten more minutes from this hut, you reach a fork in the trail, marked with a painted arrow that is not easily visible. The straight path leads to the waterfall, while the left path goes to the fort’s machi. From this point onward, the route is broad and well-trodden, leaving little room for error. After a further half-hour climb, you cross a streambed and reach the fort’s constructed pathway.
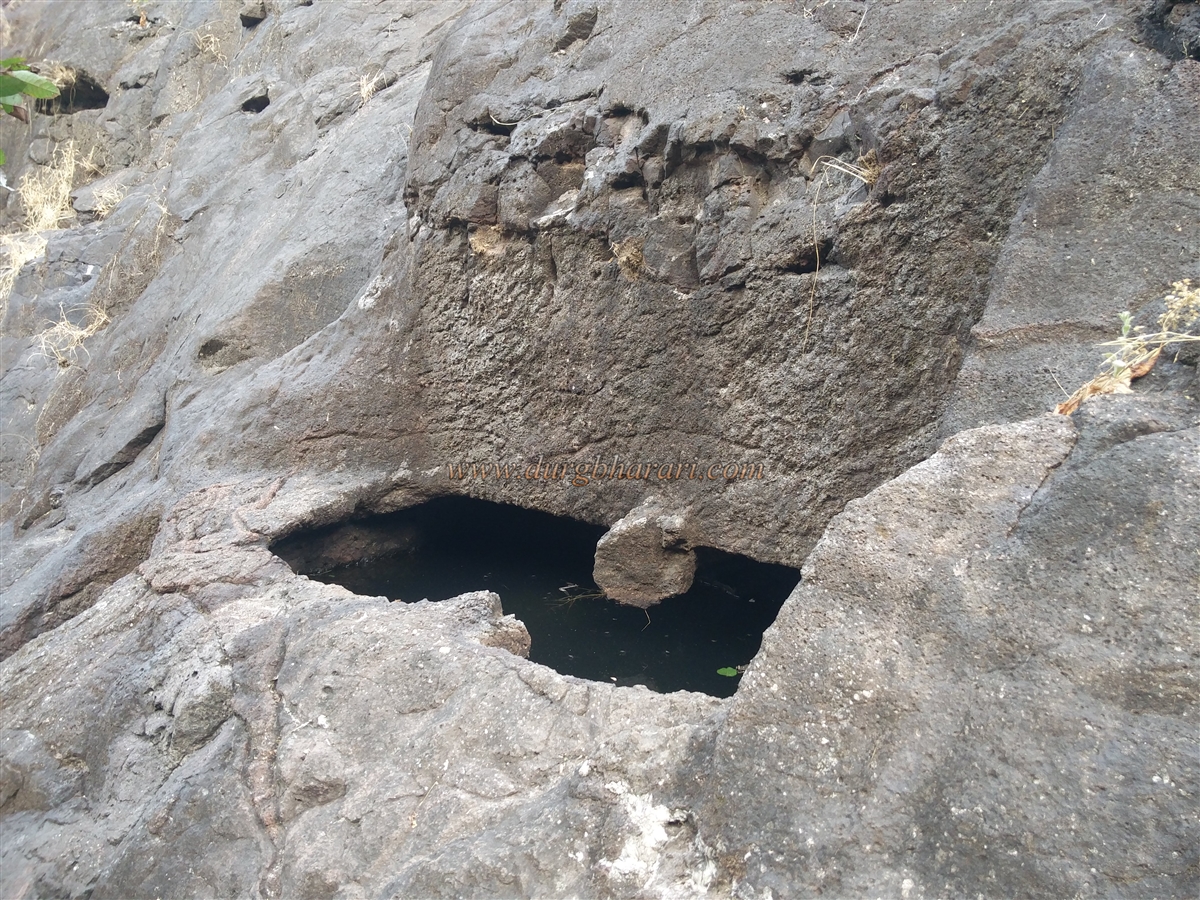
Along this route, on the right-hand side, is a small rock-cut water tank. A little ahead, you see the ruins of old structures, including dressed stones and remnants of a doorway. To prevent water from cascading down the rock onto the path, a rough stone drain has been built along the cliff. There is also a partially carved rock-cut tank on this cliff, and another tank on the left side, accessible by rock-cut steps. The water from this left-side tank is potable. Judging by the construction here, this area might once have served as an outpost or a gate.
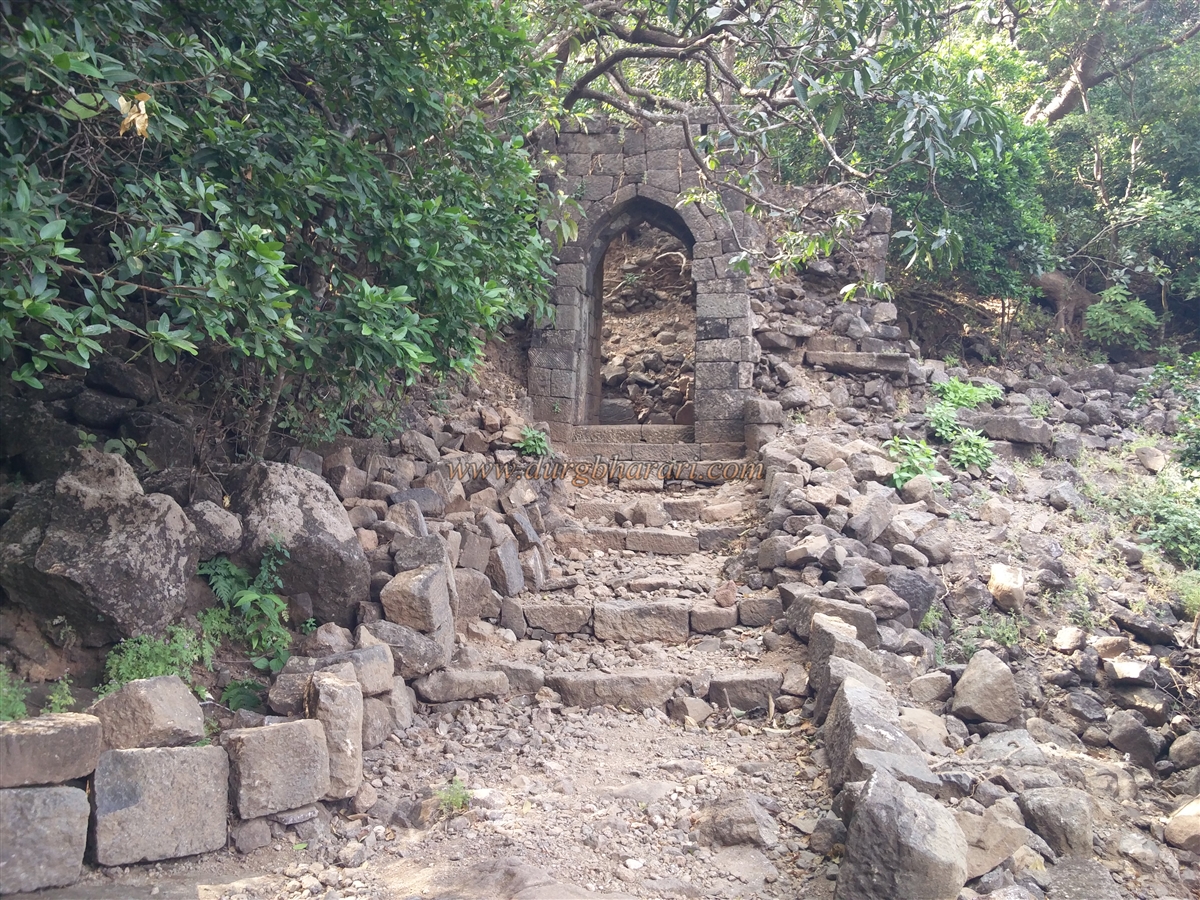
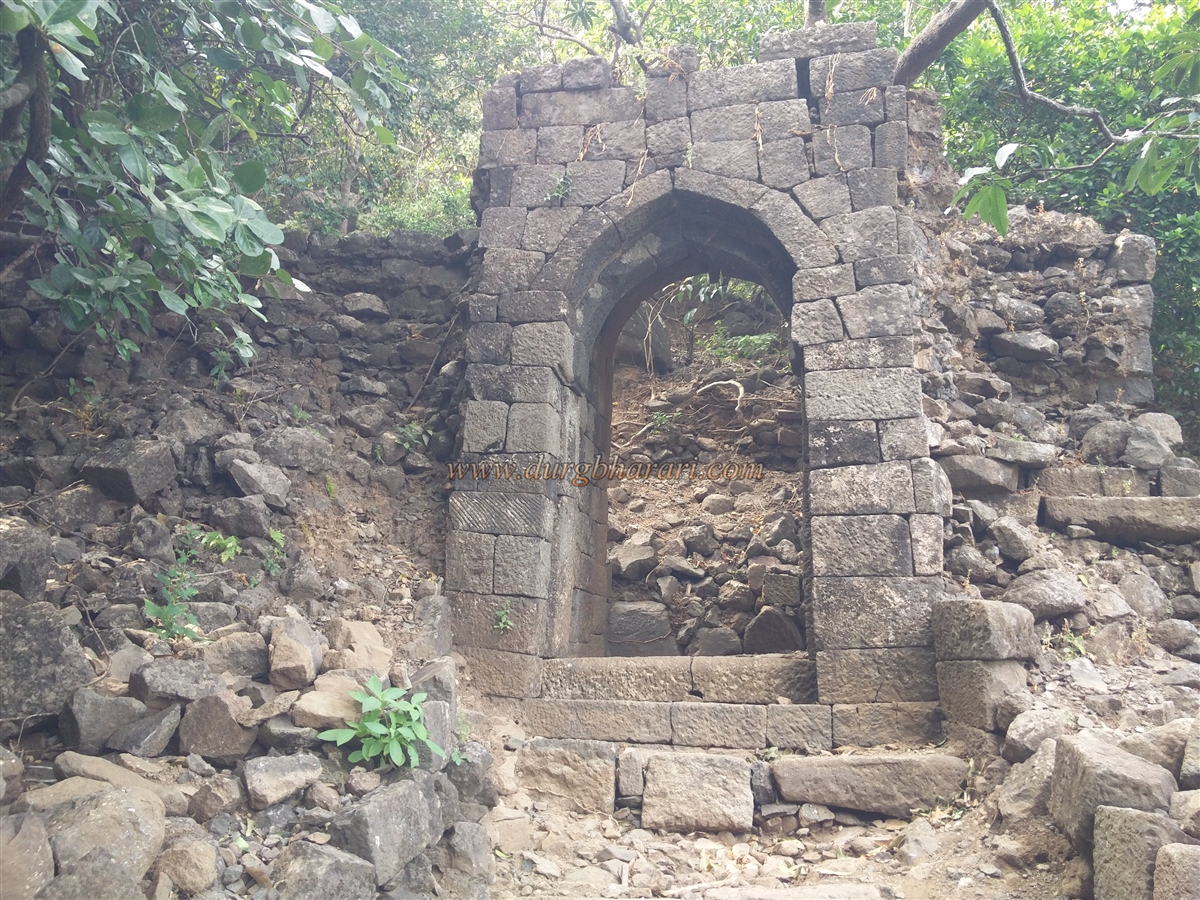
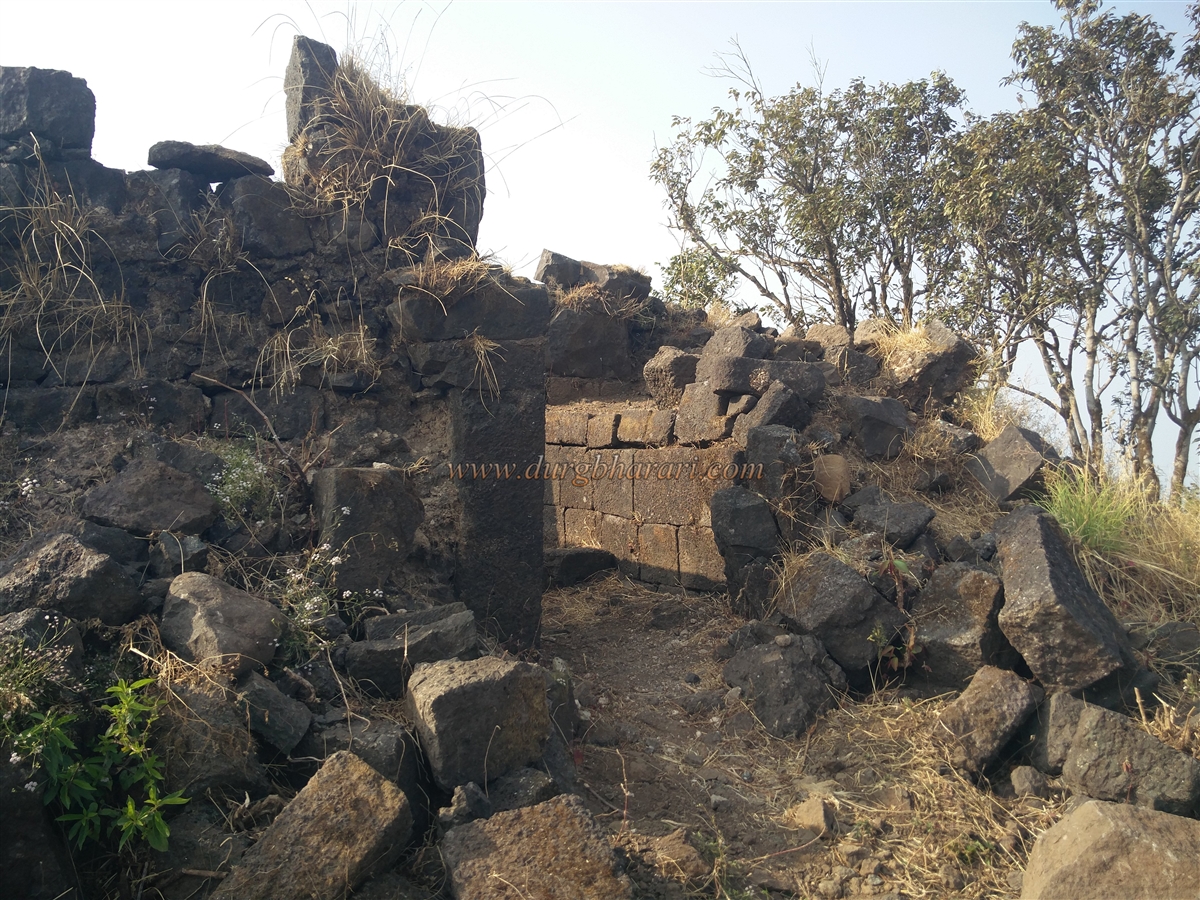
Ten minutes from here, the stone-paved path leads to the northern arched entrance of the machi. The left side of the fortification near the gate is overgrown with vegetation, while the right side retains well-dressed stone masonry. The path from Borwadi meets here before the gate. Instead of entering through the gate, it is worth first taking the Borwadi trail for exploration.
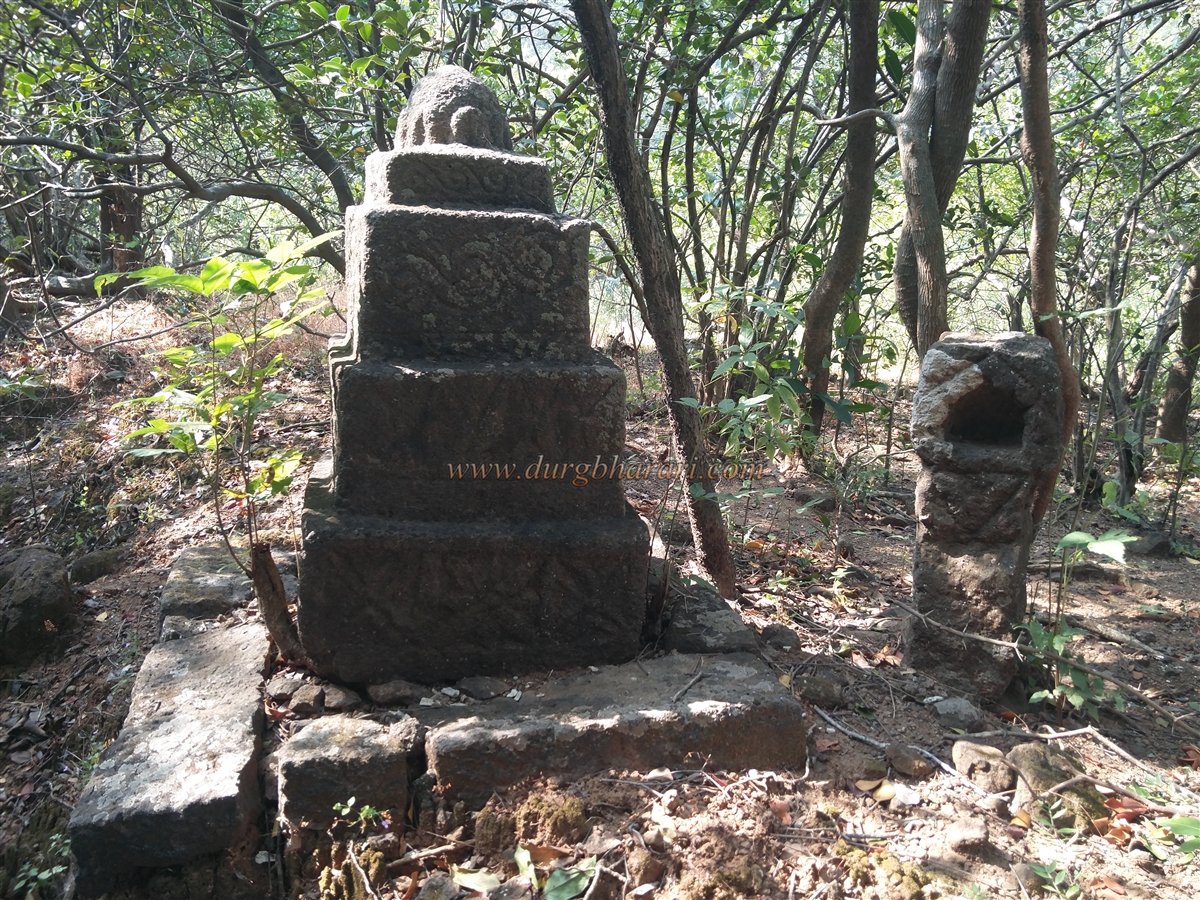
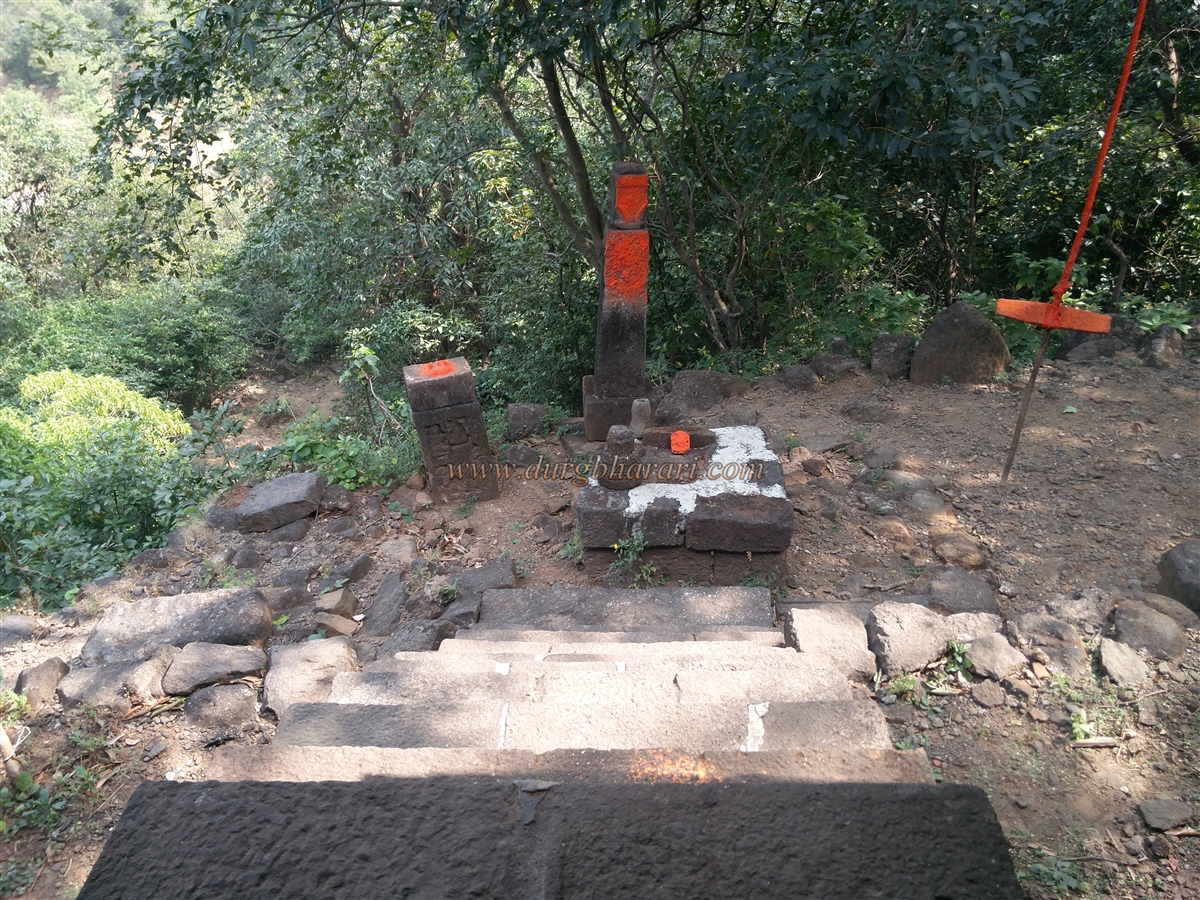
Walking a little ahead along this path, you come across a hidden rock-carved Samadhi (memorial) on the left, alongside a small carved pillar meant for placing a lamp. Beside this is another buried Samadhi platform. Further along the plateau, two more stone Samadhi are visible. Exploring the edge of the plateau near the cliff, you see square and circular pits carved into the rock, likely intended as bases for fort walls, along with remnants of collapsed fortifications. This broken fort wall also reveals the path leading to Borwadi. After exploring, you return to the main gate.
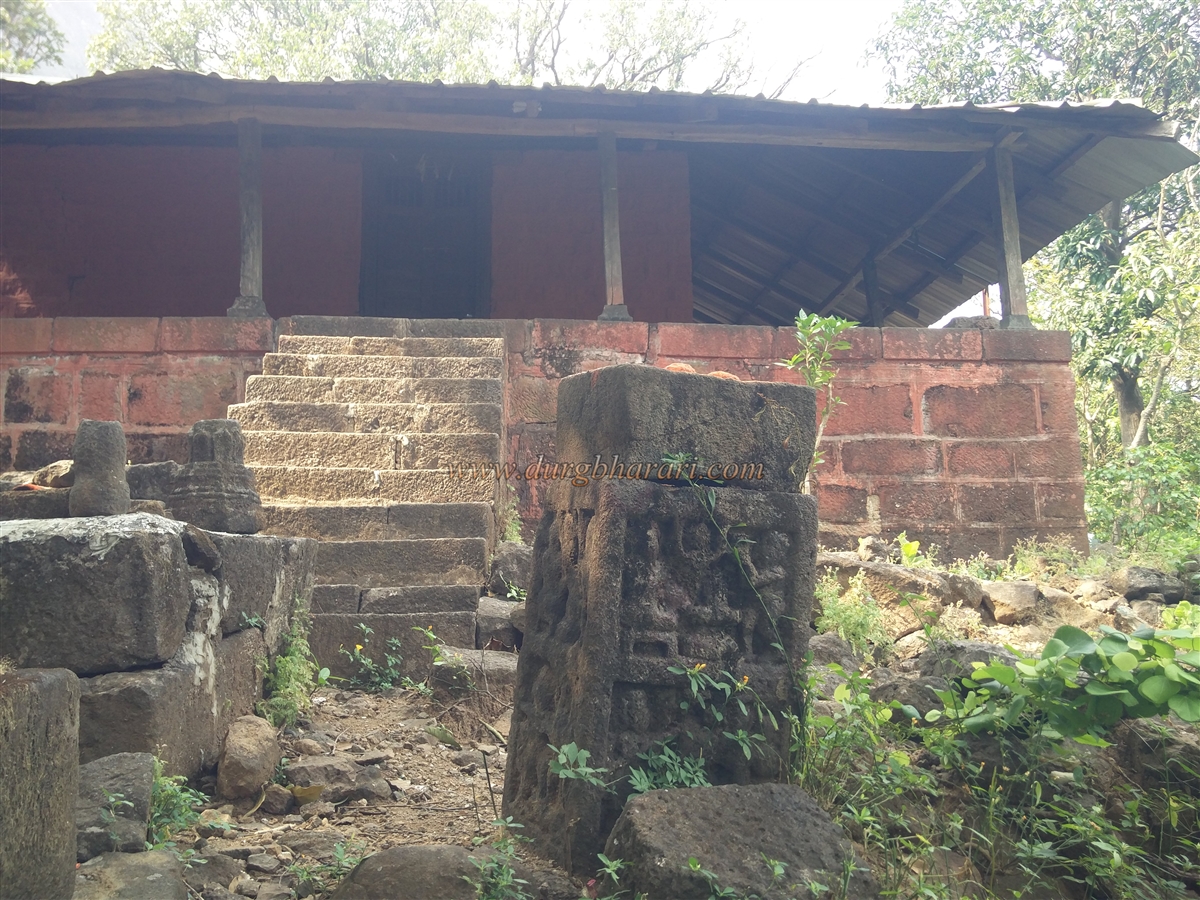
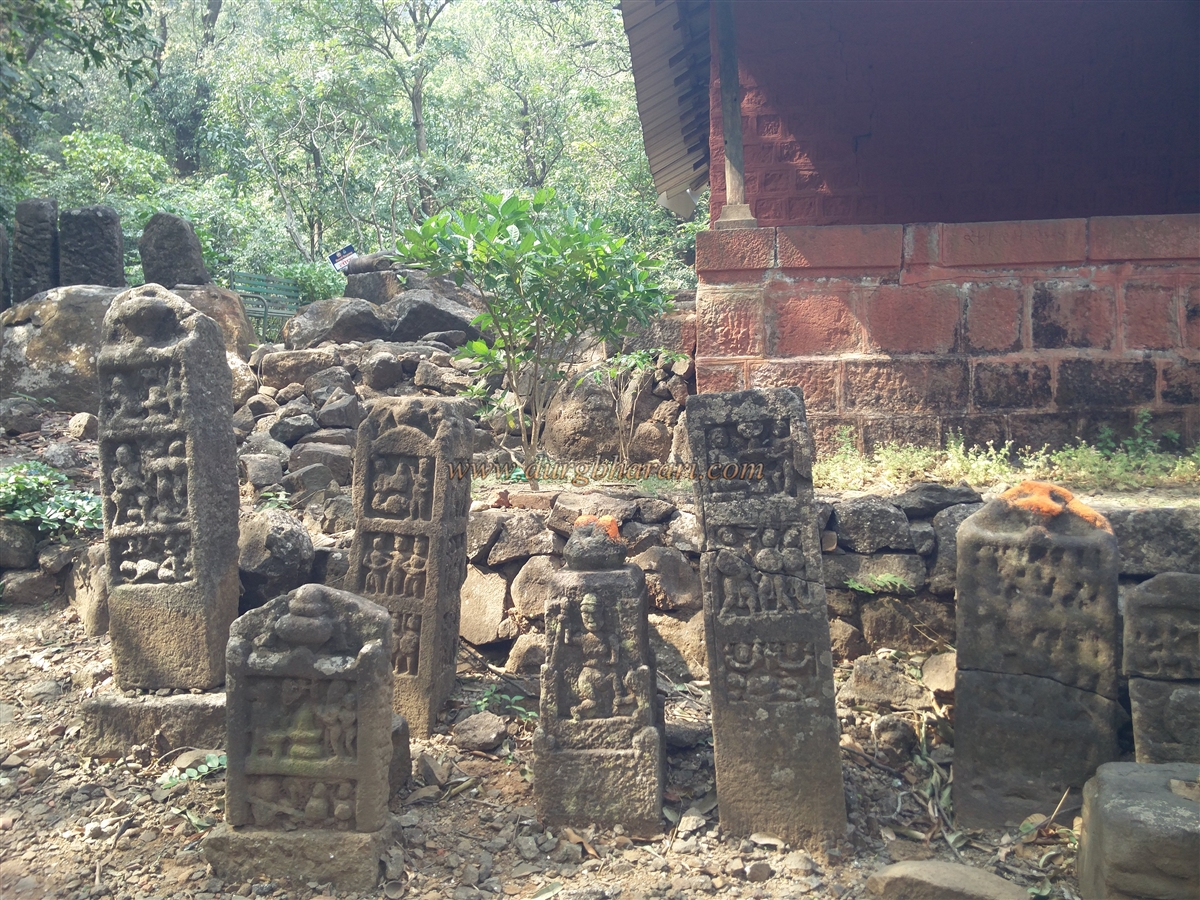
Inside the gate stands a platform for a small shrine, with stone drains to channel away rainwater. A little ahead on the left is a temple on a raised mound. Below this mound are two hero stones (virgal), and within the surrounding forest, two more hero stones carved on all four sides can be found.
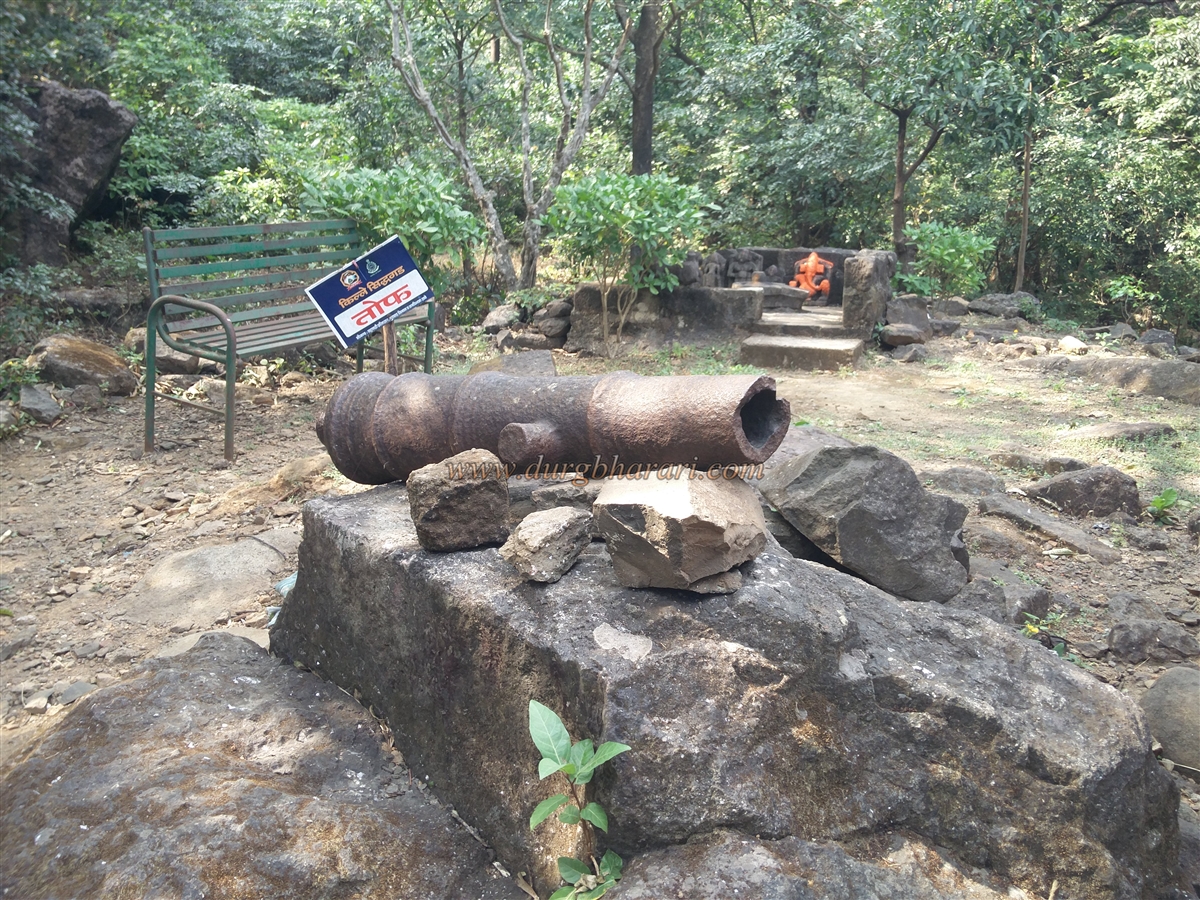
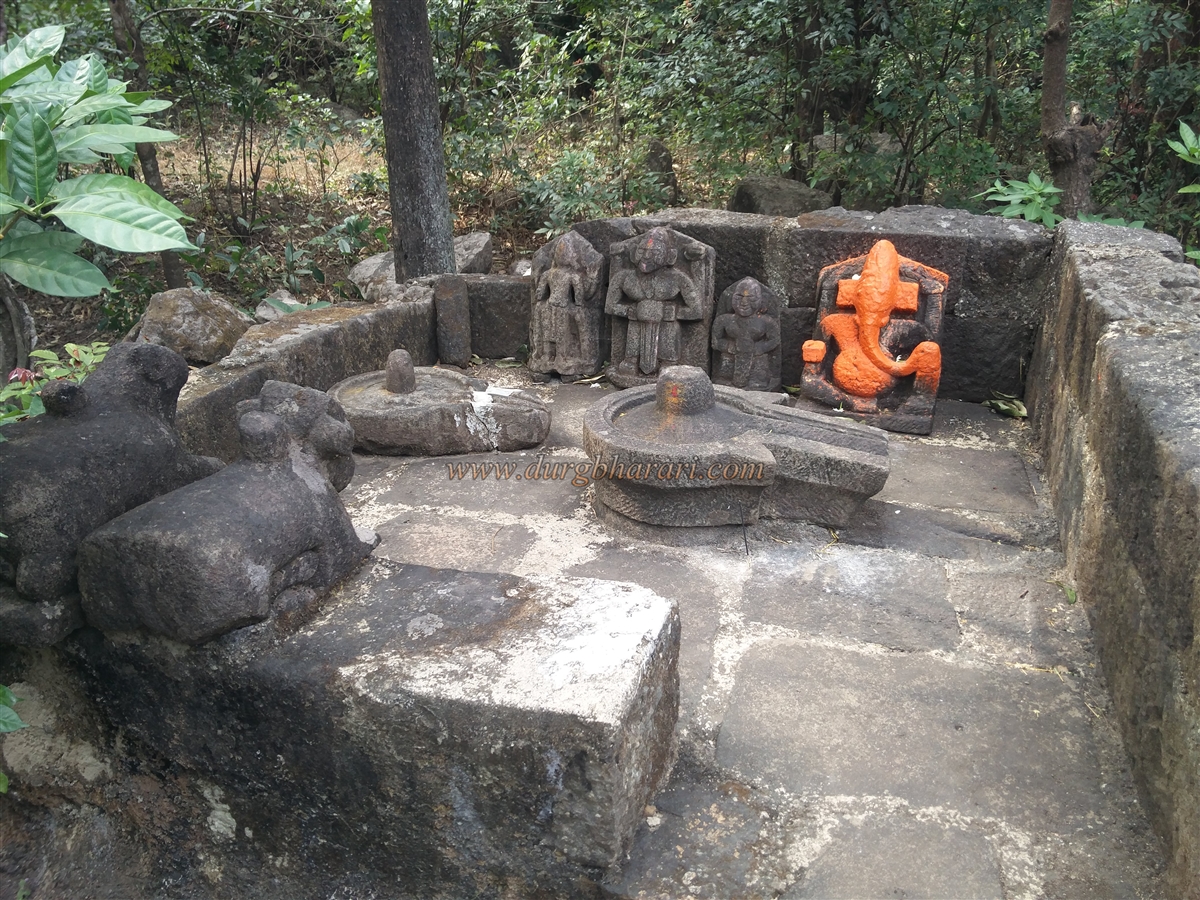
Continuing along the main trail, the straight path leads to Siddhagad wadi, while a leftward trail climbs to the Naramate Temple. This ancient shrine sits on a tall stone platform, with carved stone steps on either side leading up. The sanctum houses a small rice-grain-shaped idol of Naramate Devi, and the combined space of the sanctum and the two verandas can accommodate 20–25 people. In the temple courtyard are 18–20 hero stones, along with fragments of ancient structures. On an adjacent open platform are two Shiva lingams, two Nandi statues, a Ganesh idol, a Bhairav idol, and other sculptures. Nearby rests a cannon with a split muzzle.
After exploring the temple, retrace your steps and follow the main trail toward Siddhagad wadi. On the way, to the left, atop a high rock, is a carved stone vessel. Farther along, another trail veers left into the forest, leading to a spot with 8–10 stone spheres and a structure containing a small rice-grain-shaped idol under a tree. Returning to the main trail, you soon arrive at Siddhagad wadi.
It takes about three hours to reach the machi from Dhaptapada. Siddhagad wadi, inhabited by the Mahadev Koli tribe, comprises about 10–12 houses. At the entrance is a small school that can accommodate 15–20 people overnight. Some of the mud houses here are built upon old stone foundations. The machi also has a rainwater reservoir and two wells, whose water is used by the villagers.
The climb to the Balekilla takes about an hour and a half and is steep, with no potable water available en route, so it’s essential to carry enough water from the machi. The trail begins just before the village and winds through dense, little-used forest, so it’s best to confirm the route with locals or hire a guide for the initial stretch.
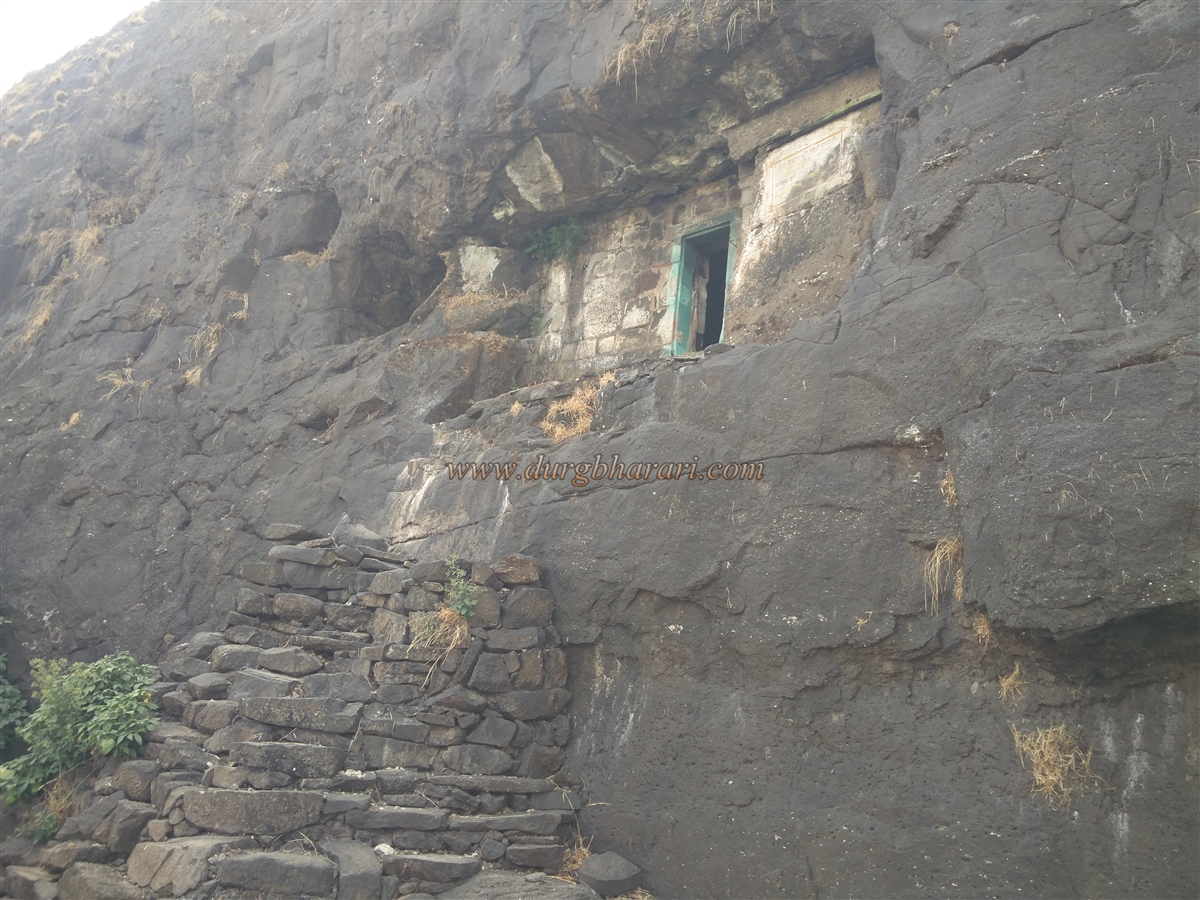
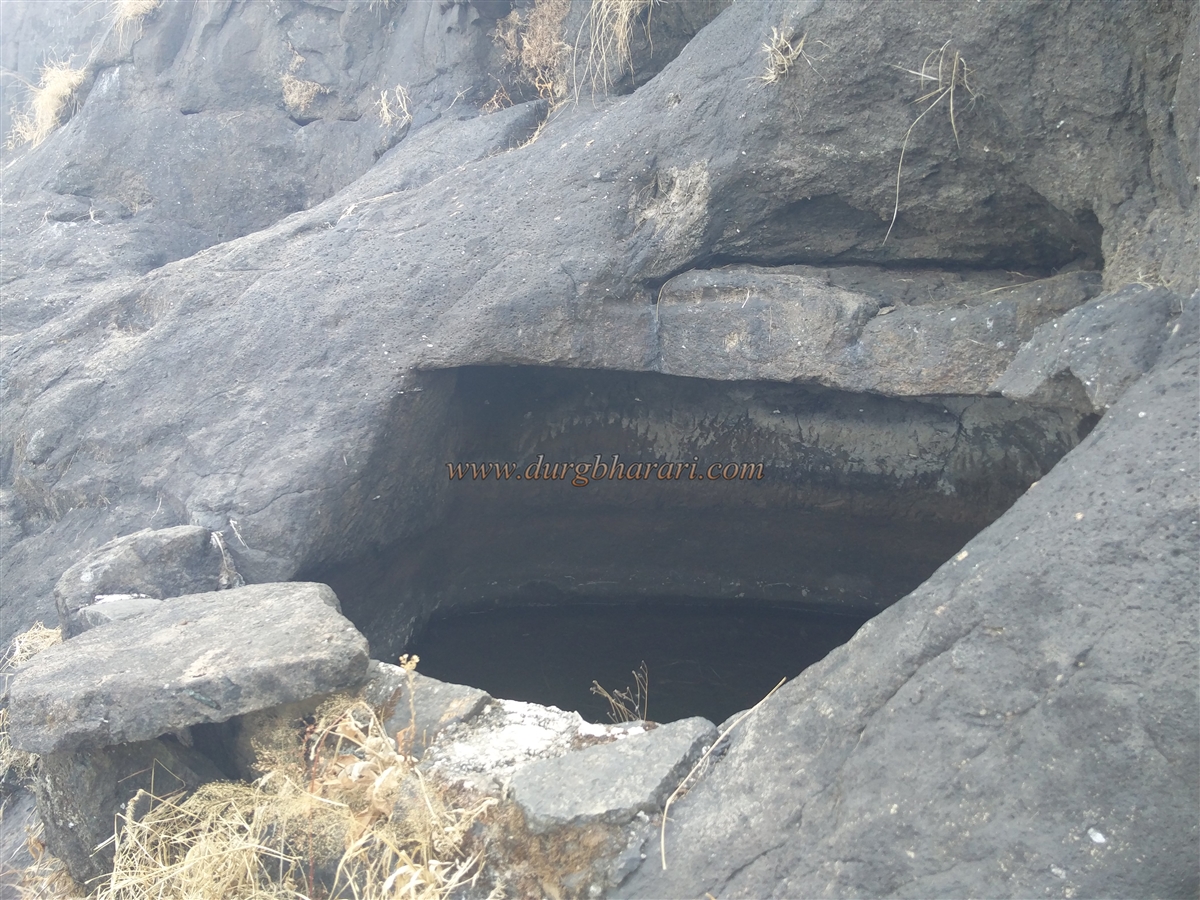
A tiring half-hour climb brings you to a newly built Samadhi, erected on the platform of what appears to have once been an outpost. Ten minutes further up is a rock-cut cave, whose entrance has been walled with dressed stone and fitted with a door. Stone steps provide access inside, where 15–20 people can stay overnight. On either side of the cave are two rock-cut cisterns each, with potable water in one of the left-hand tanks. From here, you can enjoy panoramic views of the machi, Gorakhgad, and the Ahupe range.
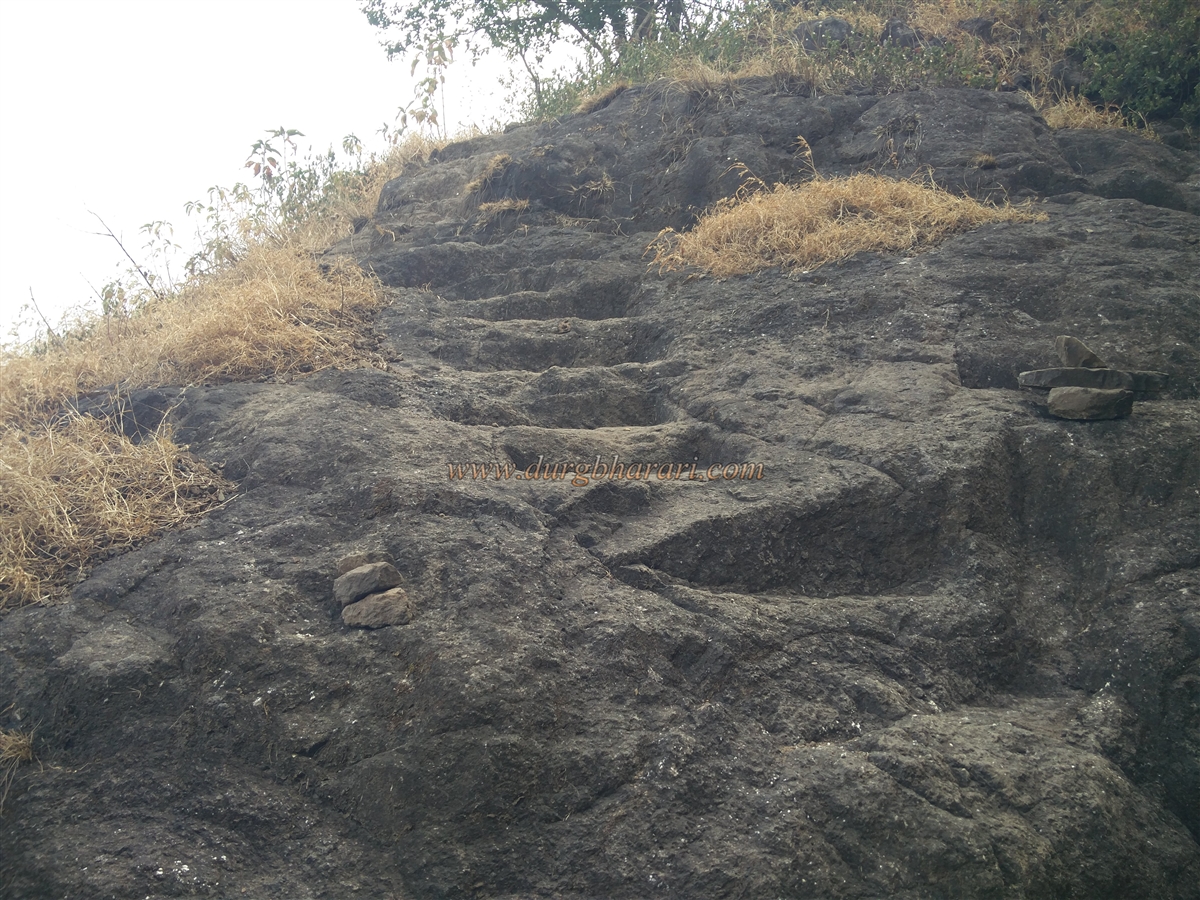
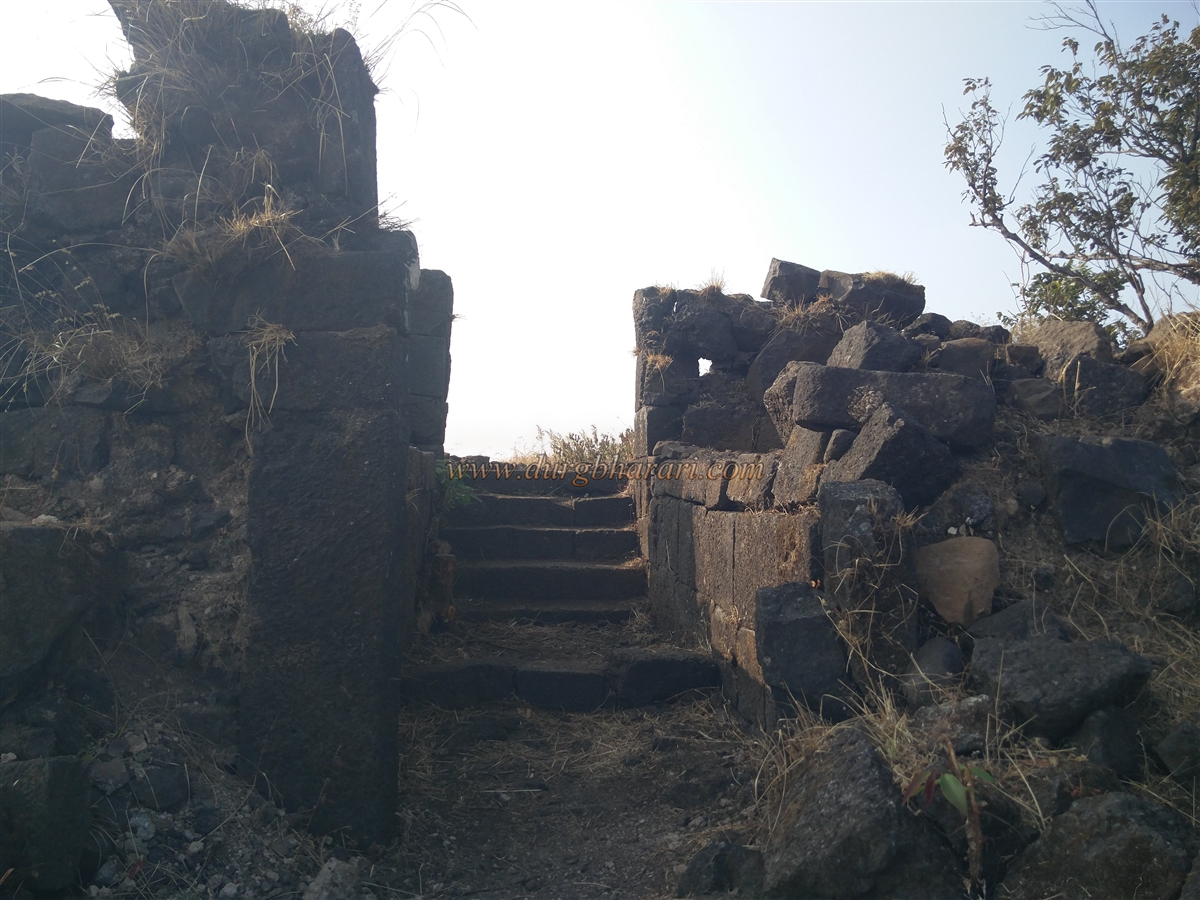
Continuing along the rock-cut path, alternating between steps and trails, you reach the base of the Balekilla in about half an hour. Here, a small sentry cave is visible along the trail. From this point, rock-cut steps lead upward, followed by a path and 30–35 constructed steps, bringing you to the citadel’s walls. Near the wall is a medium-sized rock-cut tank. The gateway here is completely ruined, so entry to the fort is through the broken wall.
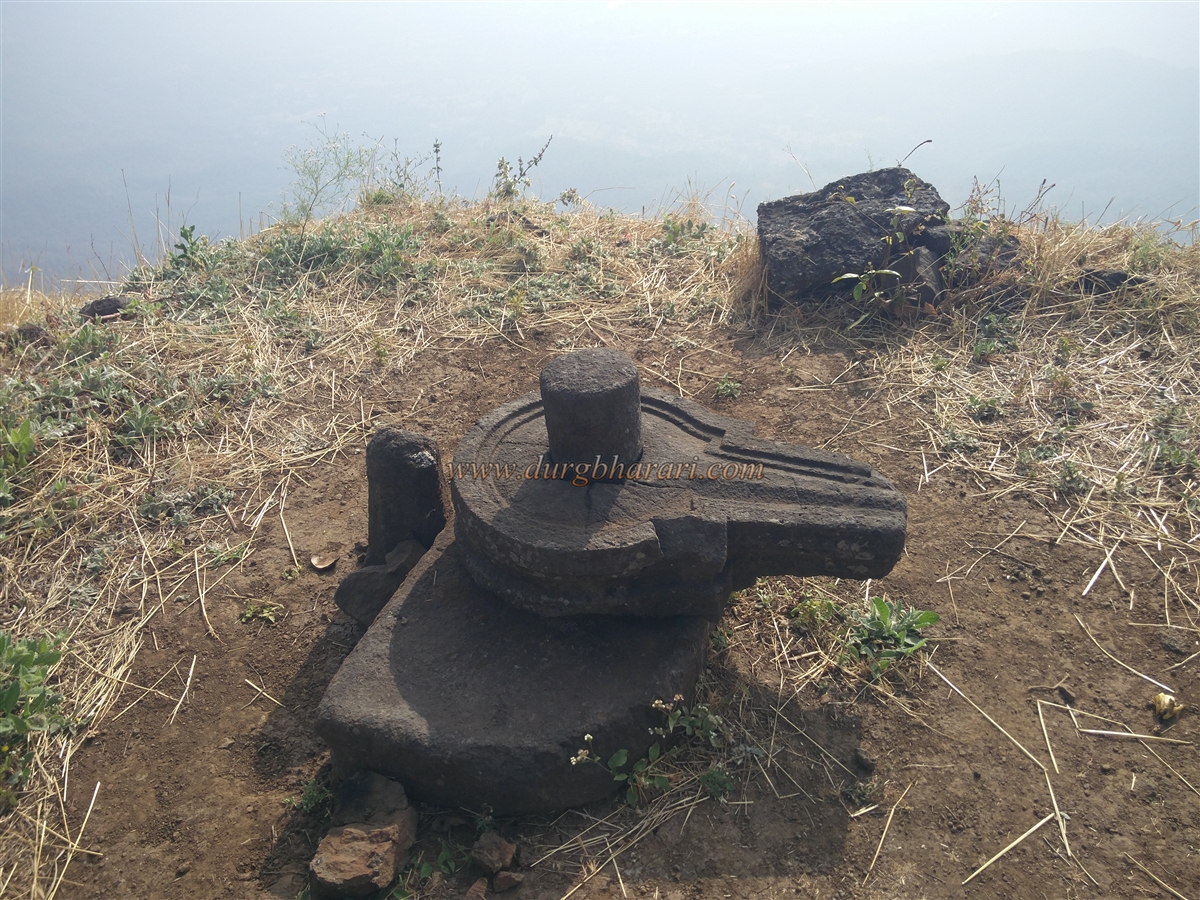
The narrow summit of the Balekilla, 2,170 feet above sea level, stretches about 4 acres east to west. Directly ahead is a stone Nandi, with a rock-cut Shiva lingam placed on the cliff edge. The fort is divided into two sections: the right-hand area, enclosed by fort walls, contains numerous foundations of old structures, while the long left-hand section tapers into a narrow spur.
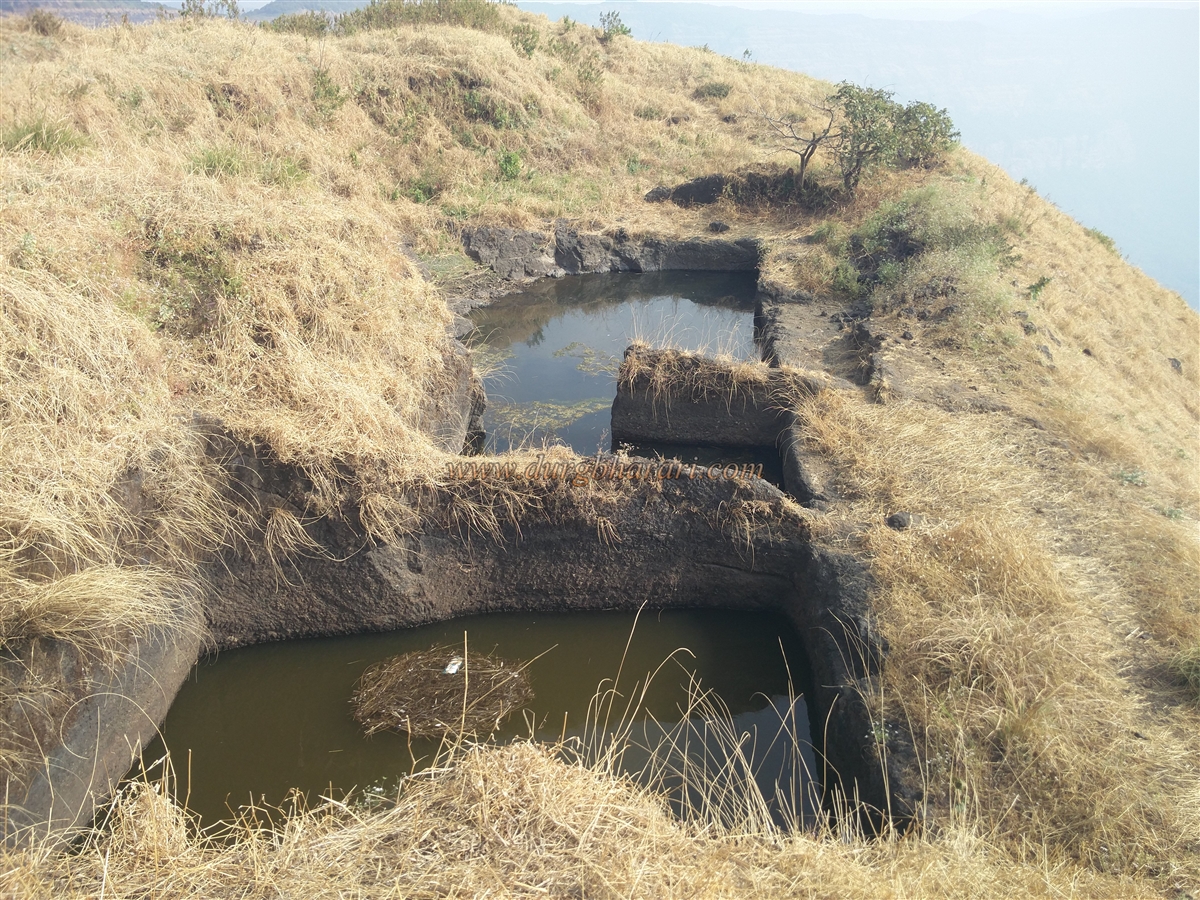
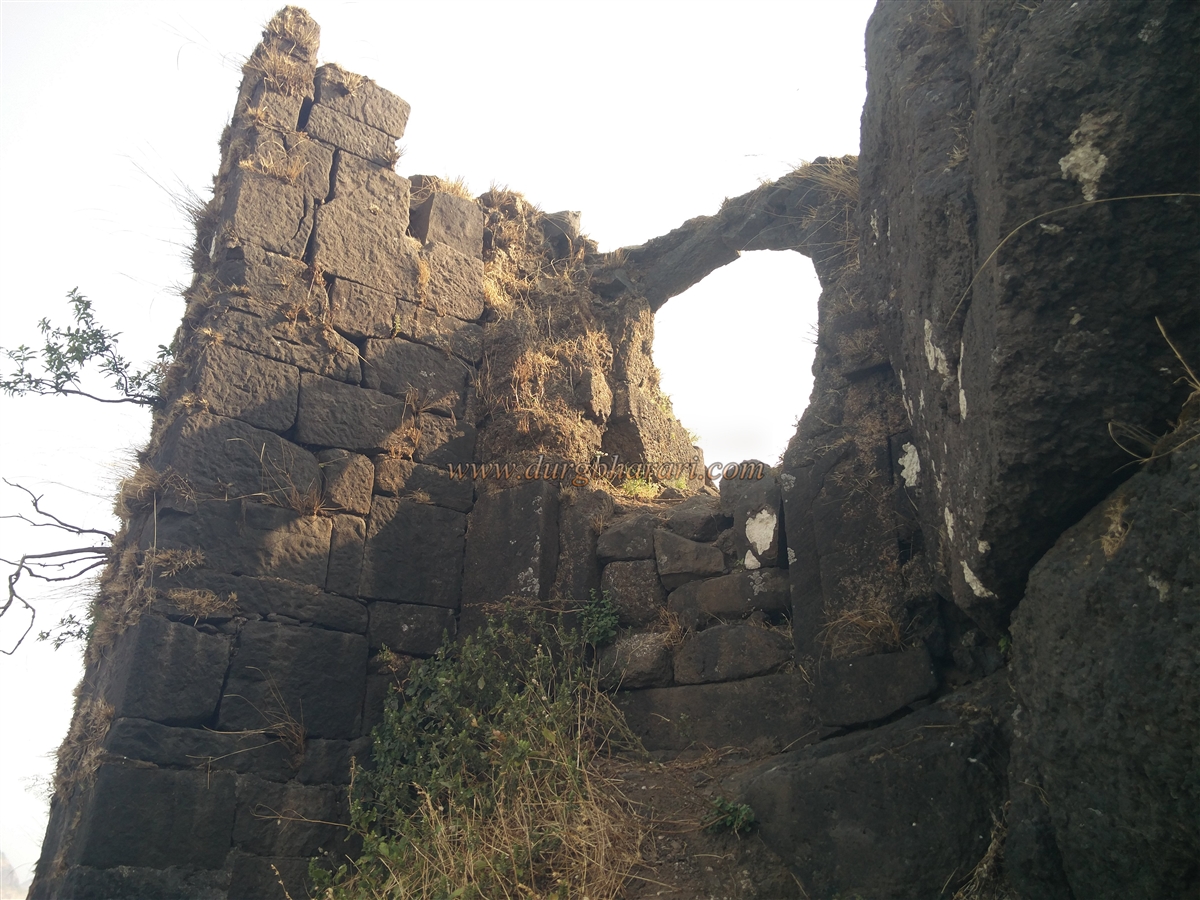
On the left side of the summit are three rock-cut cisterns in a row, with the last one partially reconstructed. Below these, on the slope, are four more tanks, one of which is silted up, while the others hold water that is unfit for drinking. After viewing these tanks, a simple 15-foot rock descent brings you to the lower spur. Here, a saffron flag flutters, and further ahead is a surviving section of fort wall with two bastions. At the very tip of the spur stands a massive 40-foot-high bastion with a gateway leading down from the fort. The doorway retains its frame and arch, though the lower 4–5 feet of the entrance has been blocked with stones, but it is still possible to pass through. However, the path beyond has completely collapsed and is unusable. This bastion also features stone sockets for holding torches.
Across from this bastion, on a nearby hill, are two dry rock-cut cisterns. Returning to the main summit, you can explore the right-hand section, enclosed by walls with a ruined entrance and sentry alcoves. Inside are the remnants of a collapsed bastion, numerous house foundations, and a small rock-cut tank on the left slope. Stones arranged on one foundation suggest that a temple may have once stood here. The remains of a ruined watch post can also be seen at the edge.
From this point, the views are breath taking: Bhimashankar, Padargad, Jamburde Dam,Kothaligad,Matheran,Prabalgad,Peb, Malanggad, Gorakhgad, and Machhindragad are all visible. It takes about half an hour to explore the summit thoroughly.
Though historical records about Siddhagad are limited, the rock-cut caves suggest that the Shilahara dynasty likely built this fort in the 9th century to guard the Gaydara pass. It came under Maratha control during the Konkan campaign of 1657–58 and remained part of Swarajya until 1693, when it was captured by the Mughals on 20 October 1693. It is unclear when the Marathas regained it, but Peshwa-era records indicate that Maratha forces were stationed here during the Vasai campaign of 1734.
In 1818, the British bombarded the fort with cannons, causing significant damage. During the 1942 Quit India Movement, freedom fighters Bhai Kotwal and Hiraji Patil attained martyrdom at the base of Siddhagad on 2 January 1943. Today, a memorial in Borwadi honours their sacrifice, which is worth visiting before beginning the return journey.
© Suresh Nimbalkar
GALLERY