AHIWANT
TYPE : HILL FORT
DISTRICT : NASHIK
HEIGHT : 3880 FEET
GRADE : MEDIUM
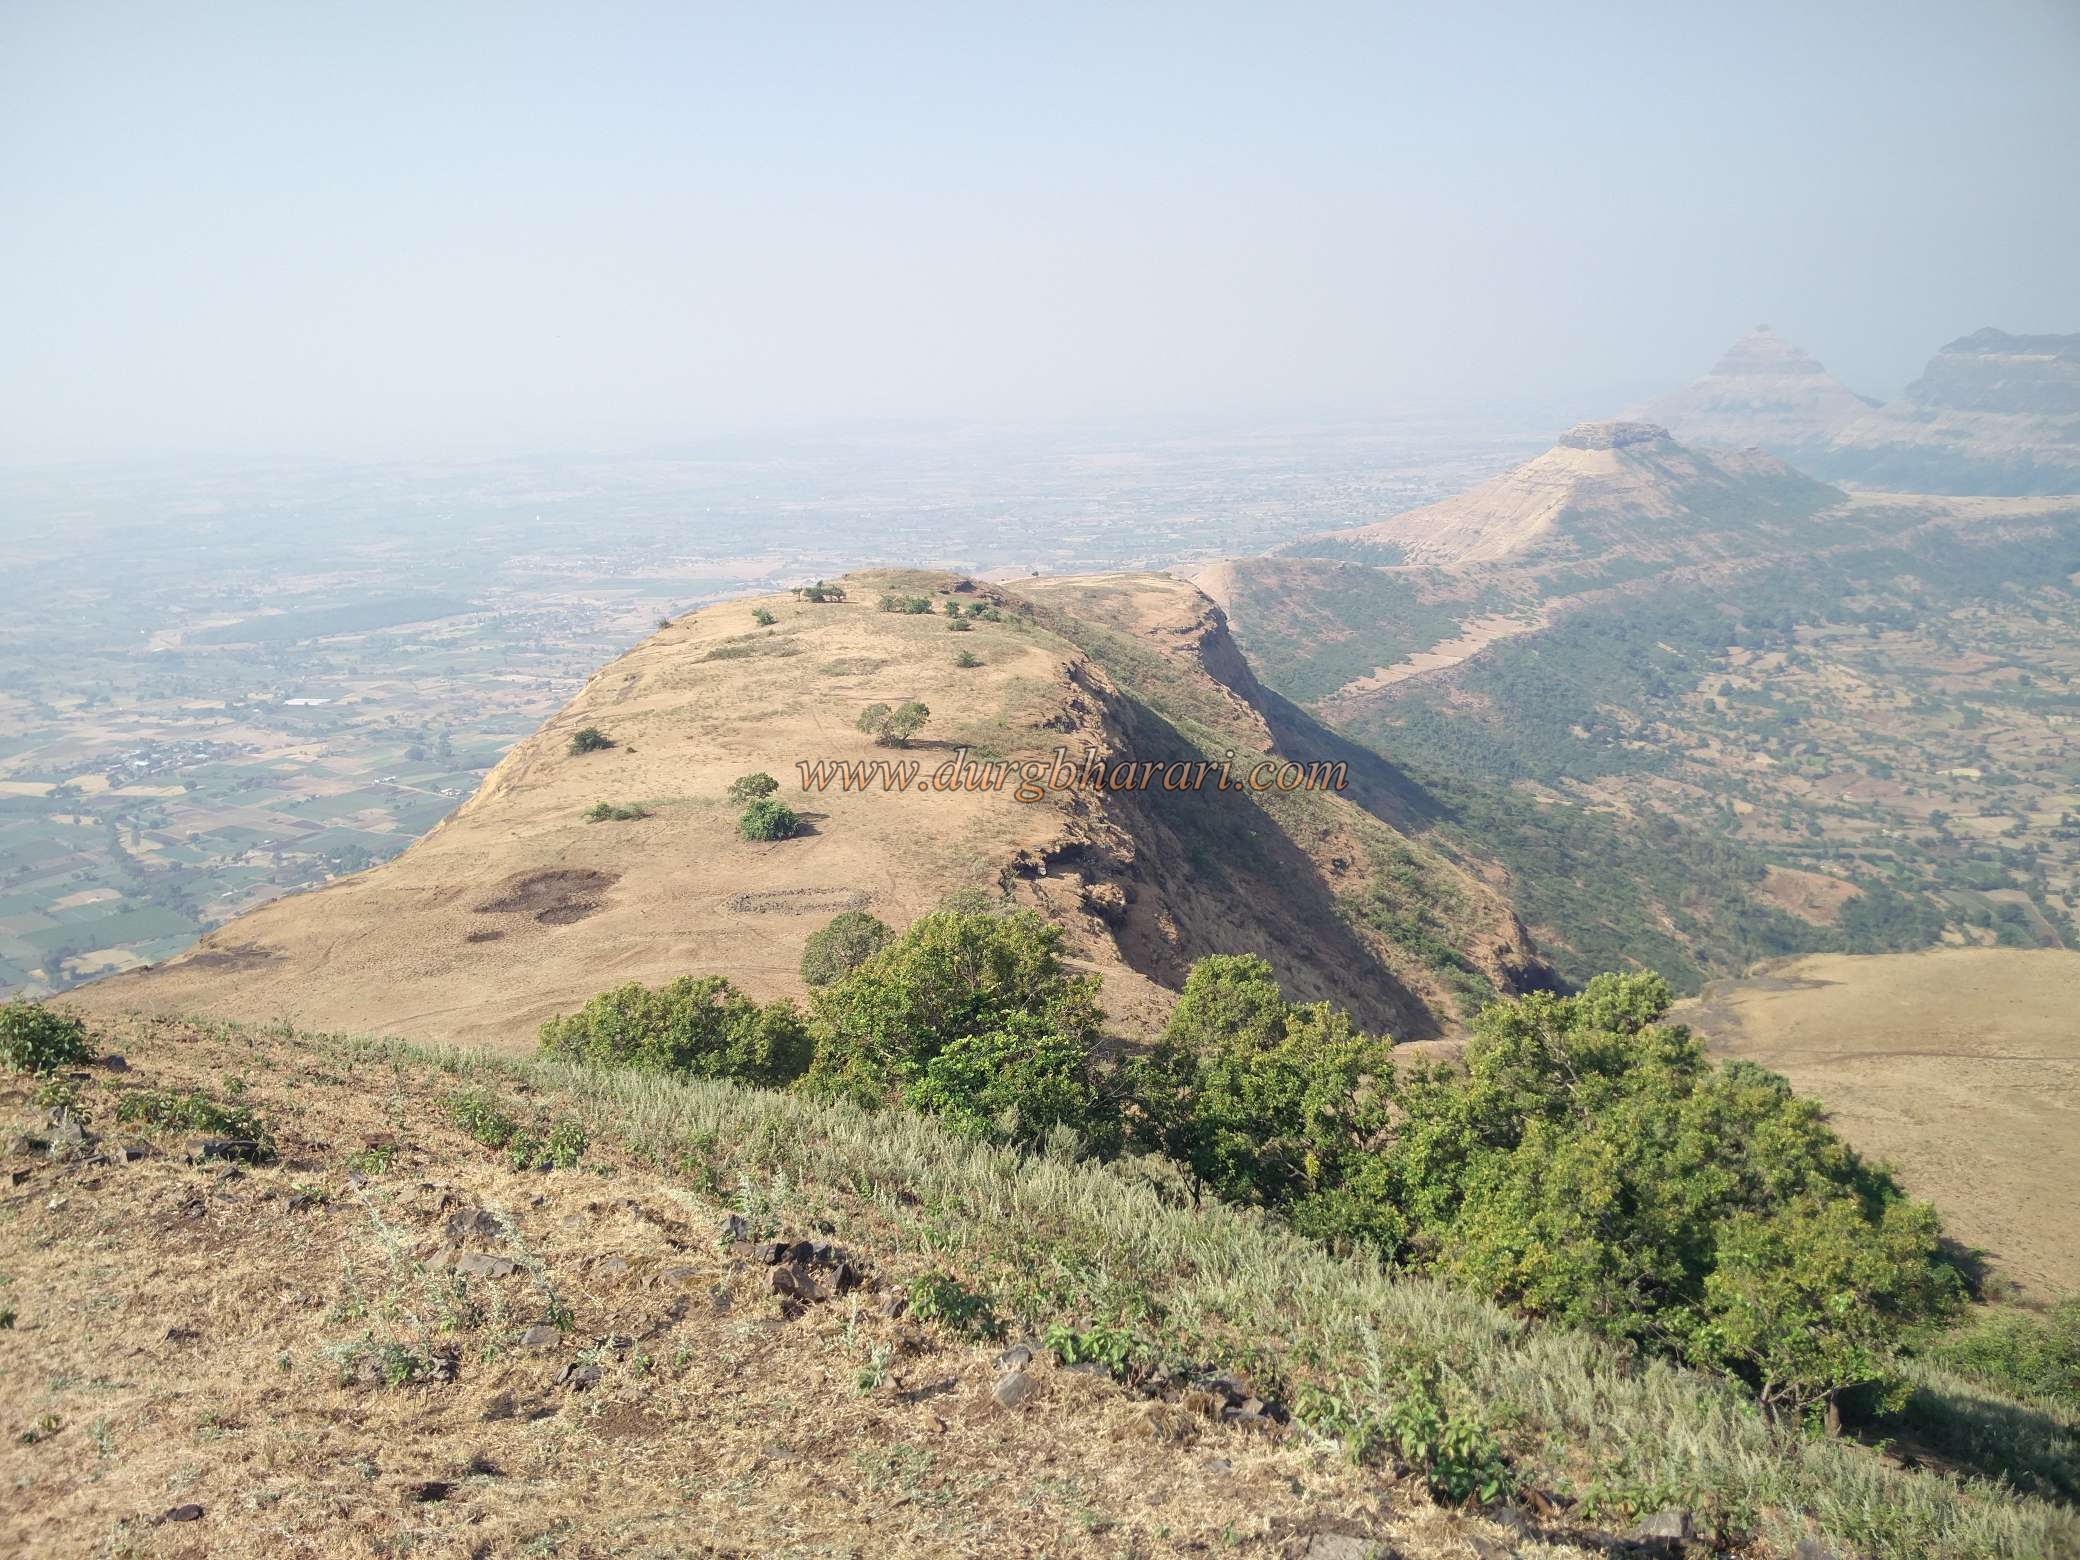
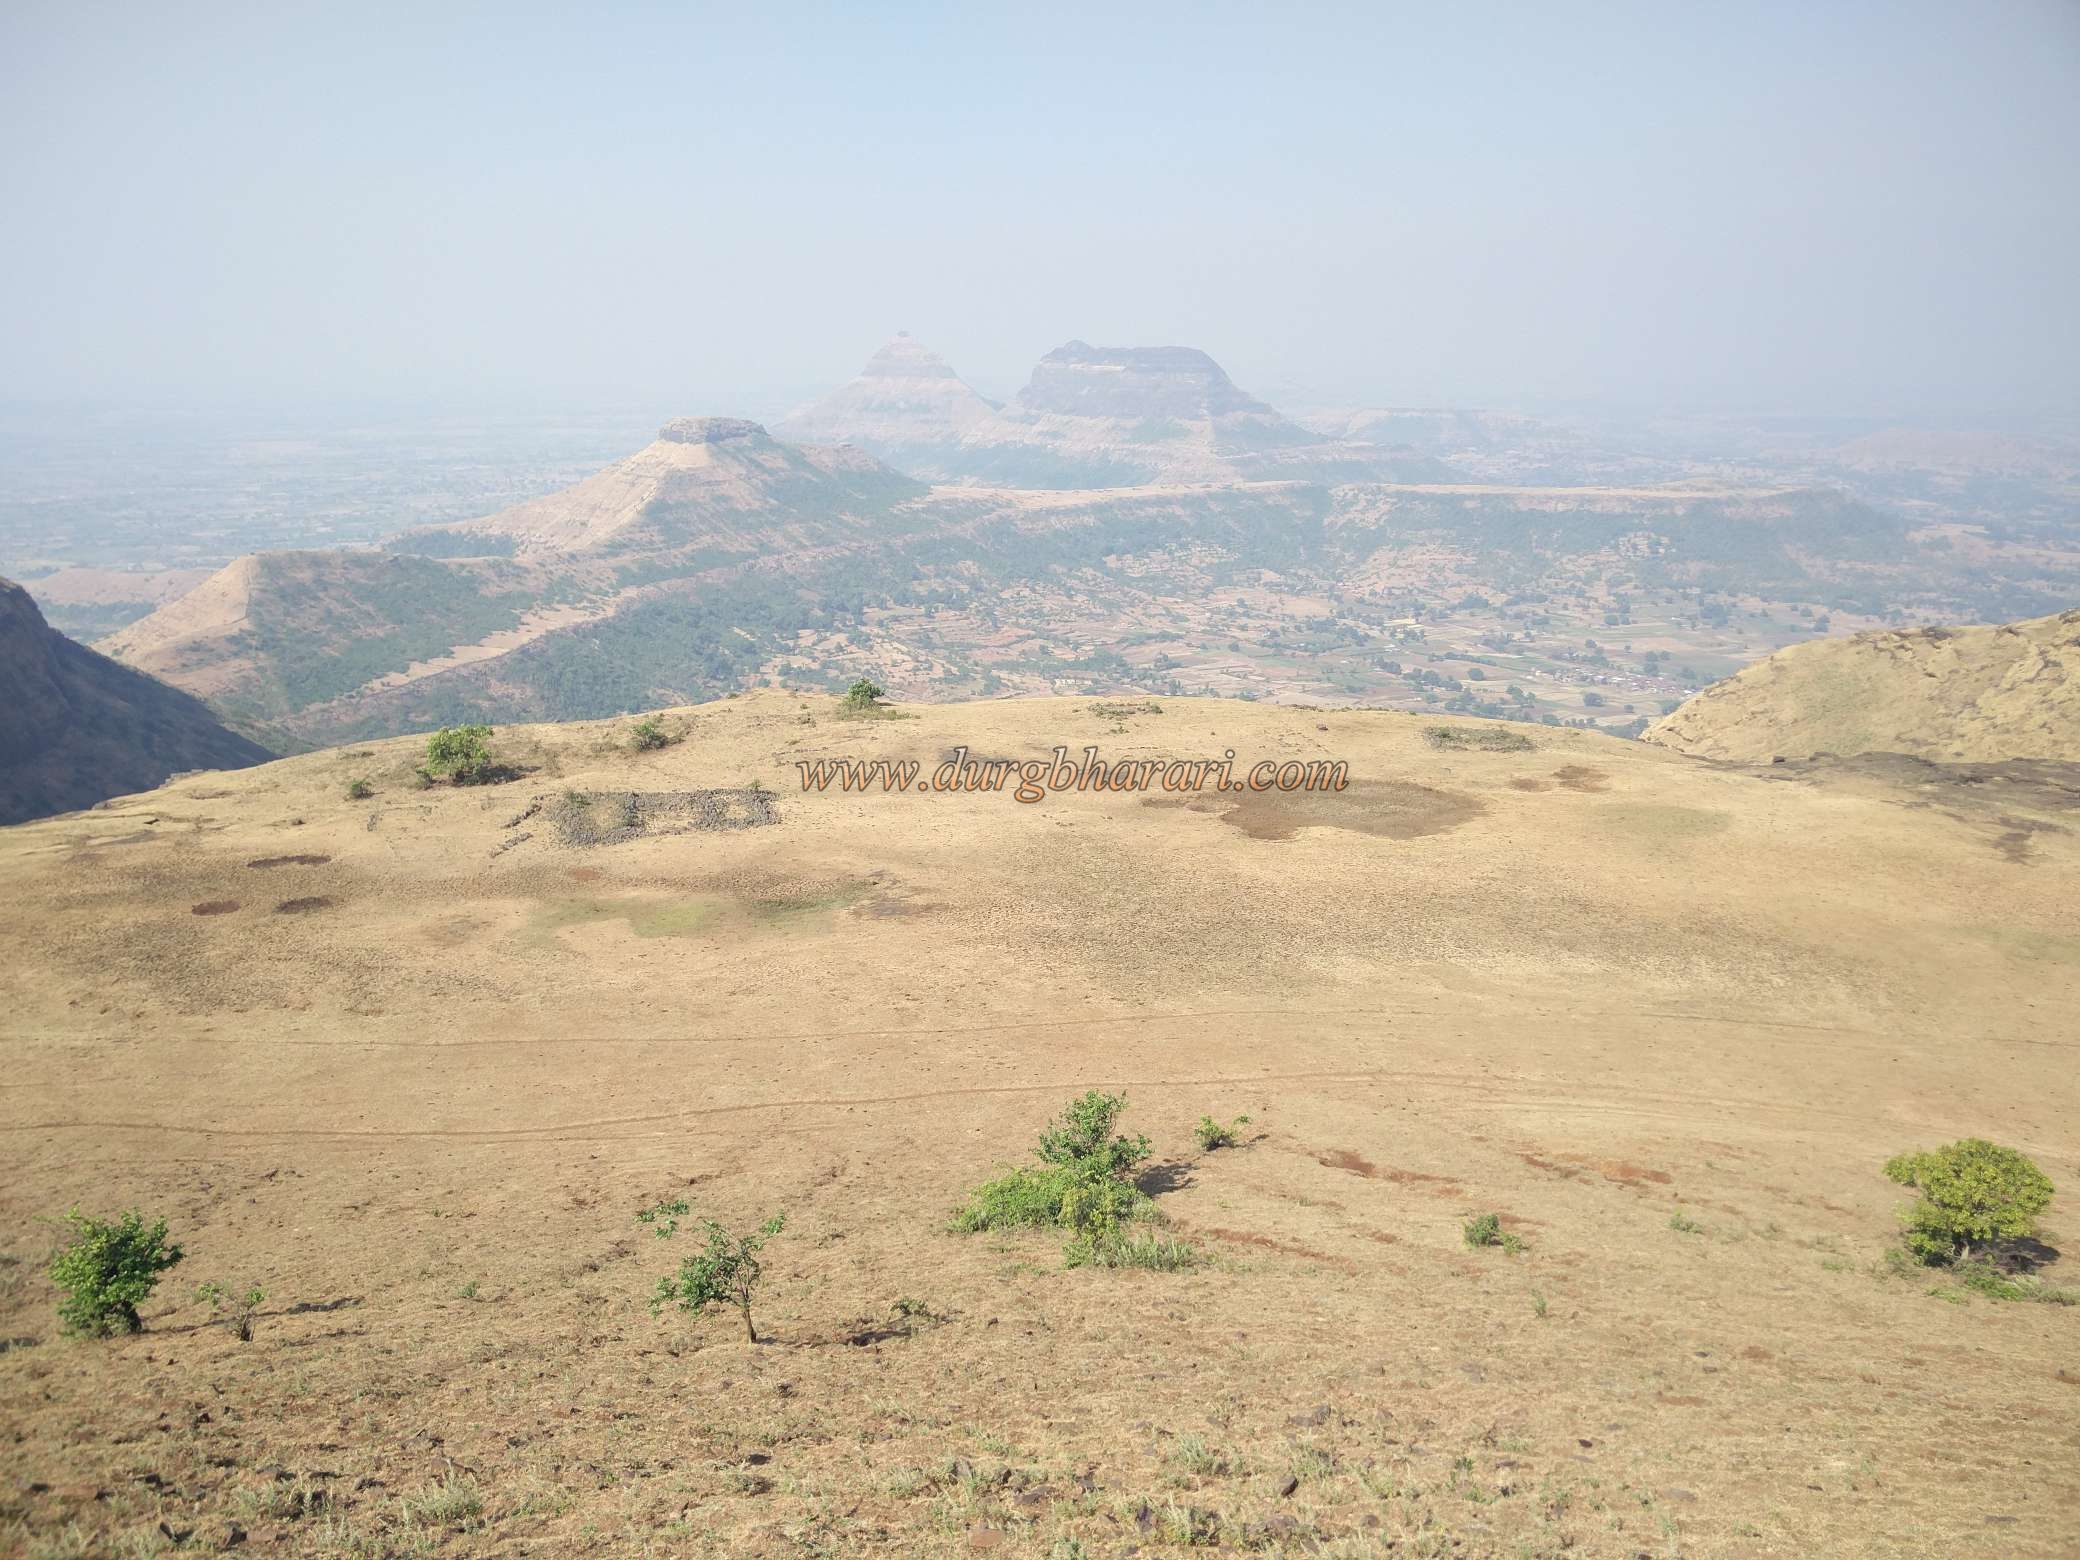
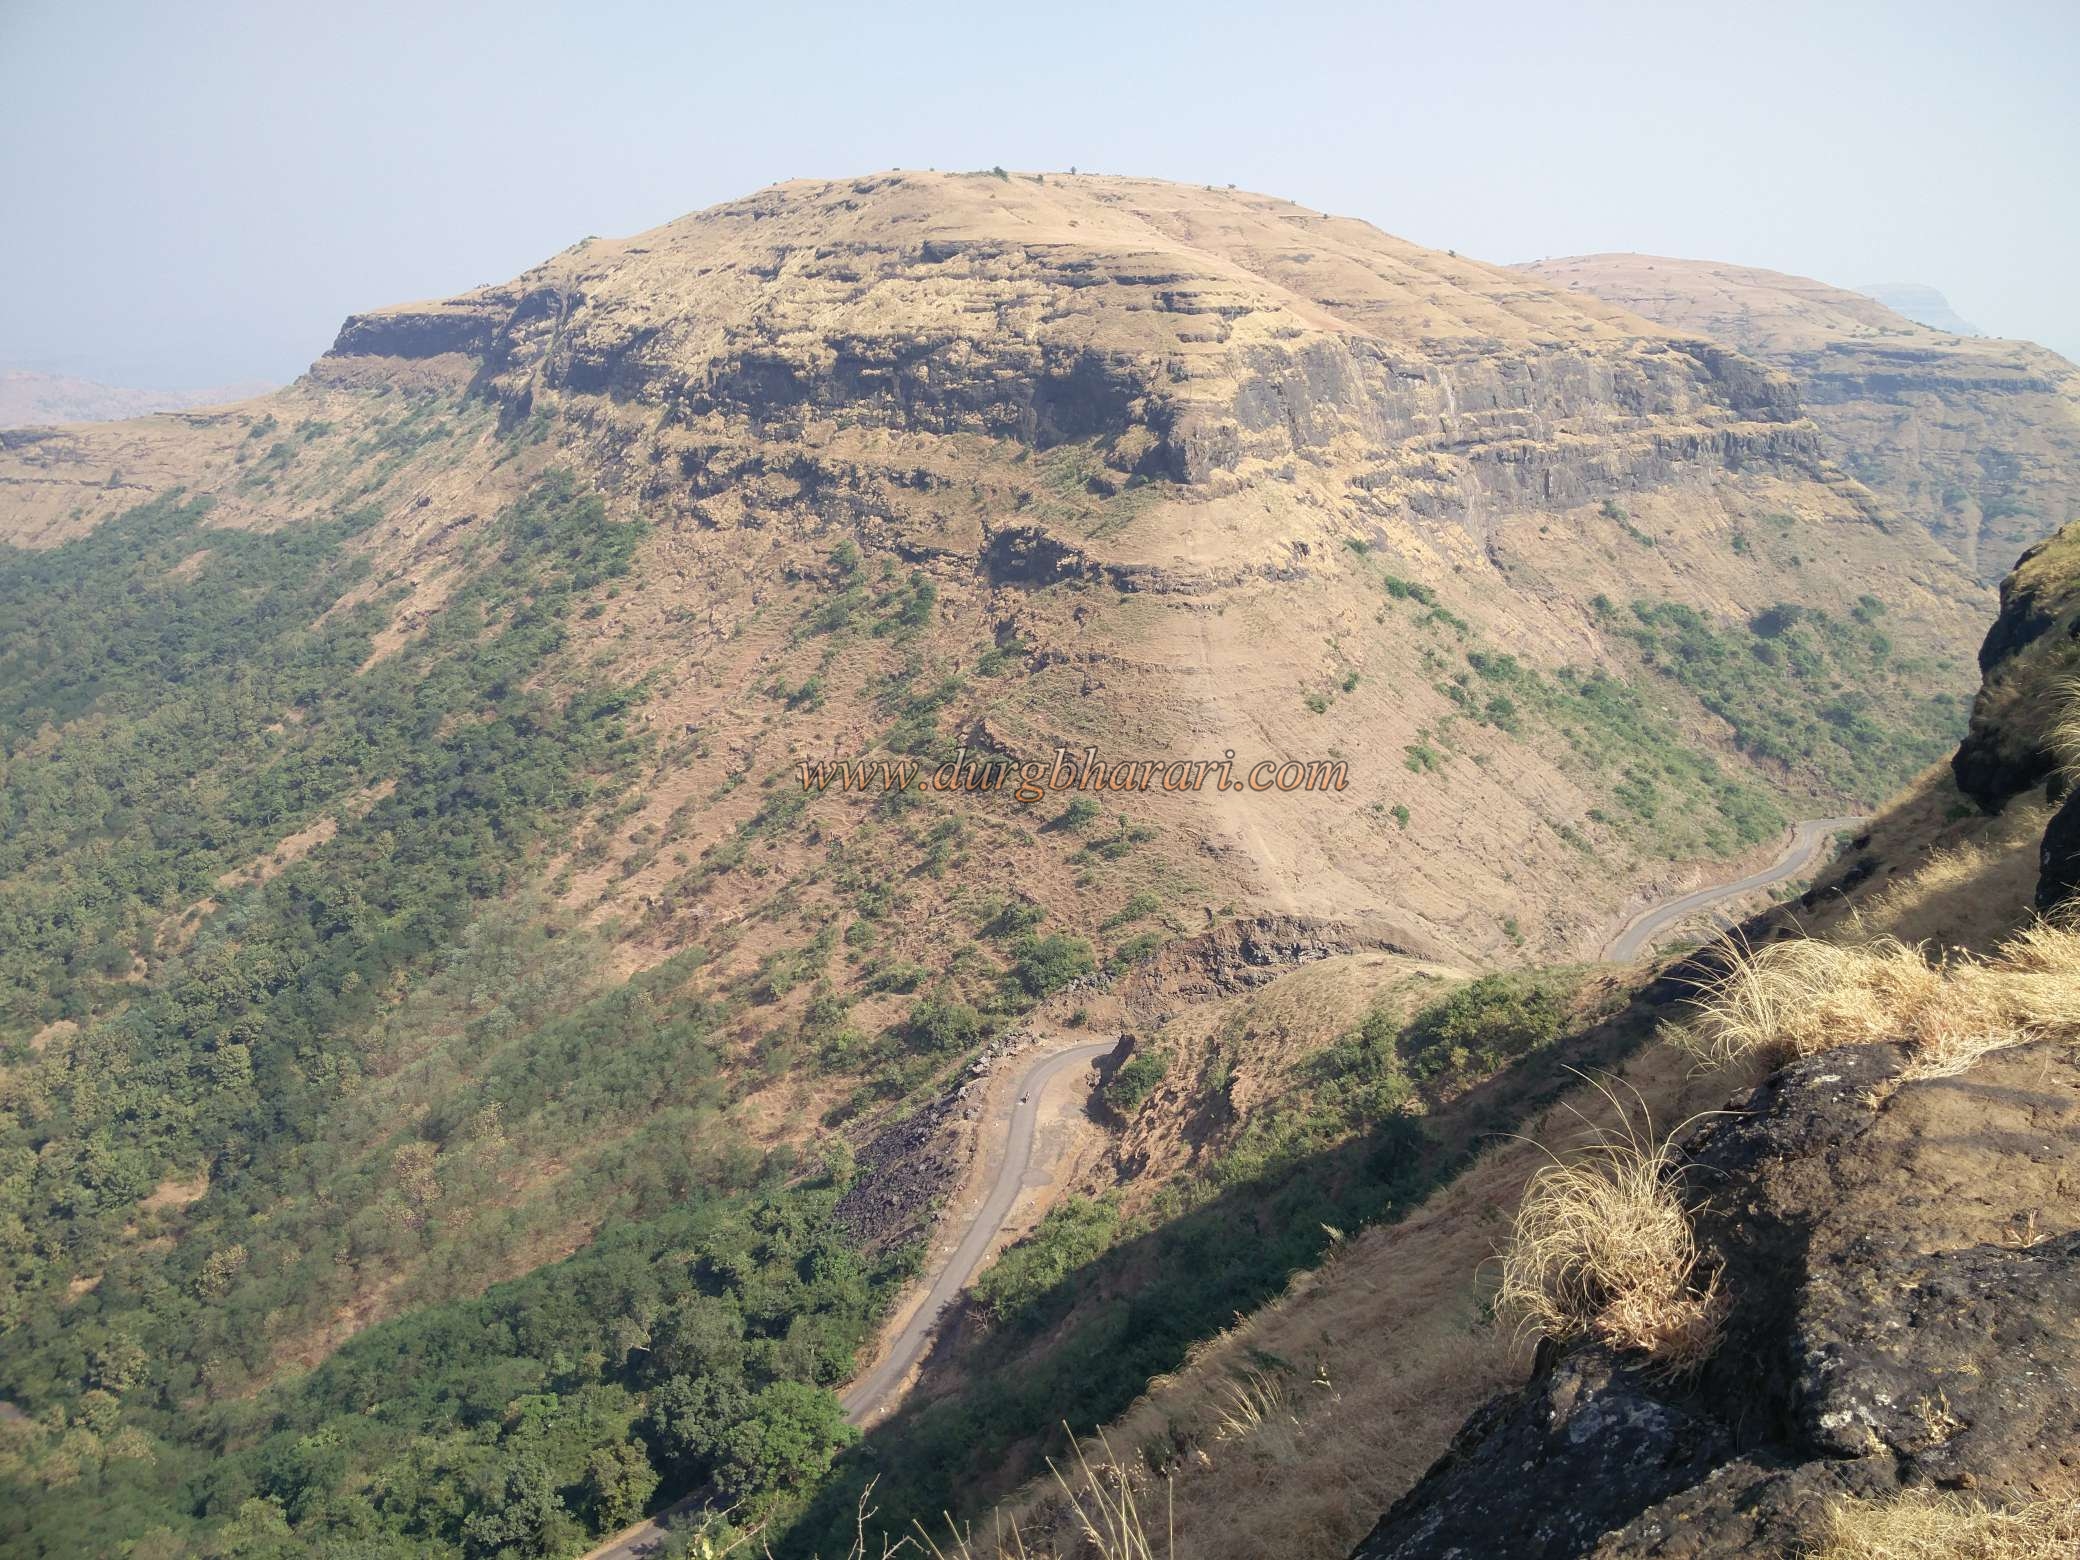
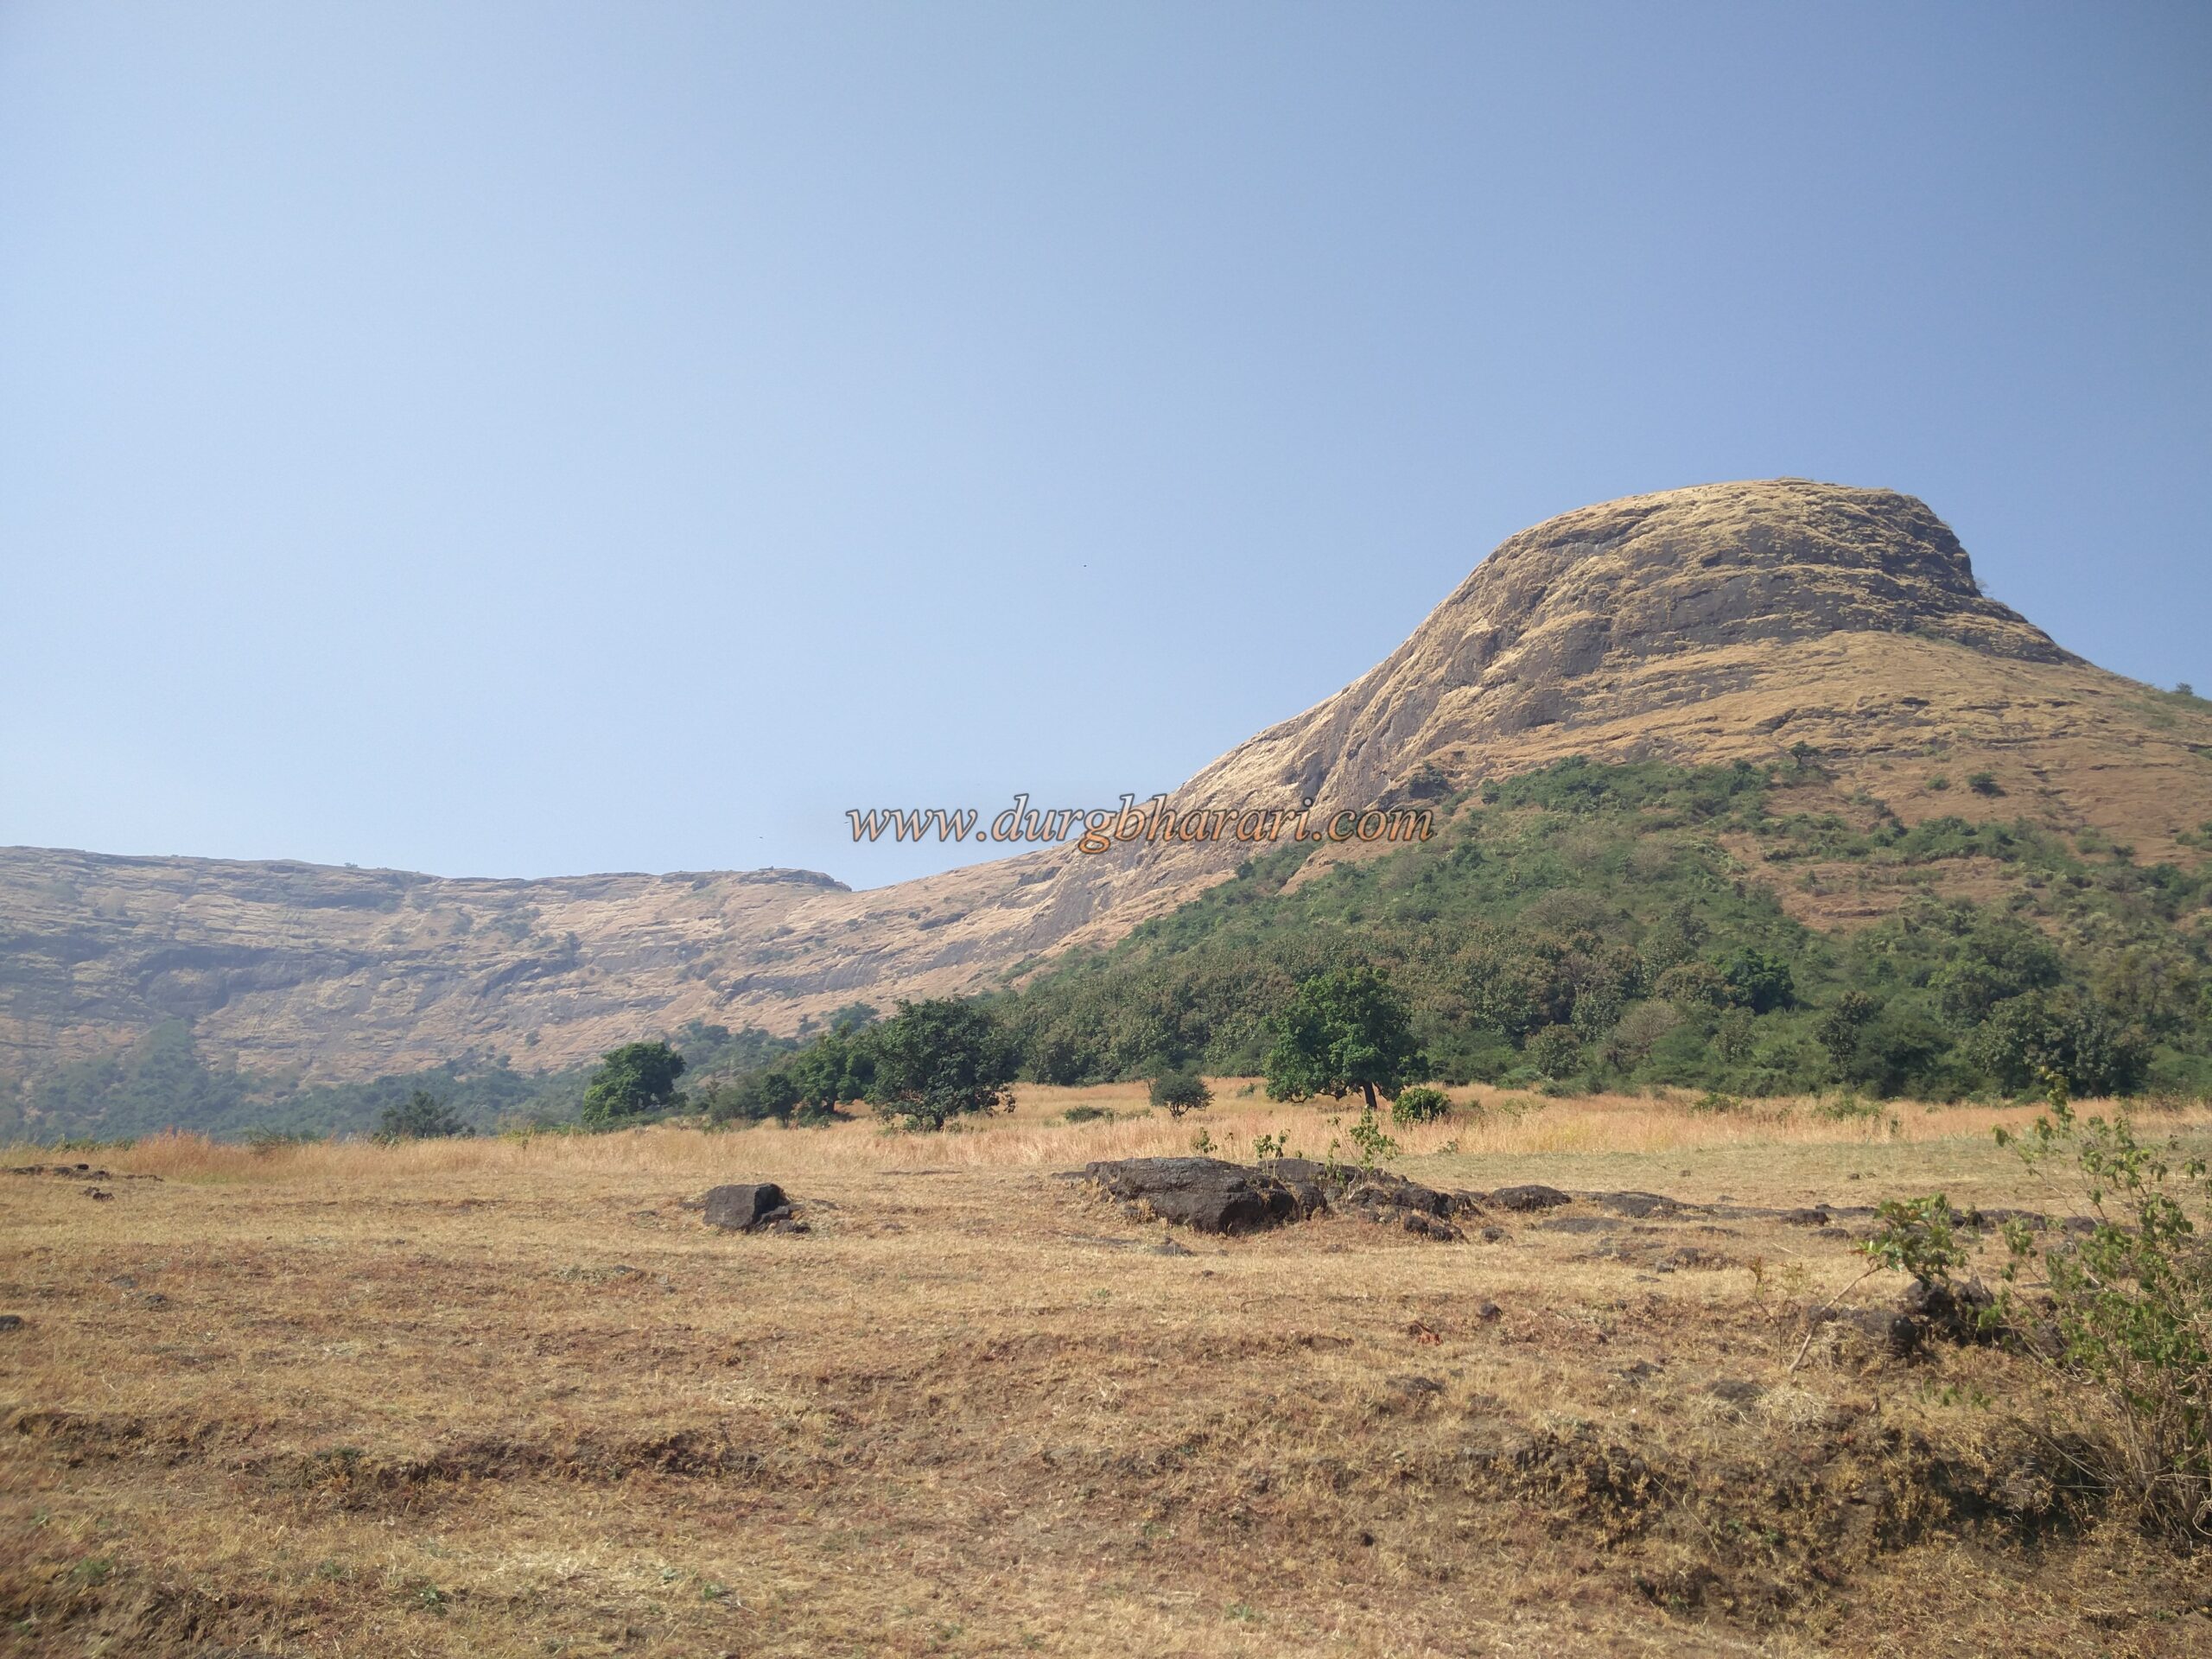
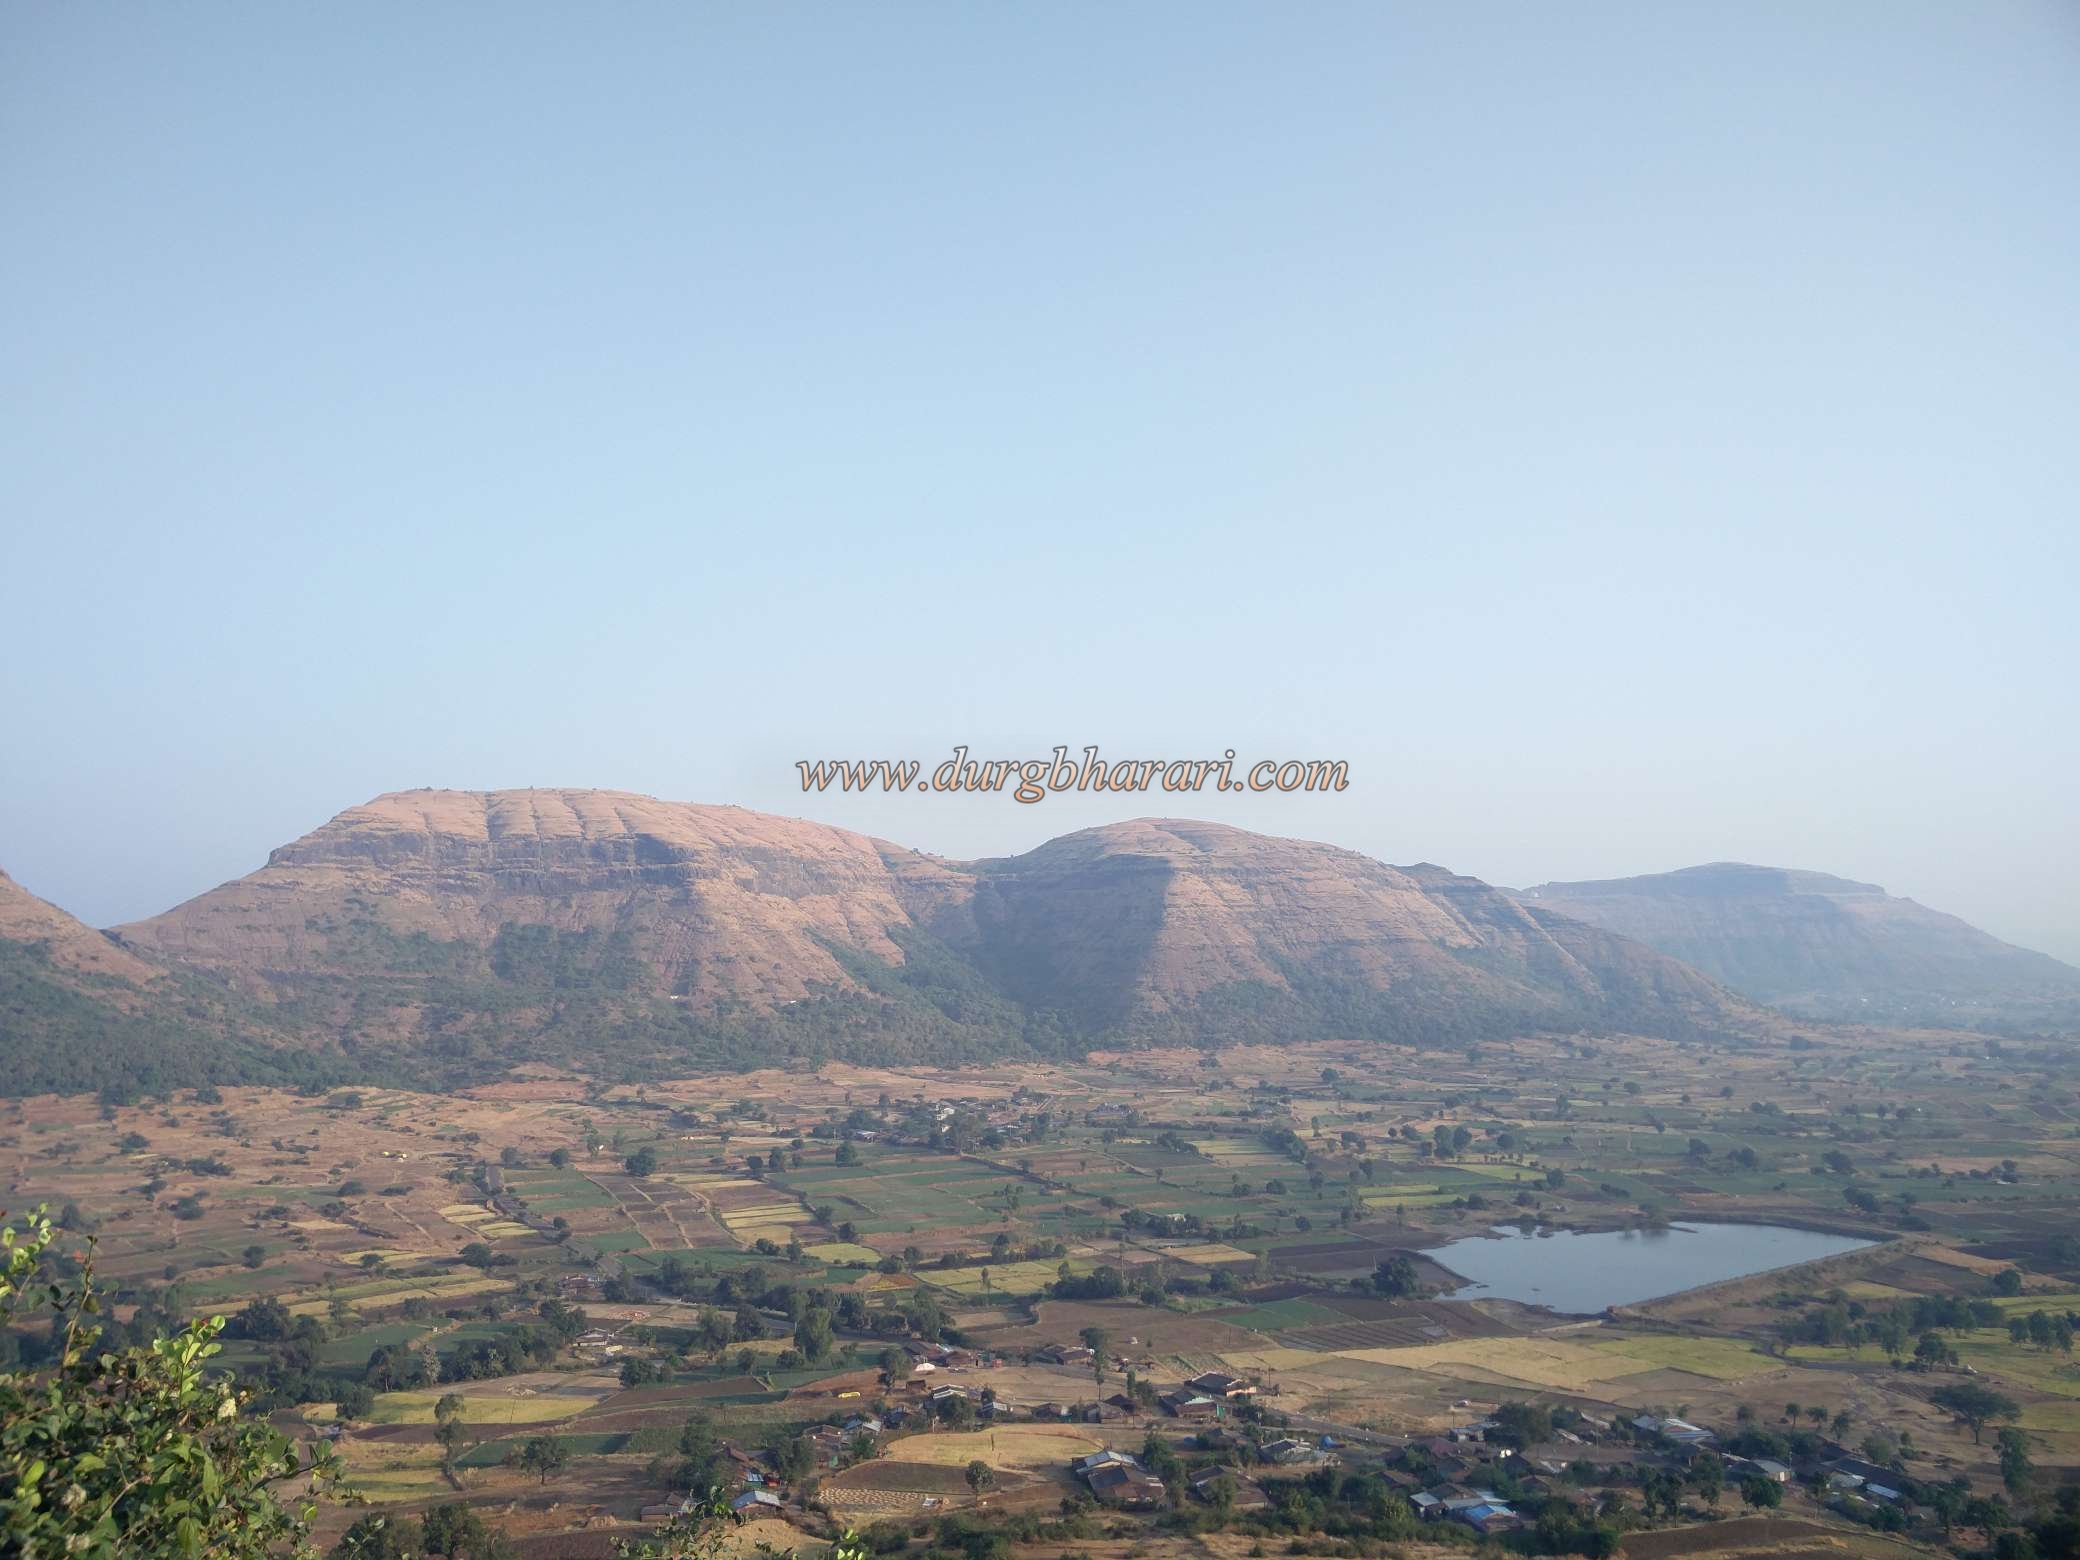
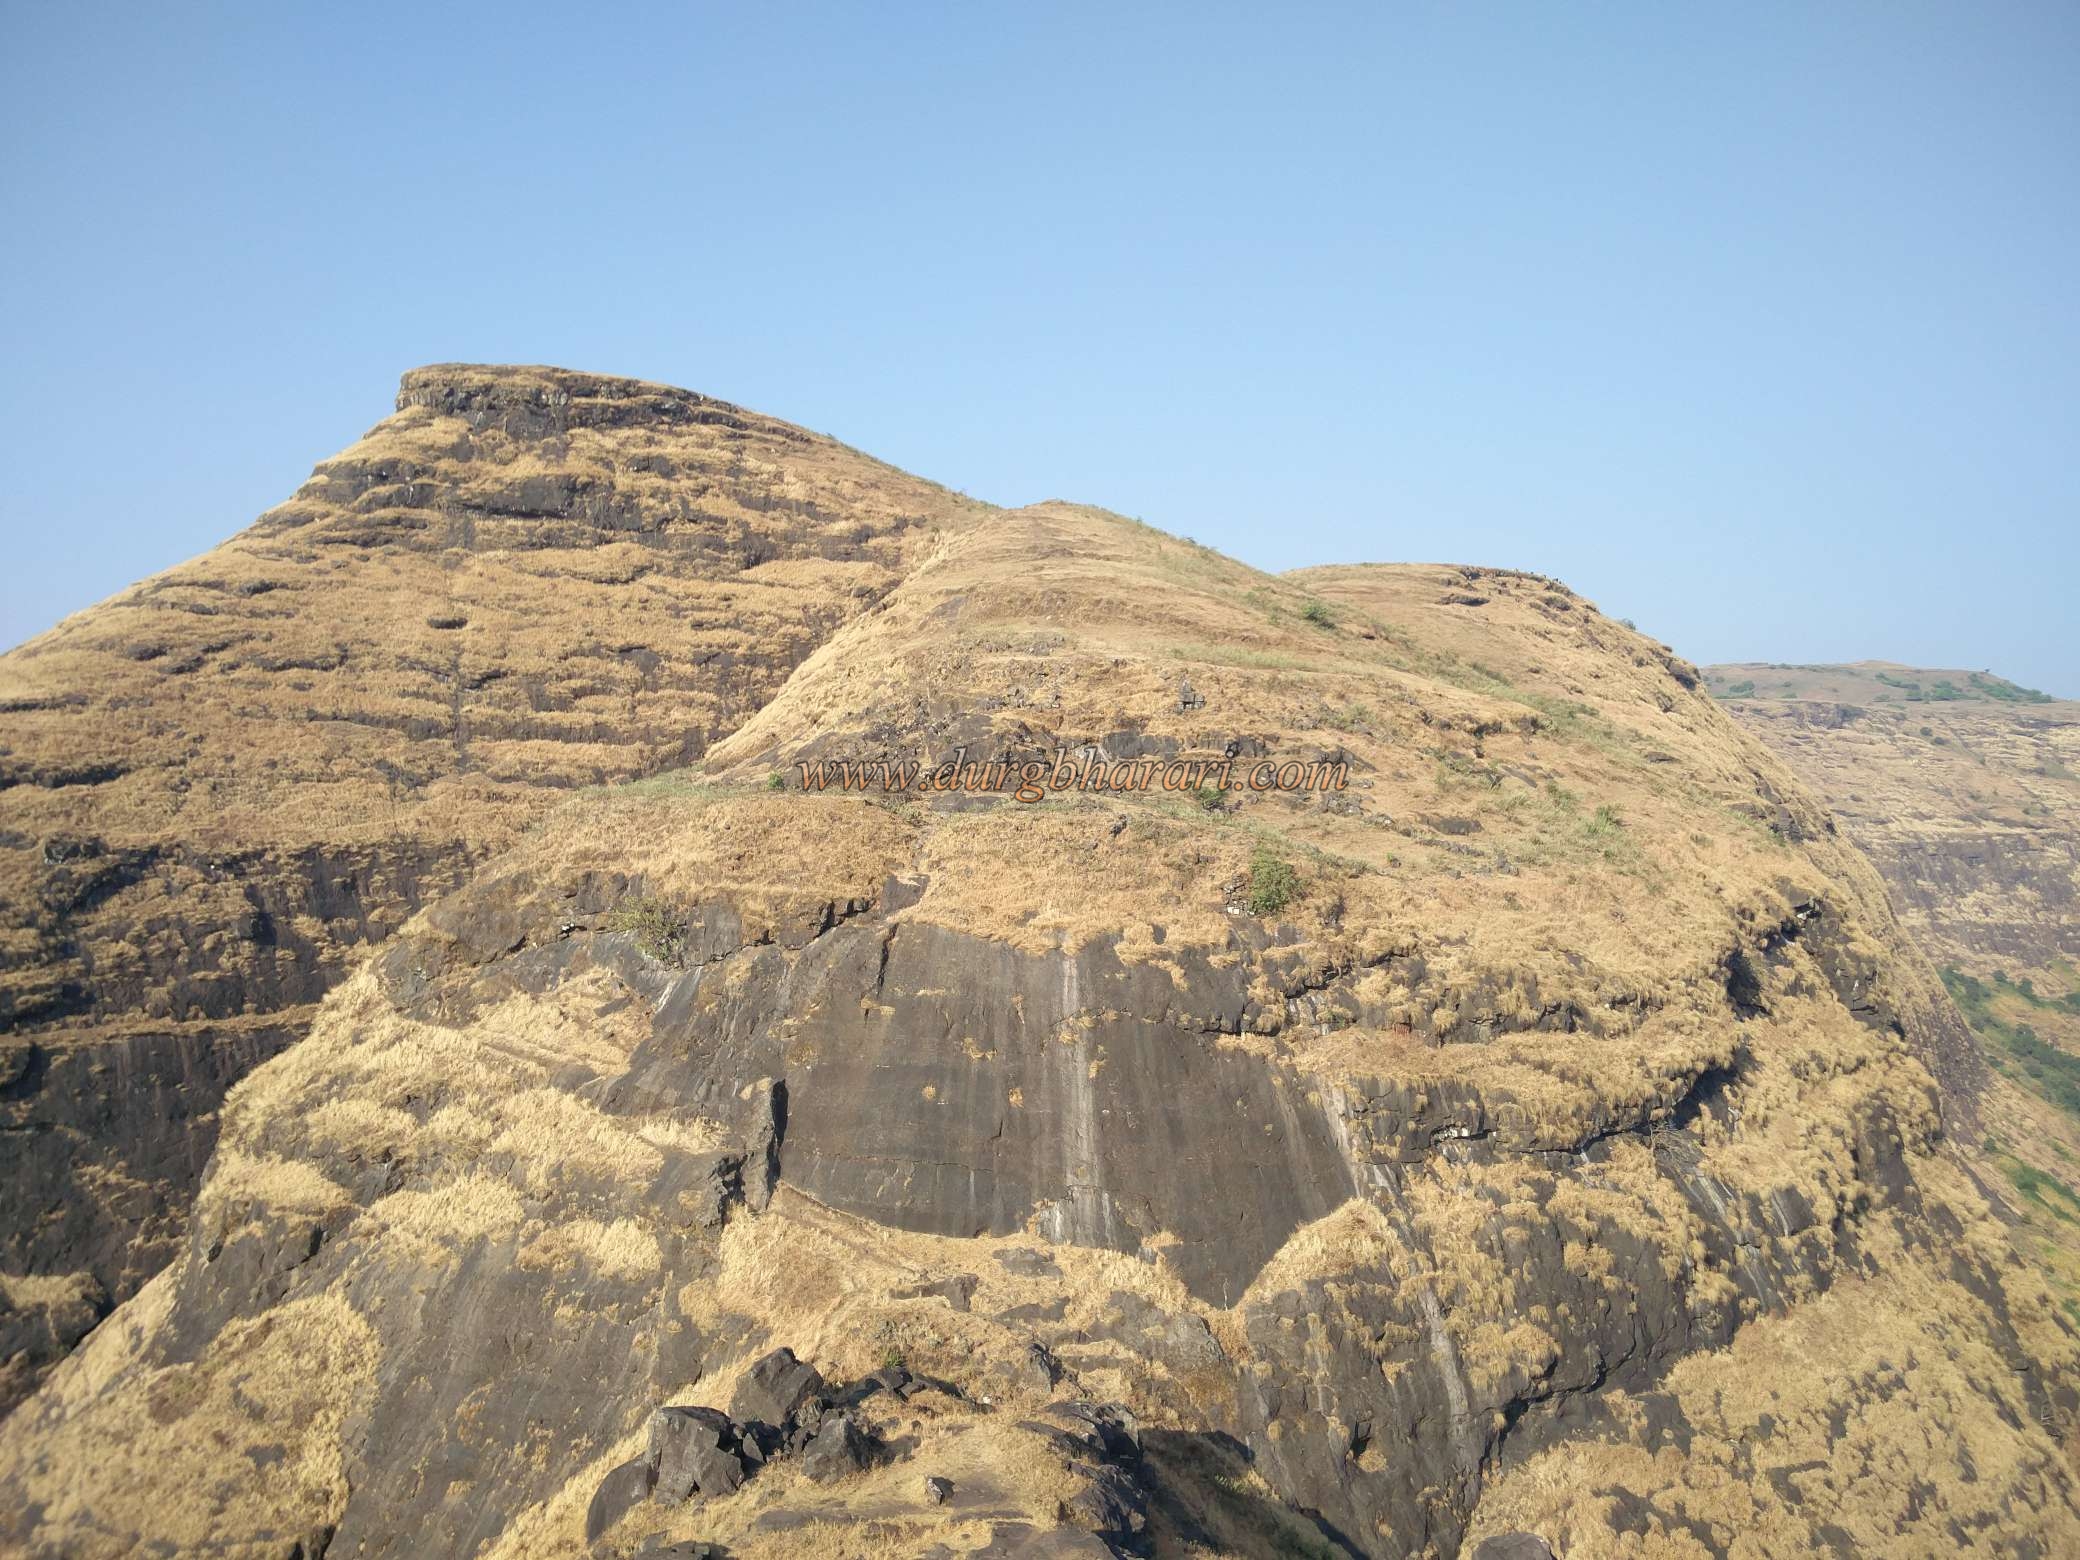
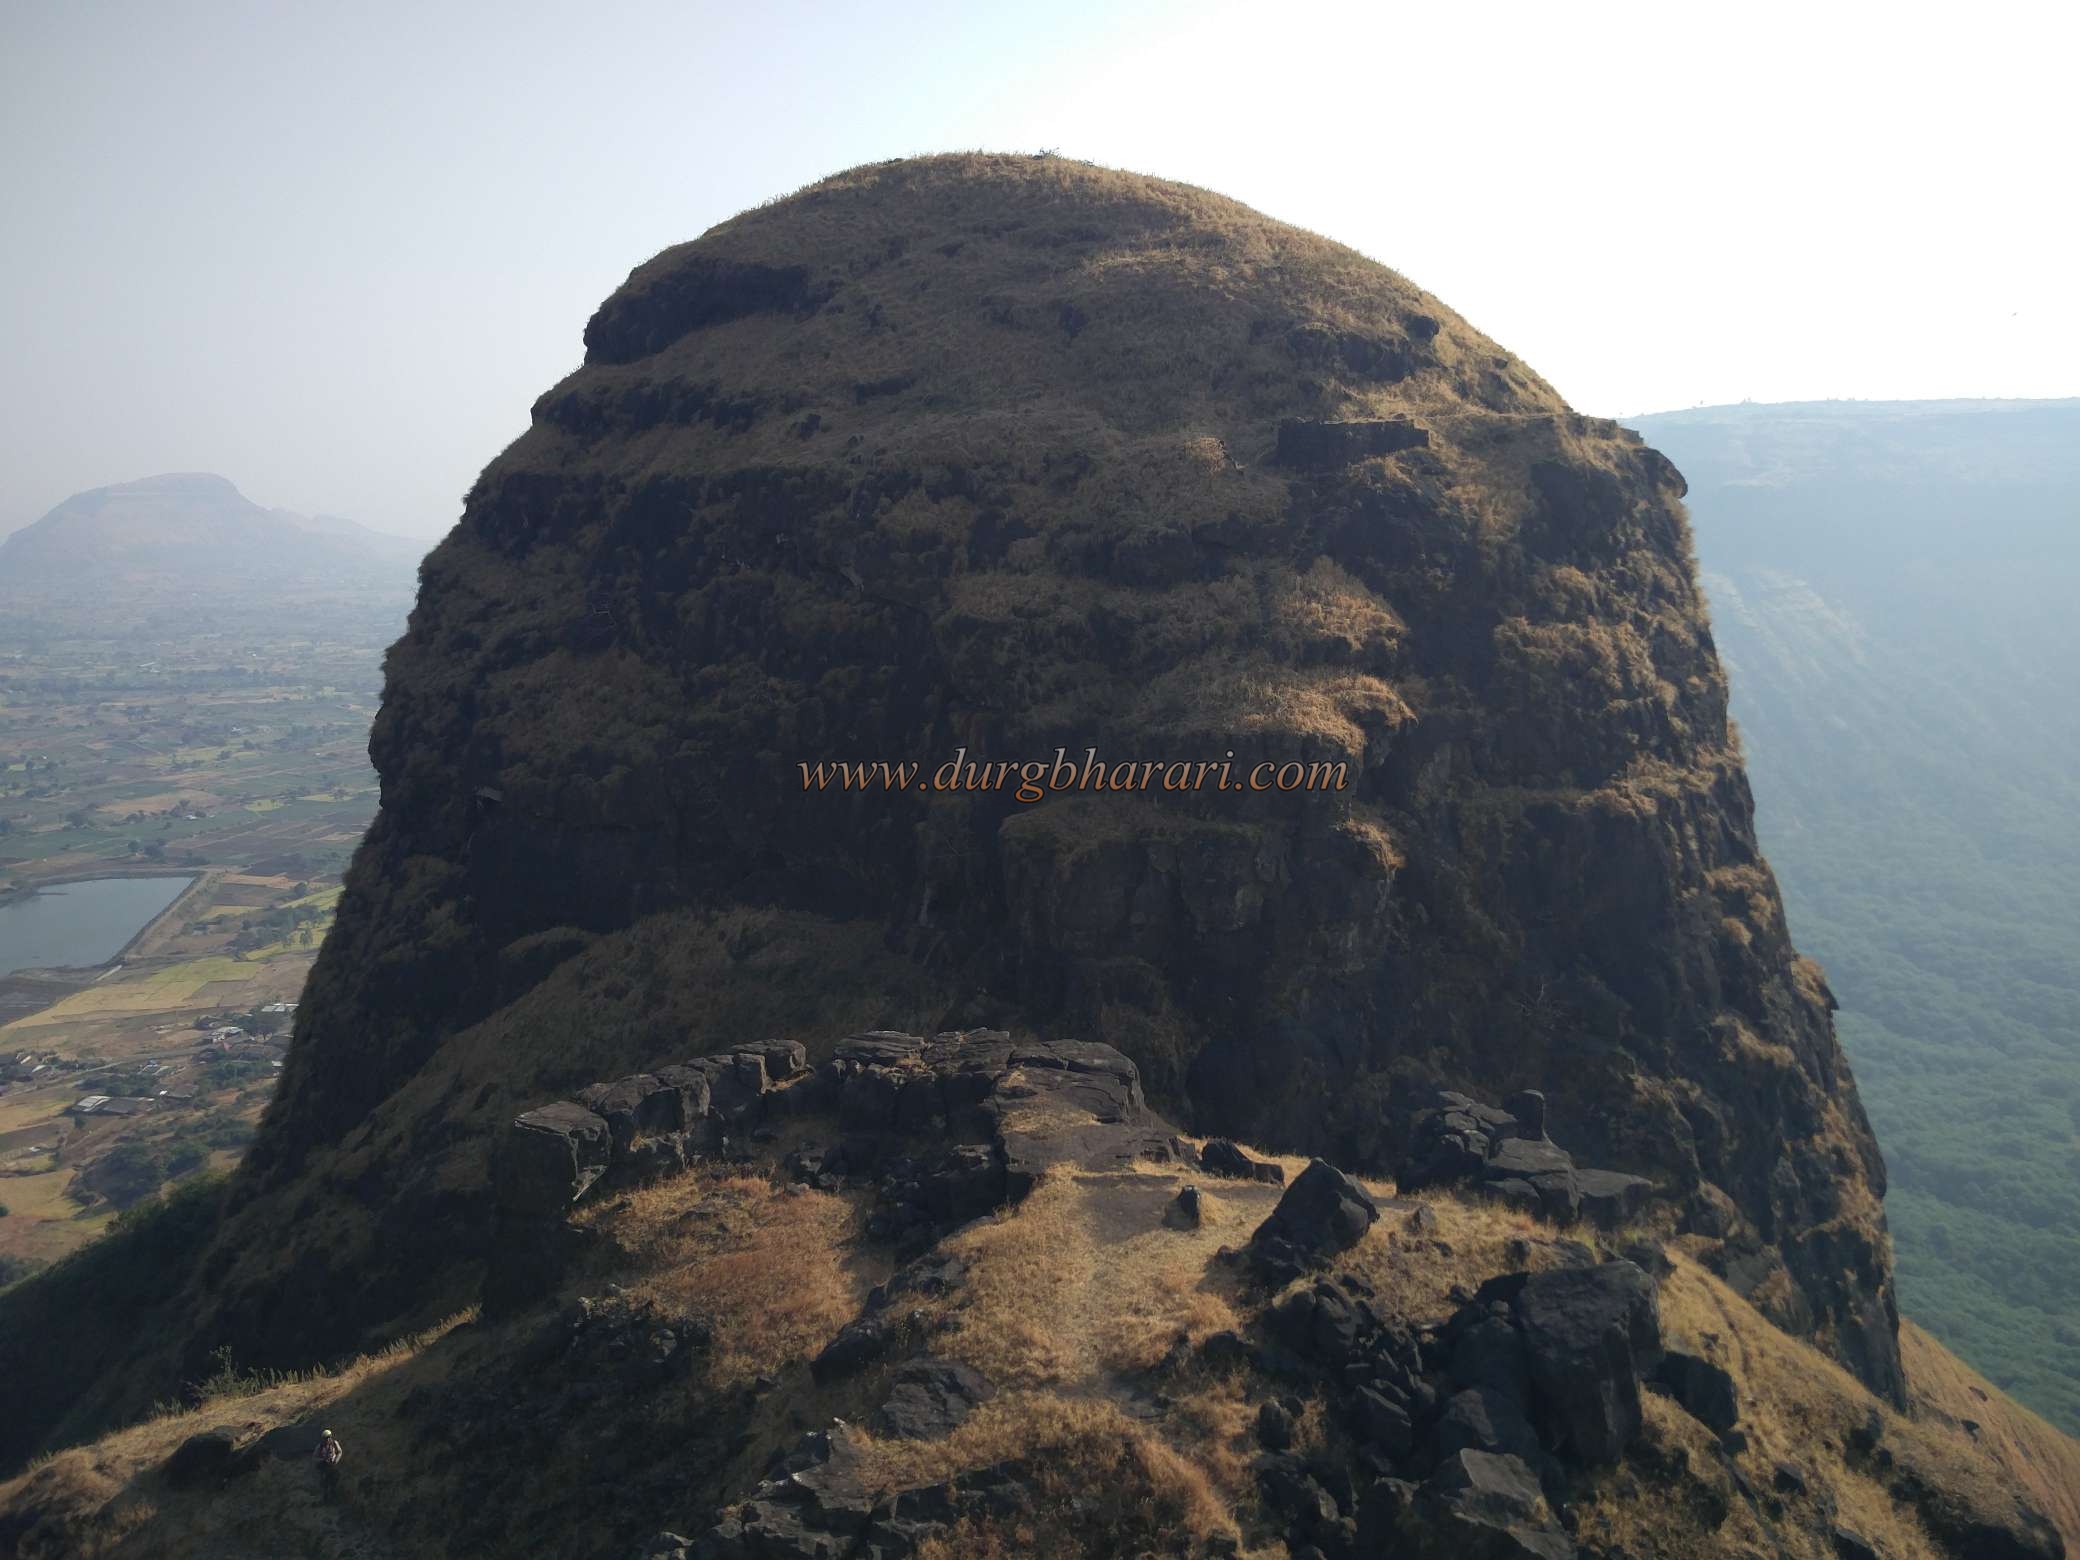
The forts in the Satmal mountain range in Nashik district has a special feature that, with 1-2 exceptions, no fort can take you to the top without getting tired after walking for 2-3 hours. Ahivantgad is a major fort in the Satmal range. The two forts, Achala and Mohandar, which are adjacent to the fort, were probably built to protect Ahivantgad. The huge size of the fort, the cave on it, and the remains of several castles, a large lake, and a water tank carved in the rock all show that a large number of people lived on the fort. In addition to this, the fort's defensive structure was further strengthened by constructing the budhya hill adjacent to it into a small fort. When you see Ahivantgad and Budhya hills, you will remember Prabalgad and Kalavantin near Panvel. Although there are many villages to reach the fort from Daregaon, Belwadi, Achala, the road passing through Daregaon is the best option as it leads to the head in less time.
...
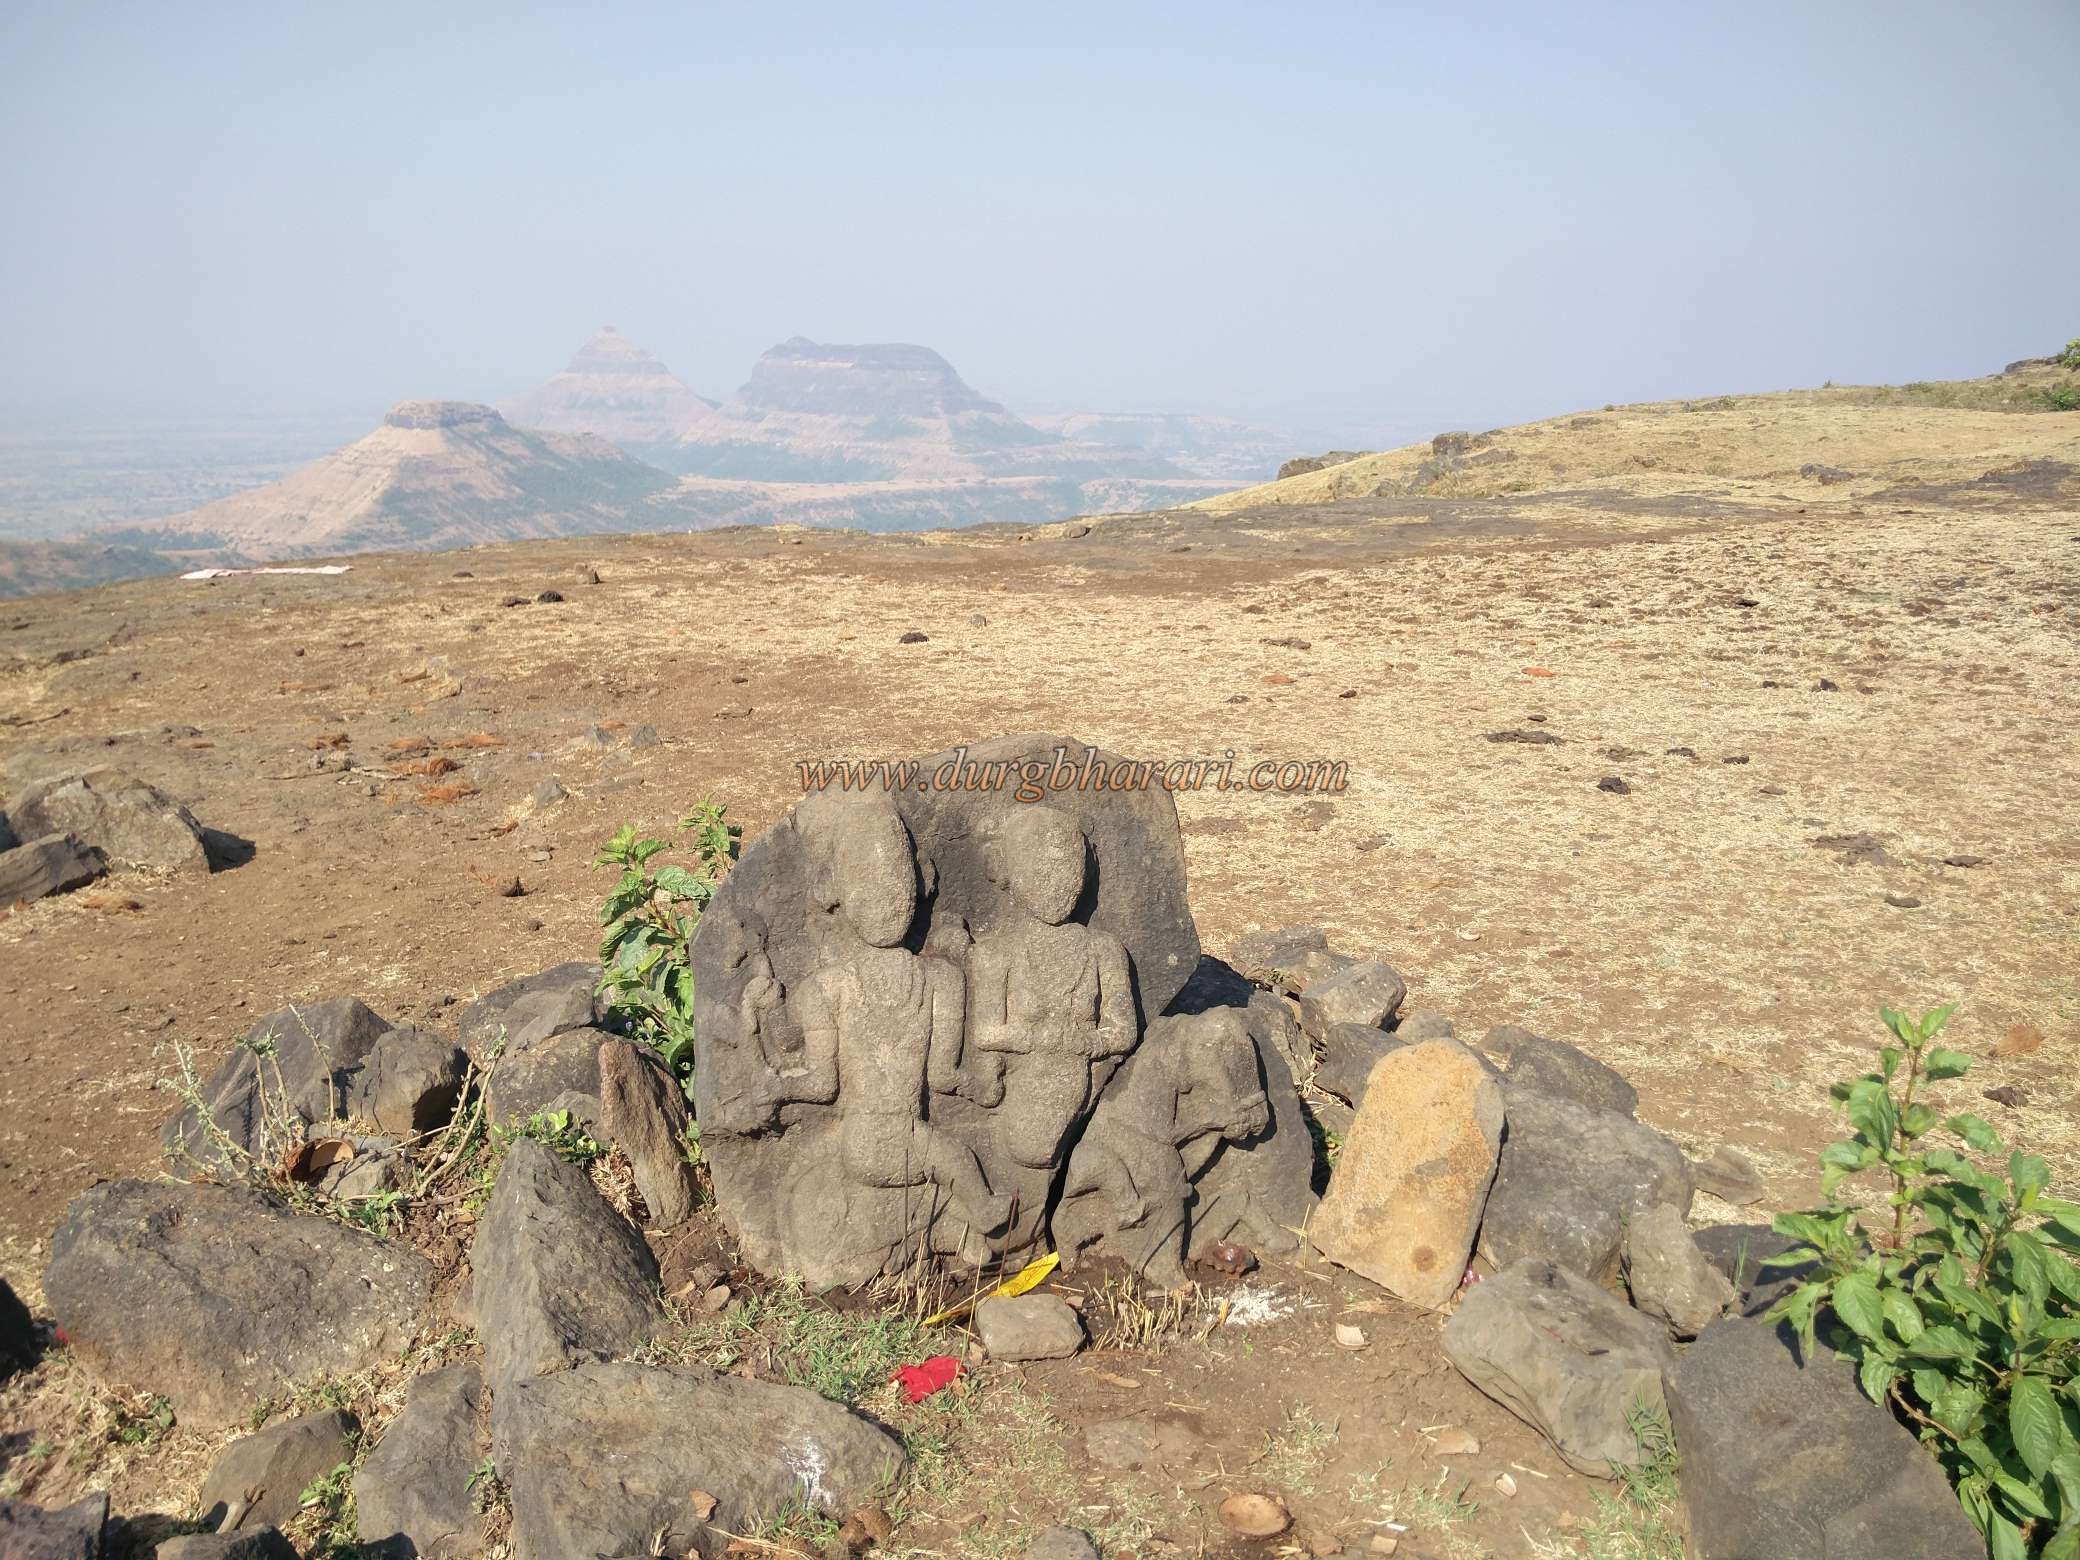
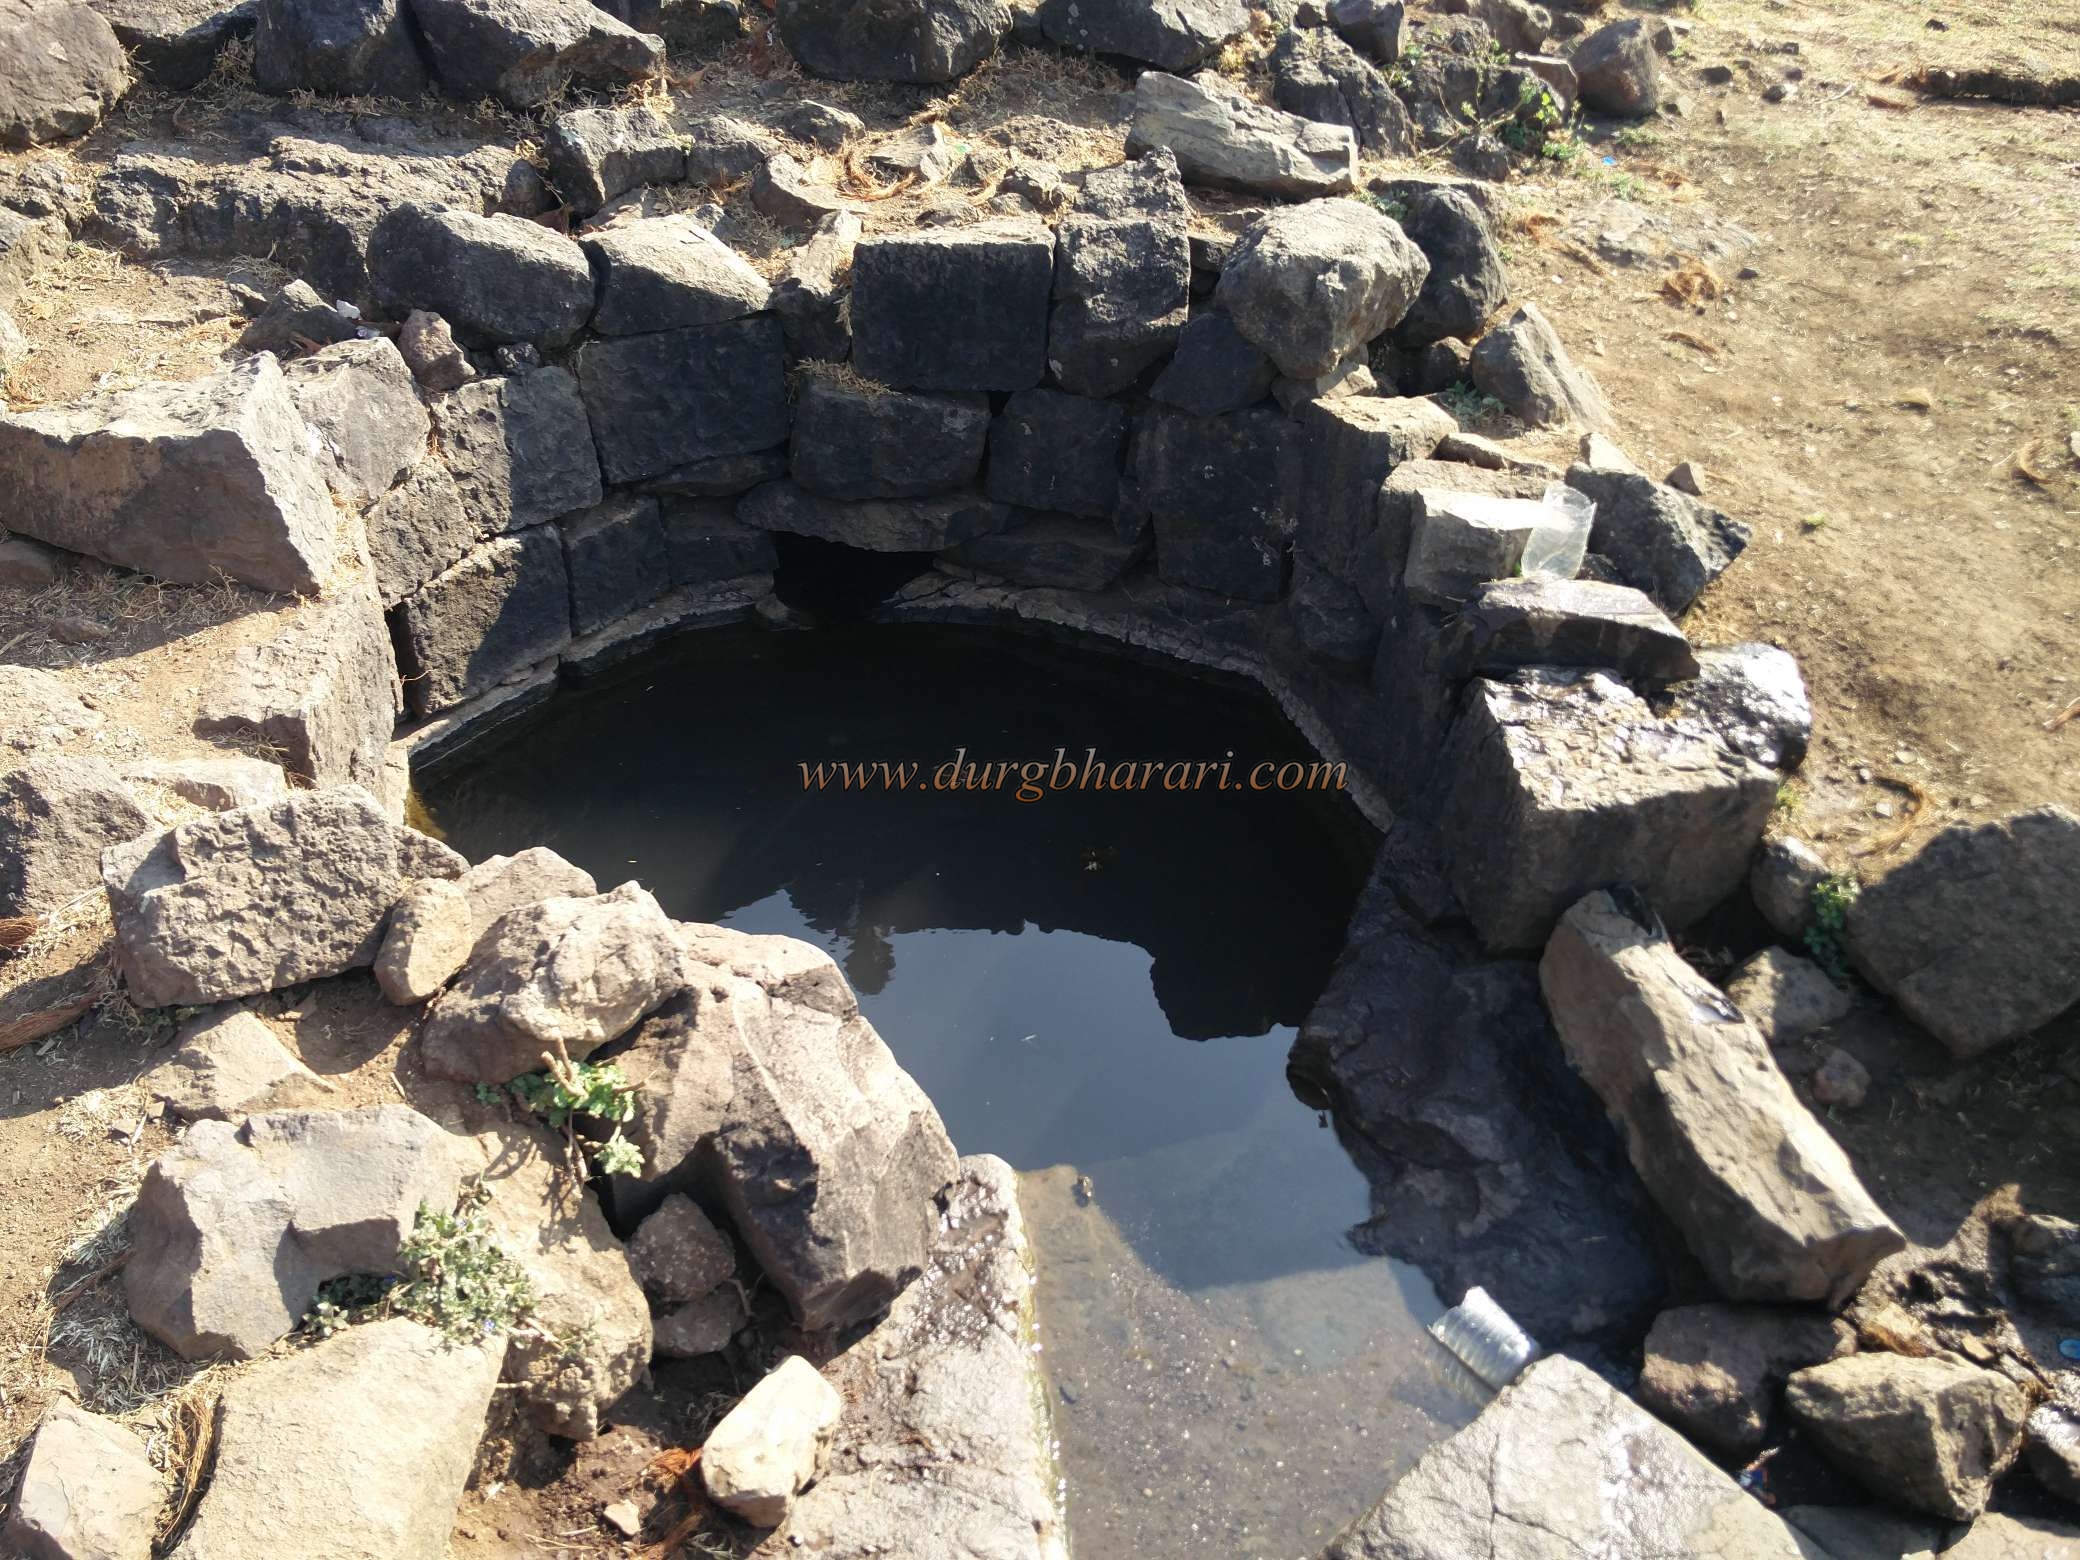
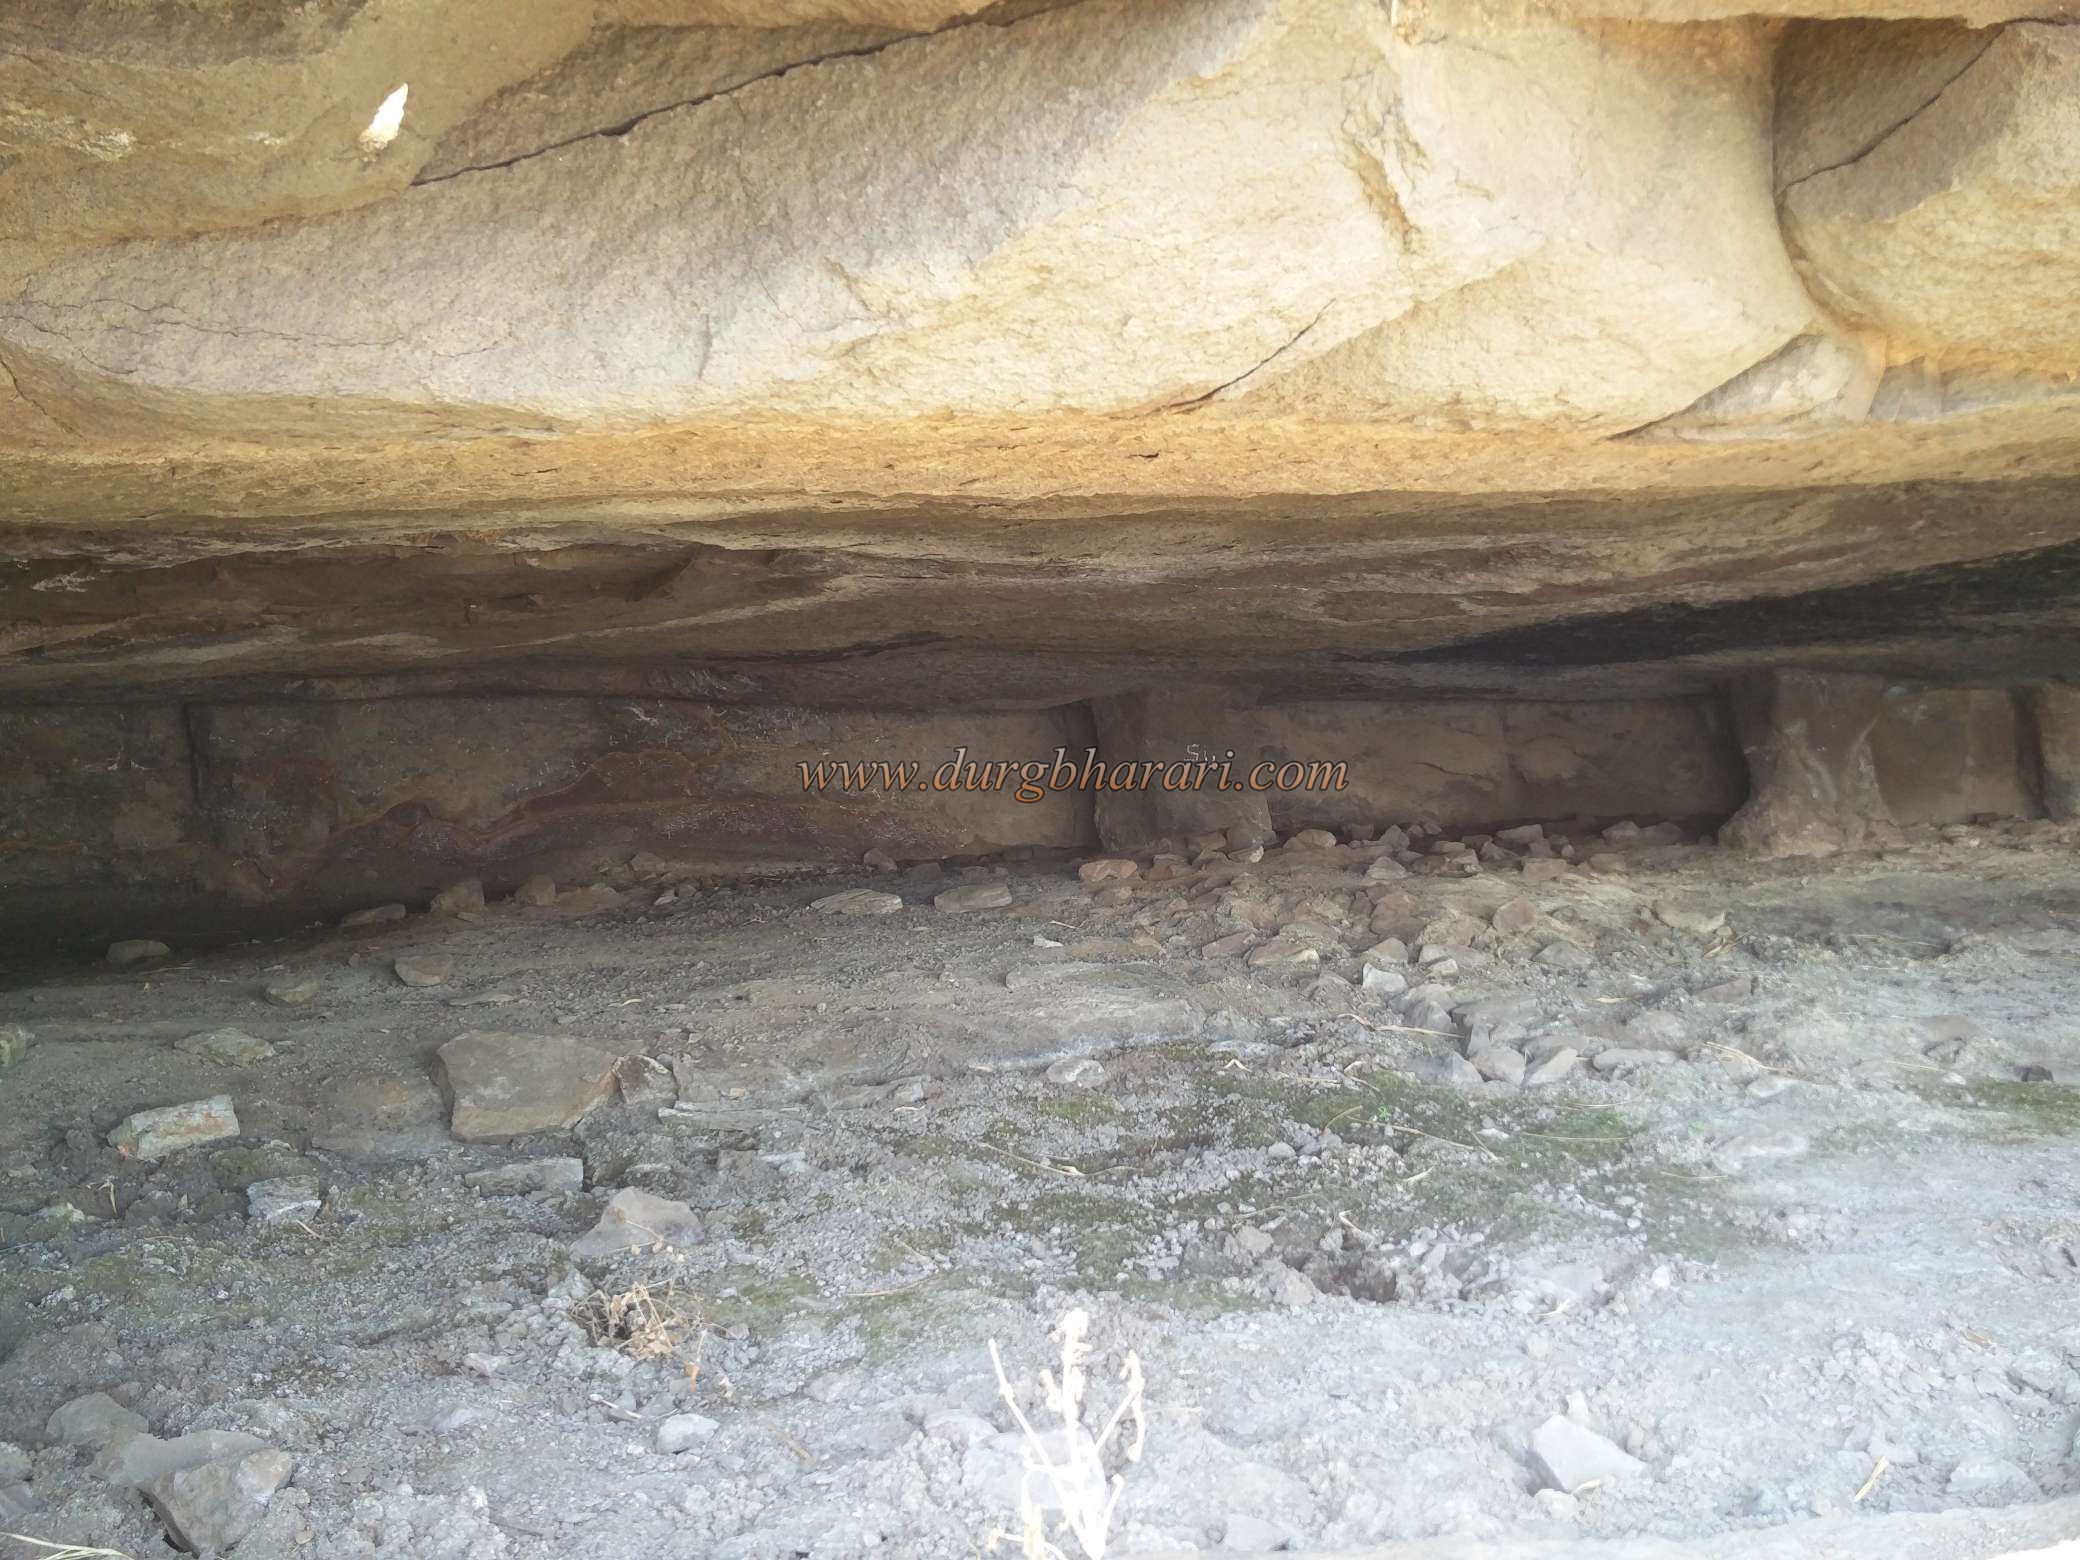
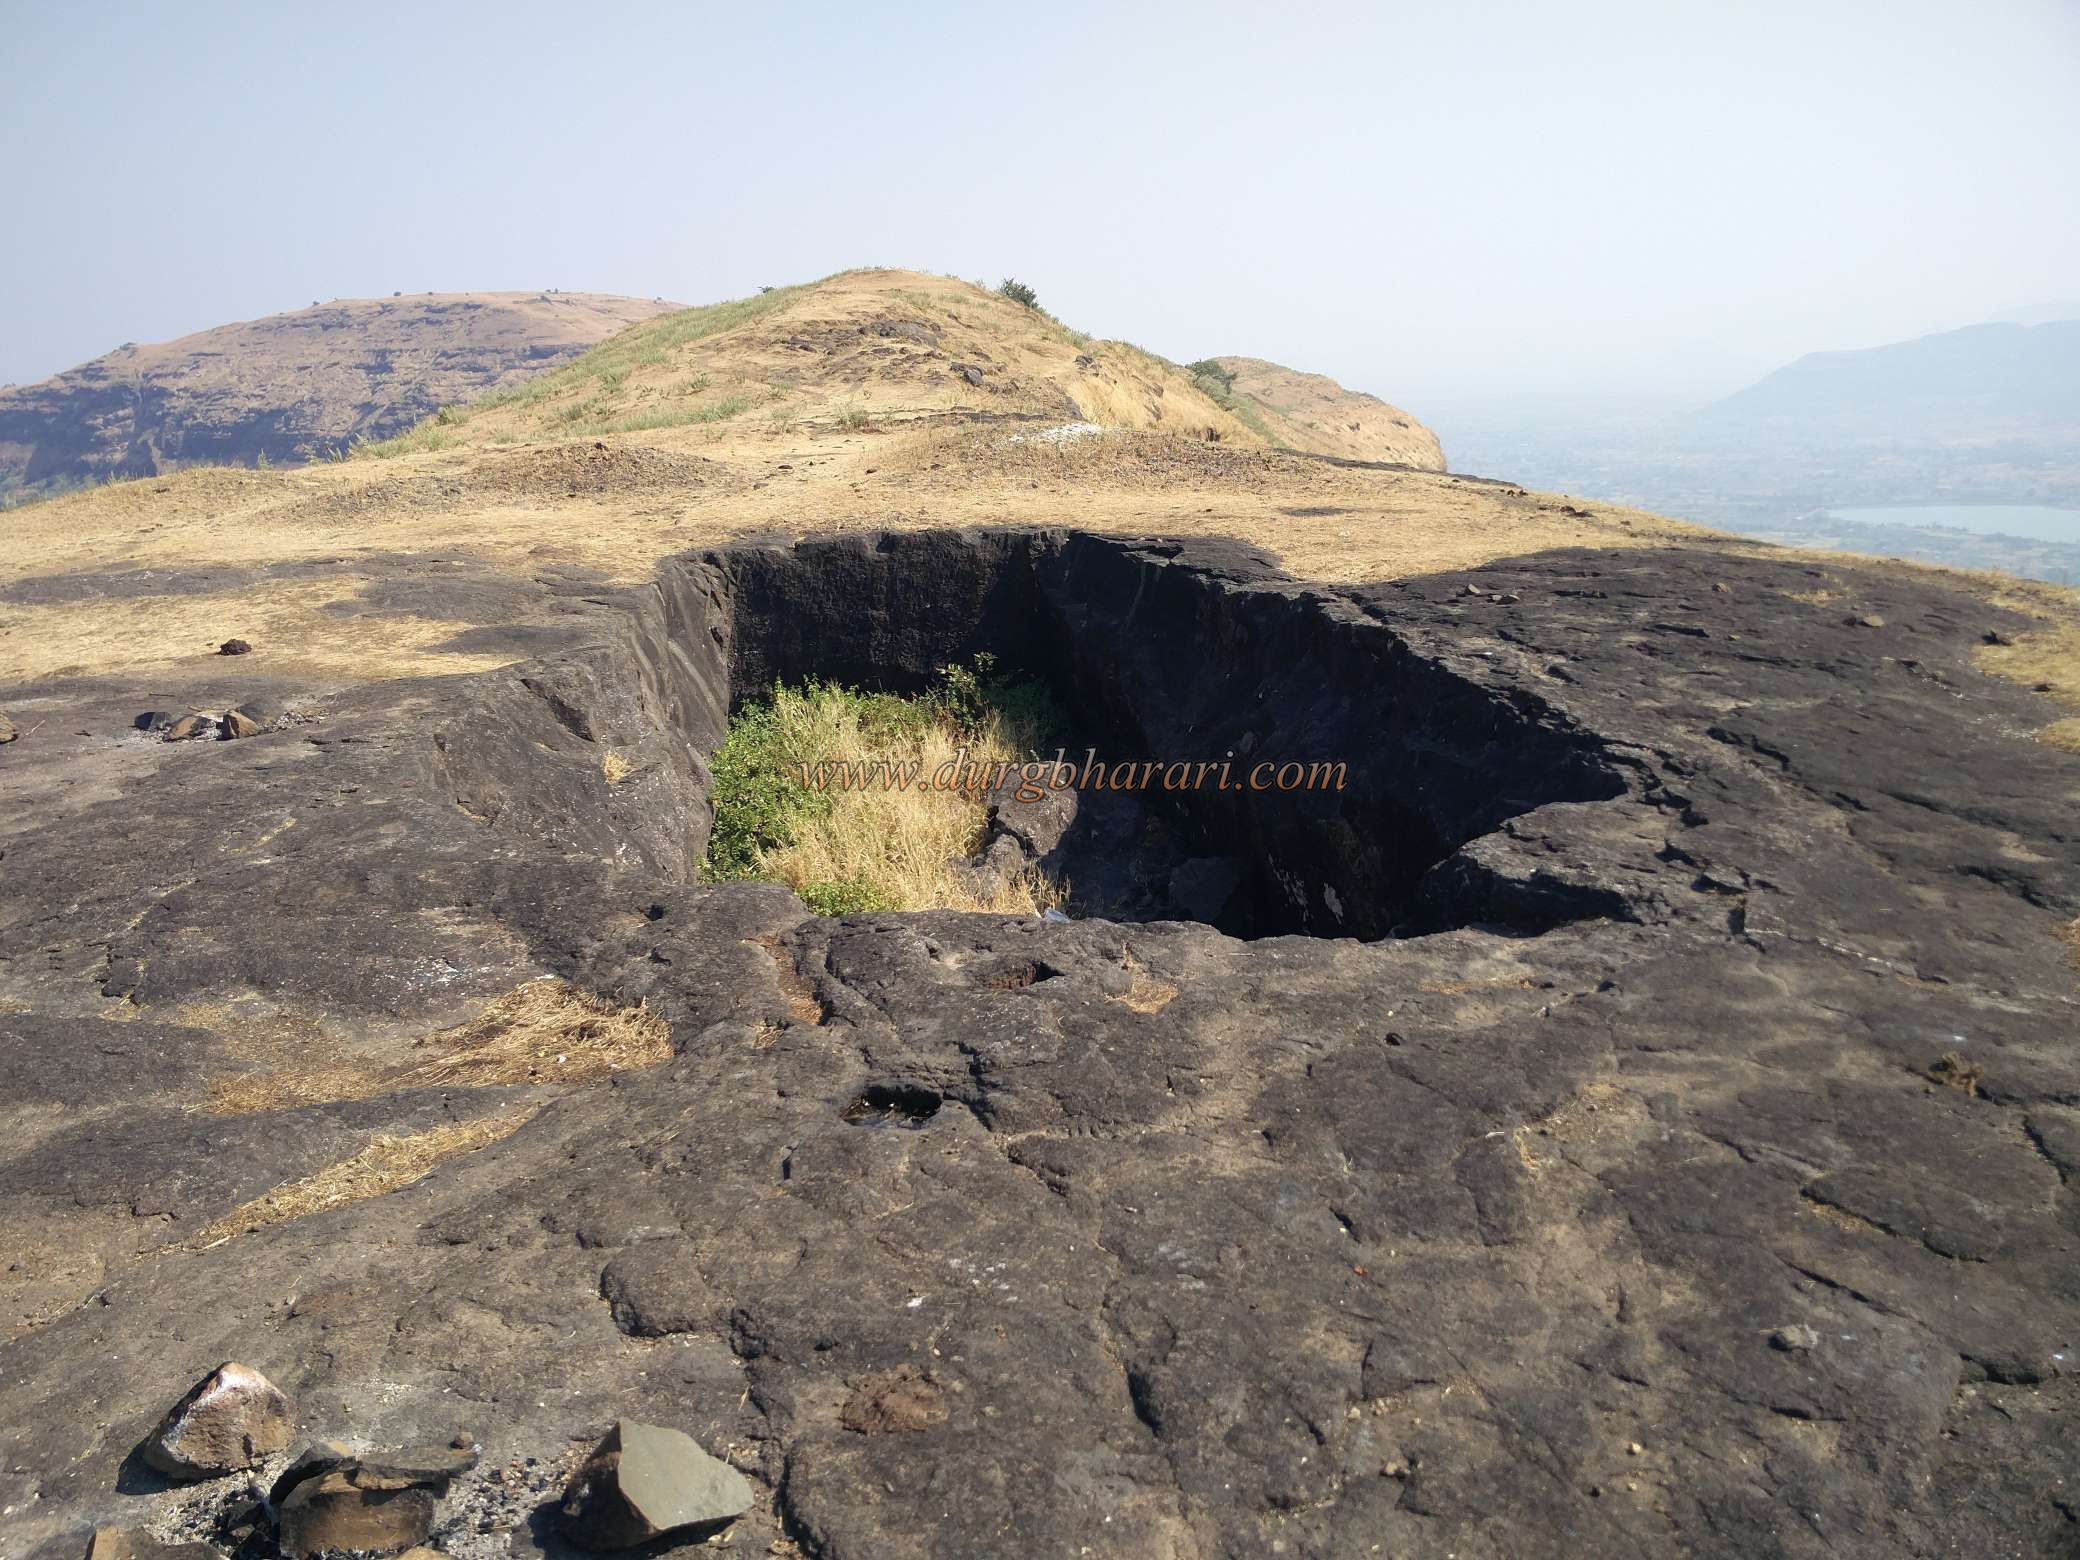
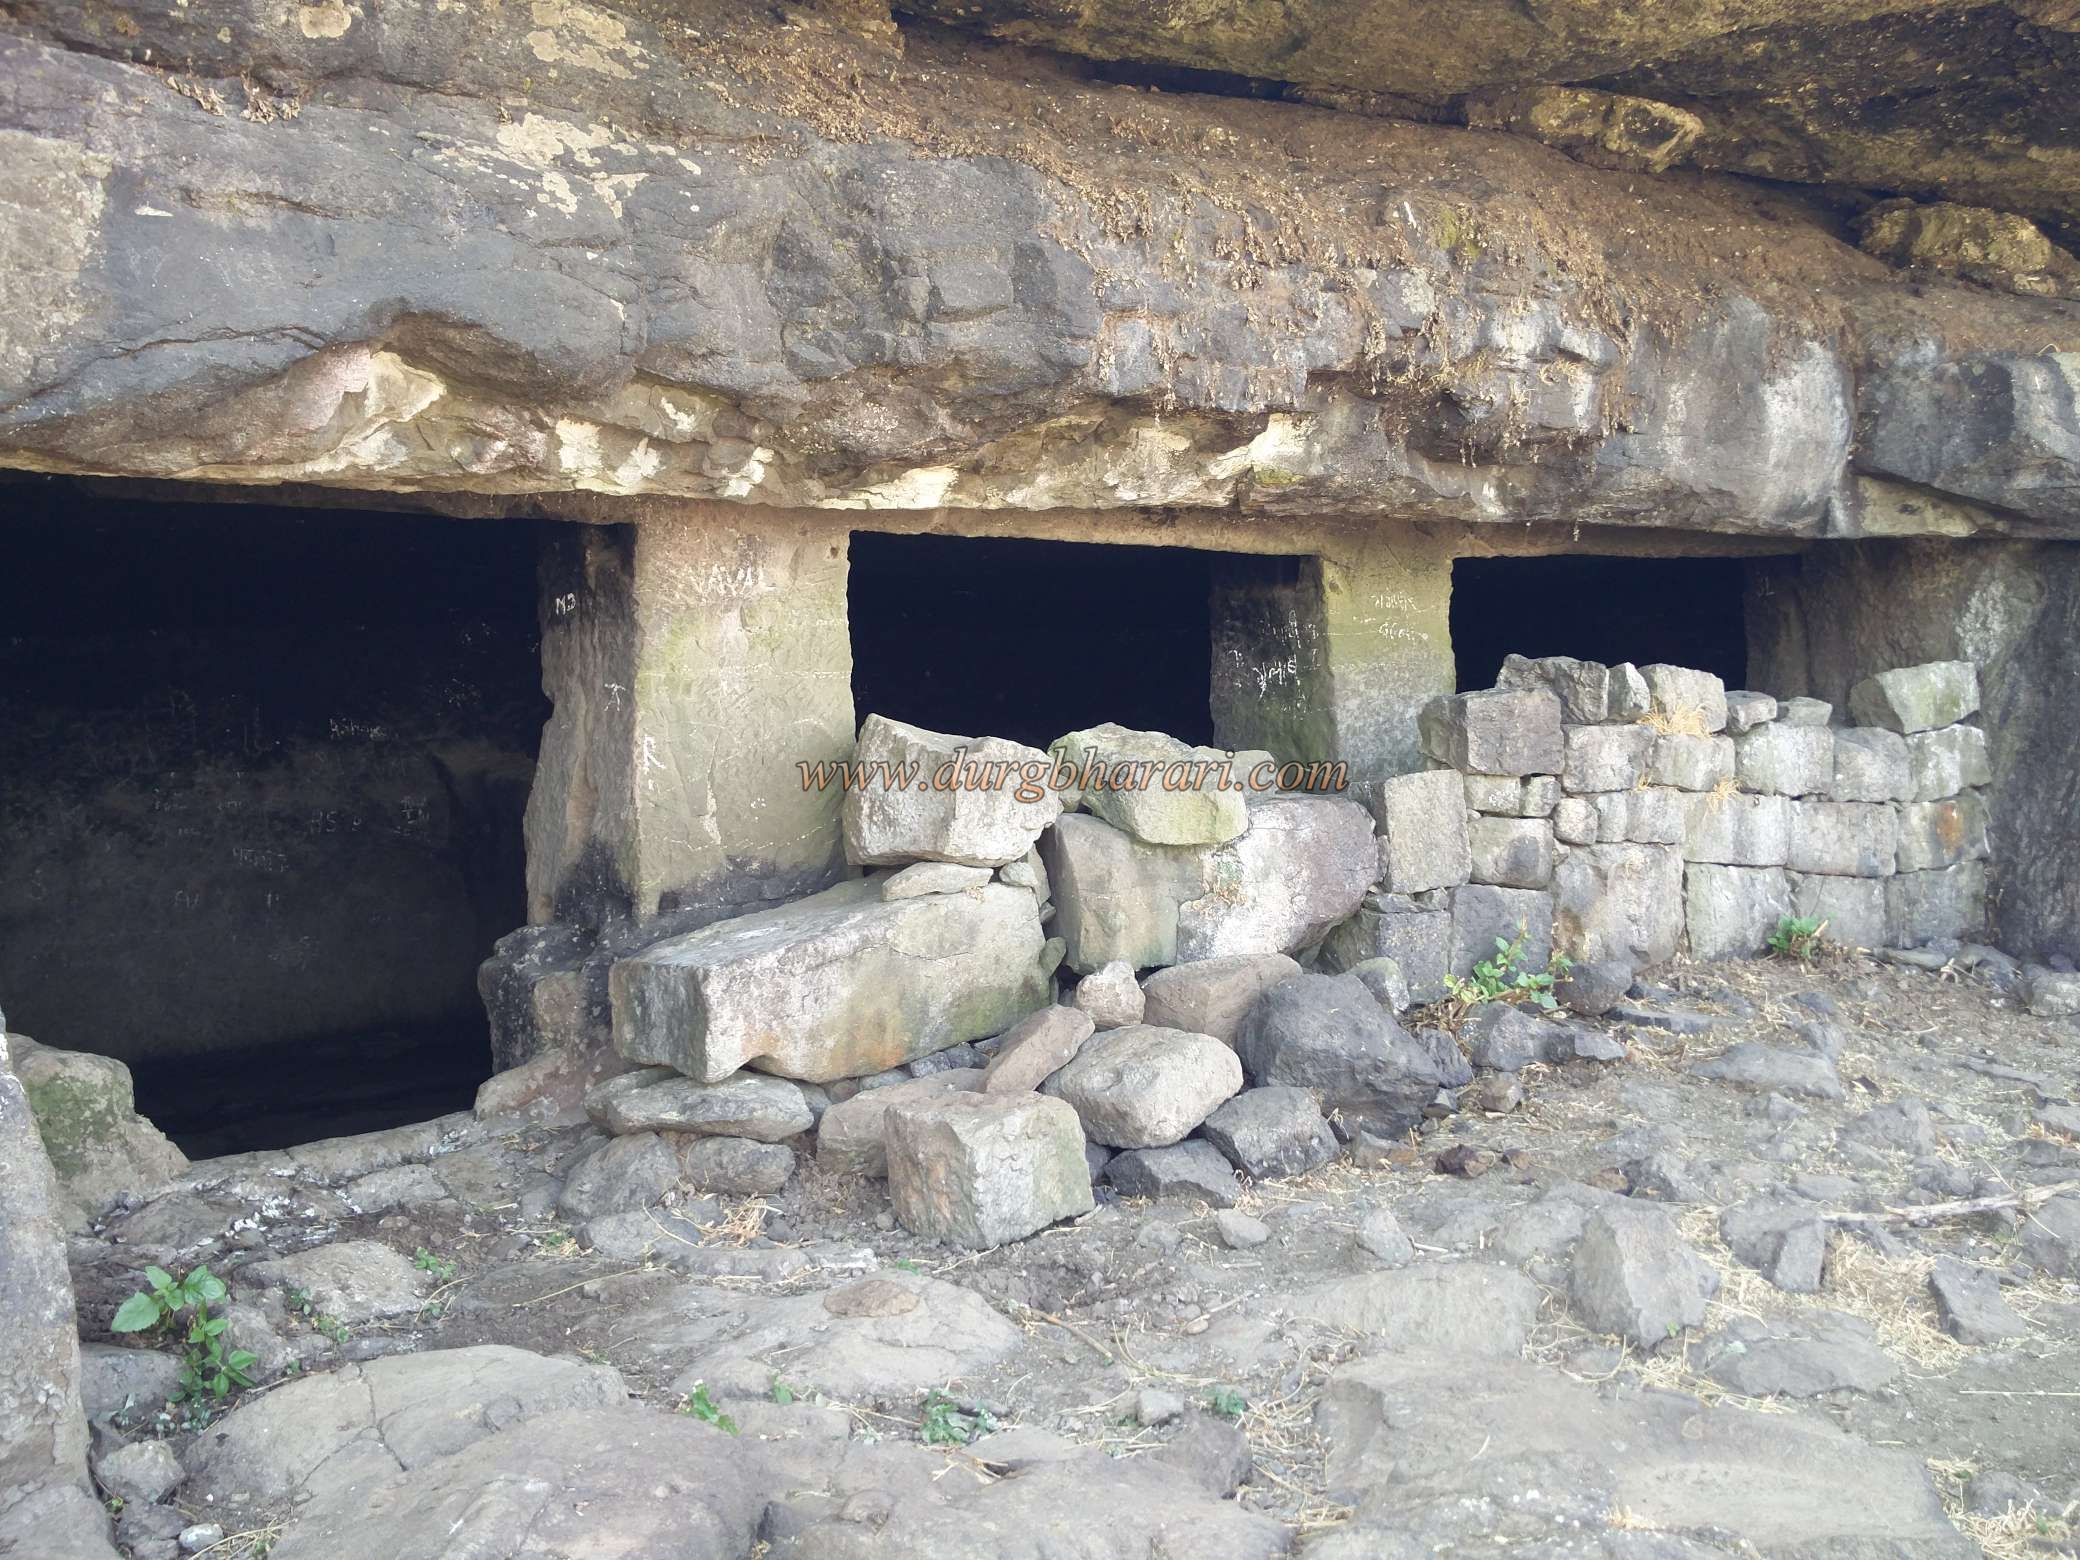
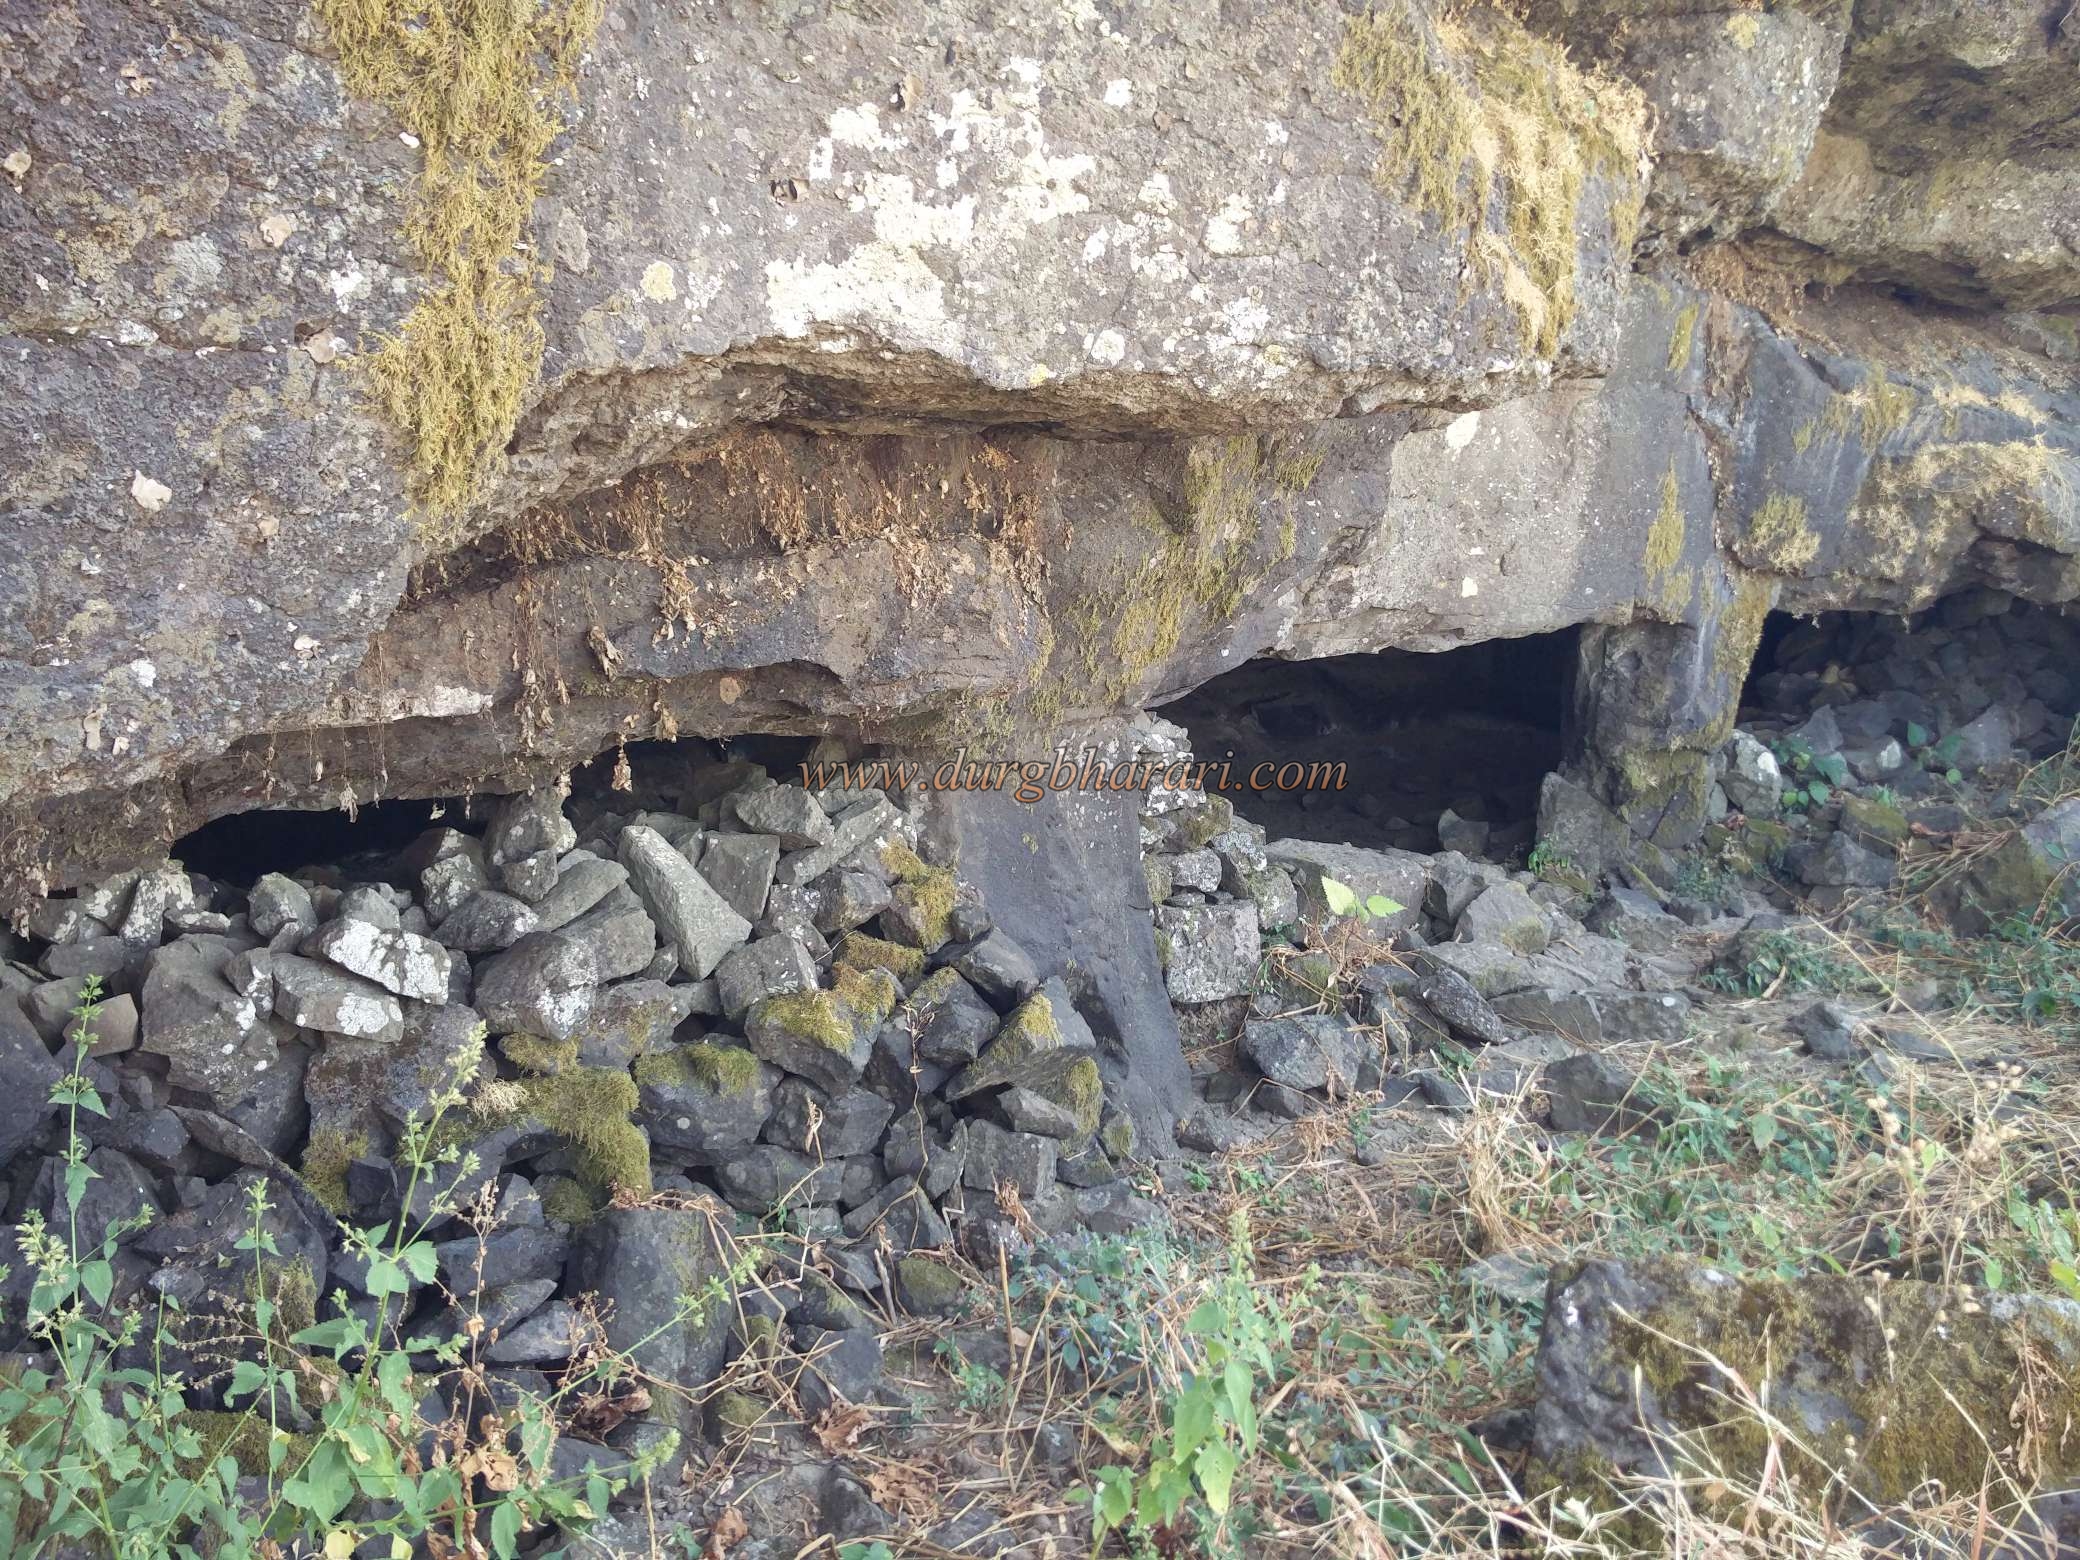
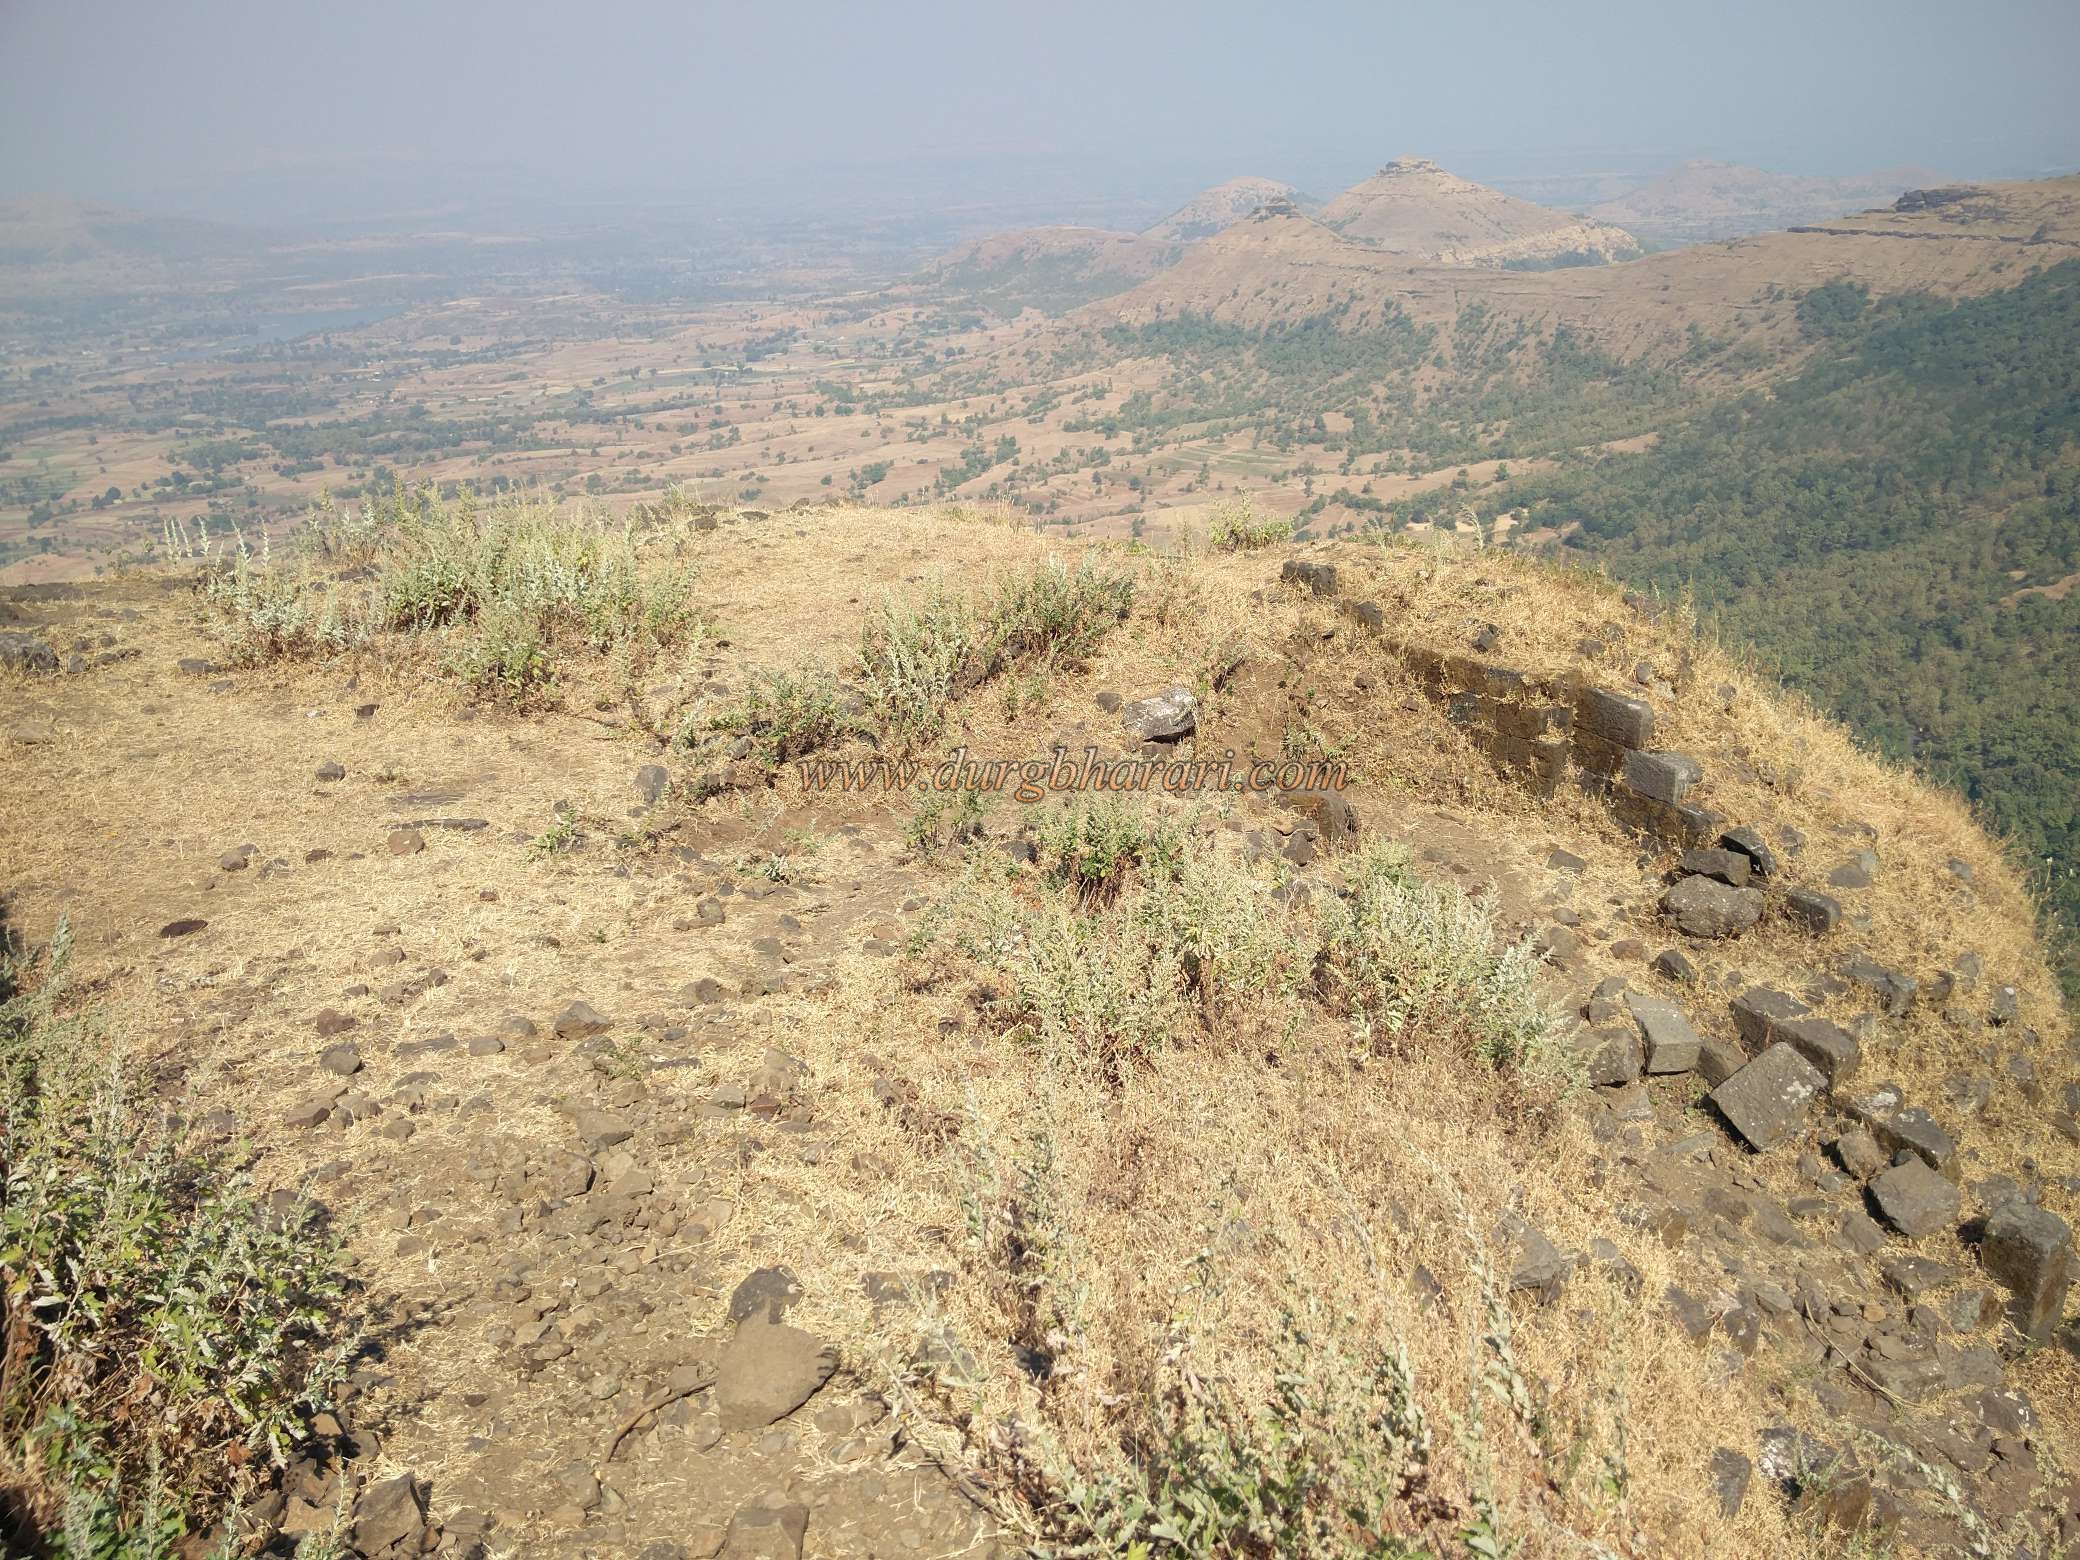
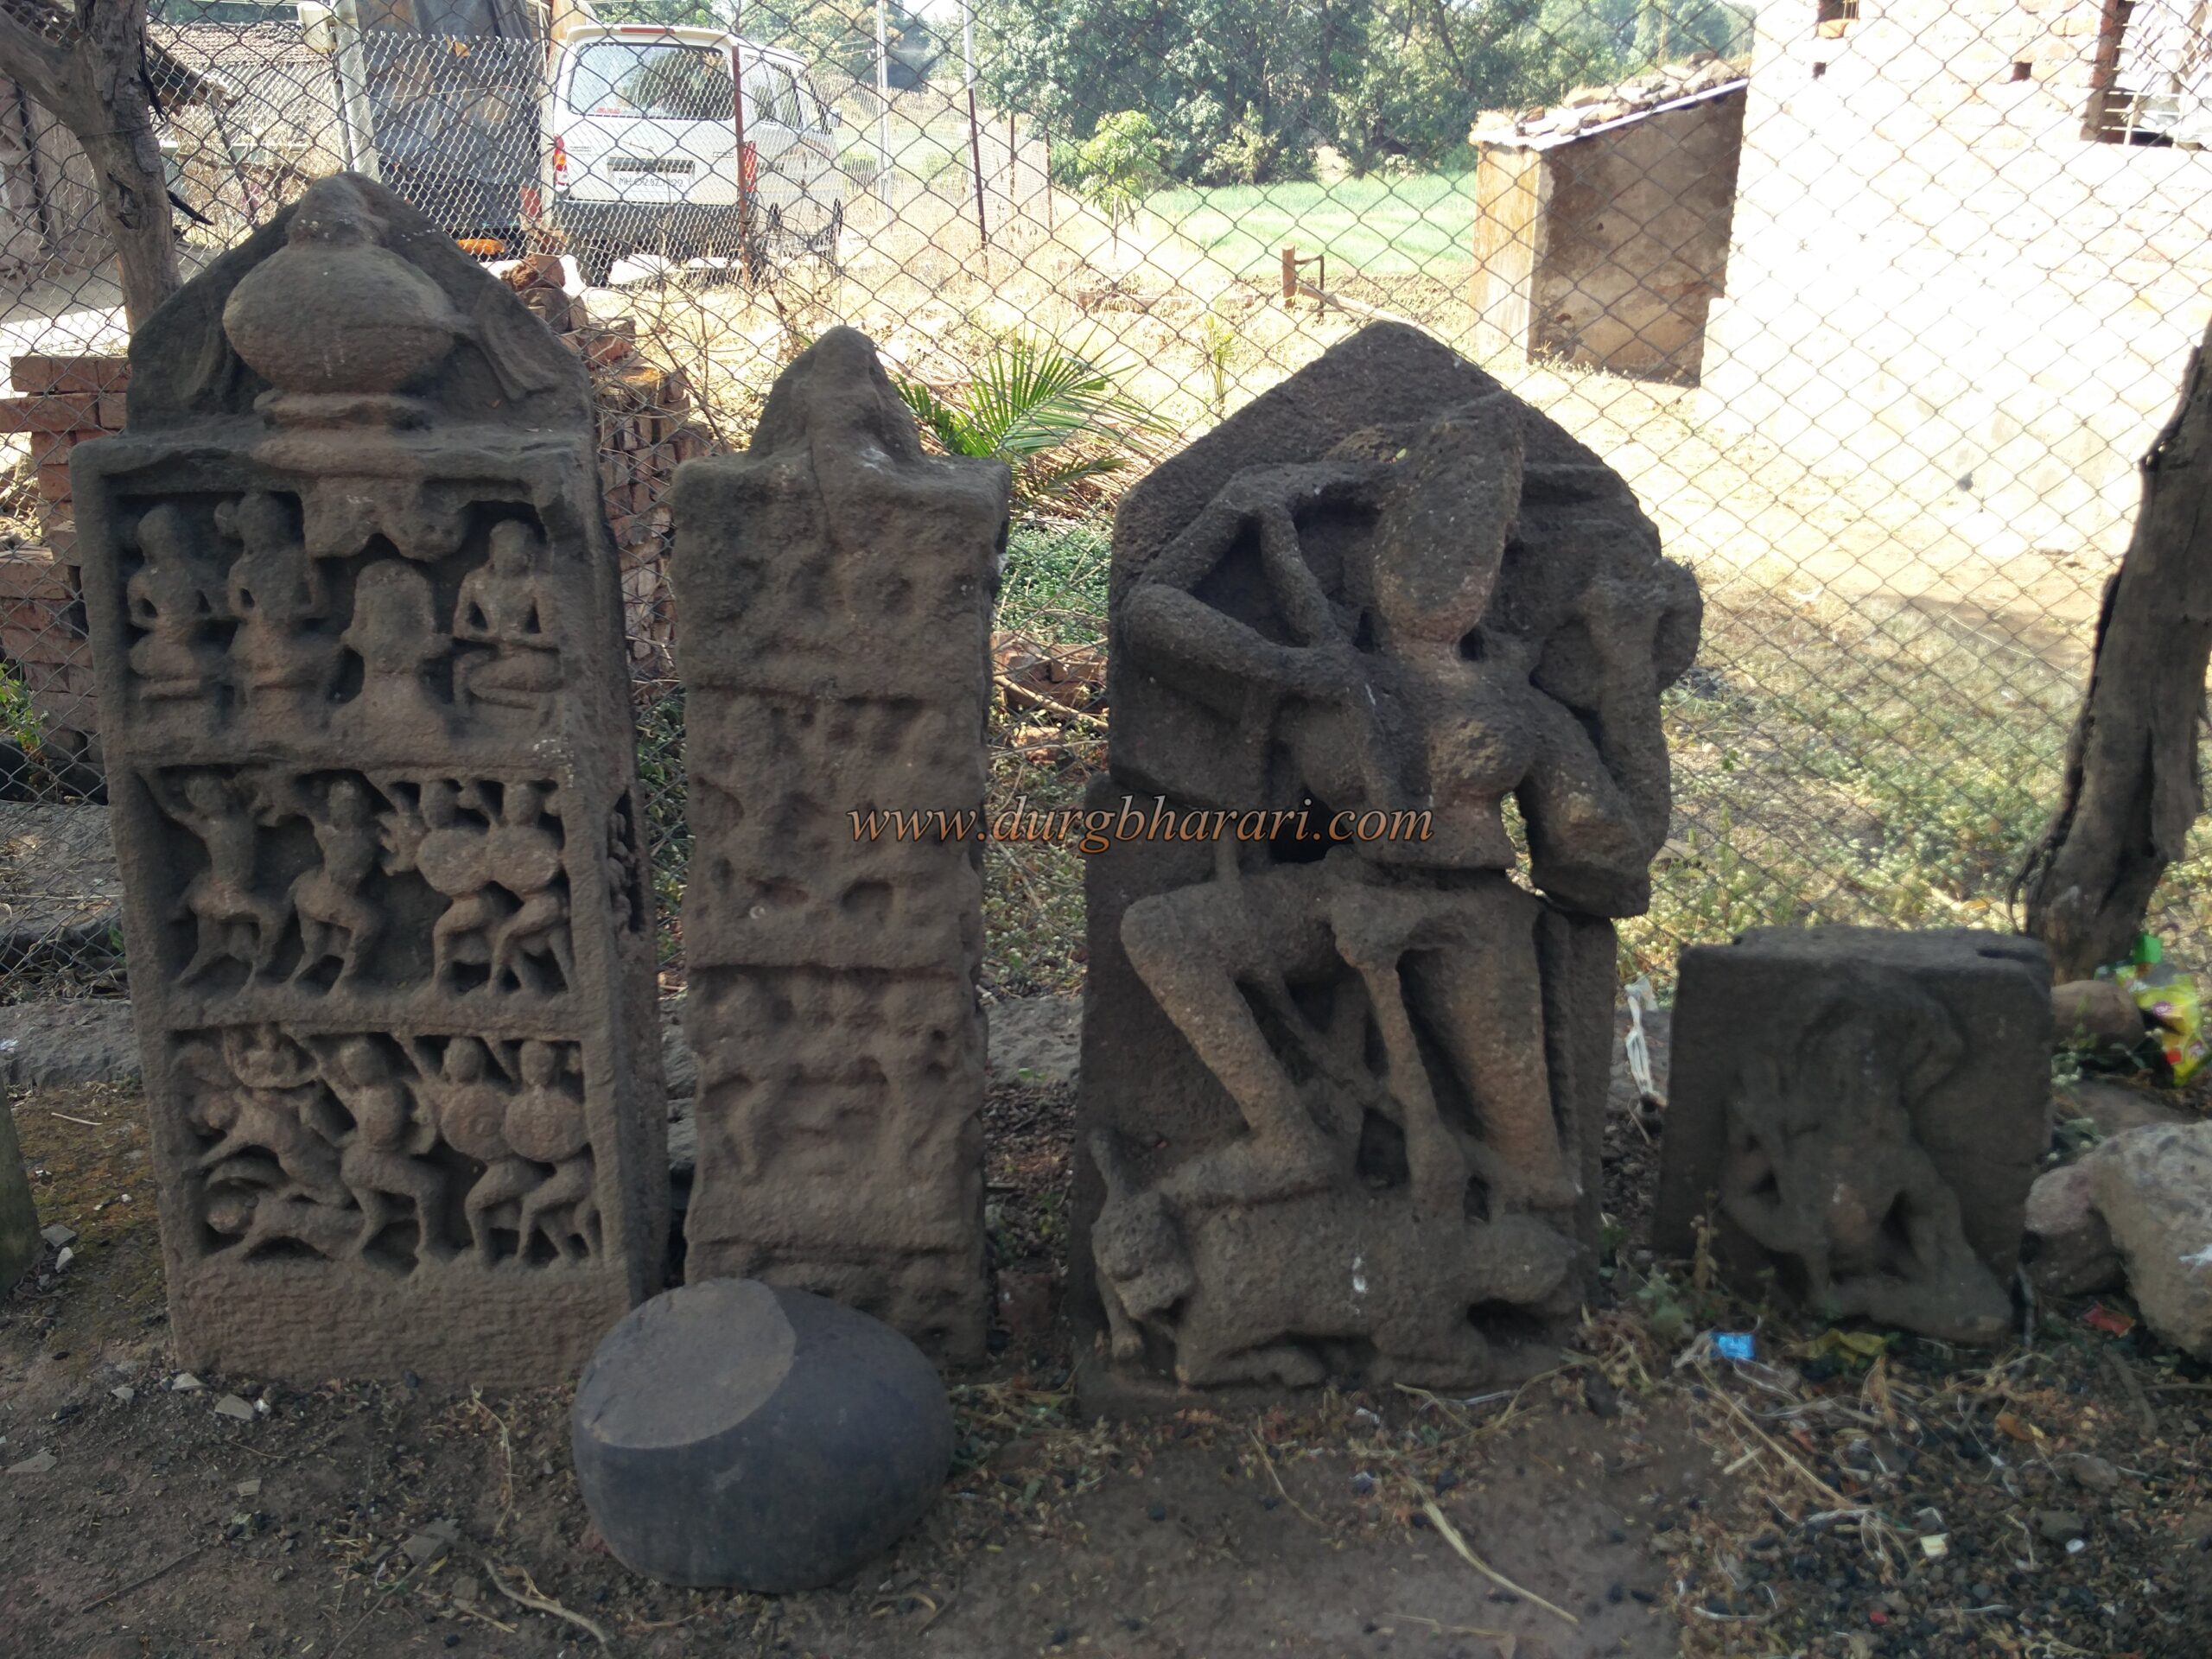
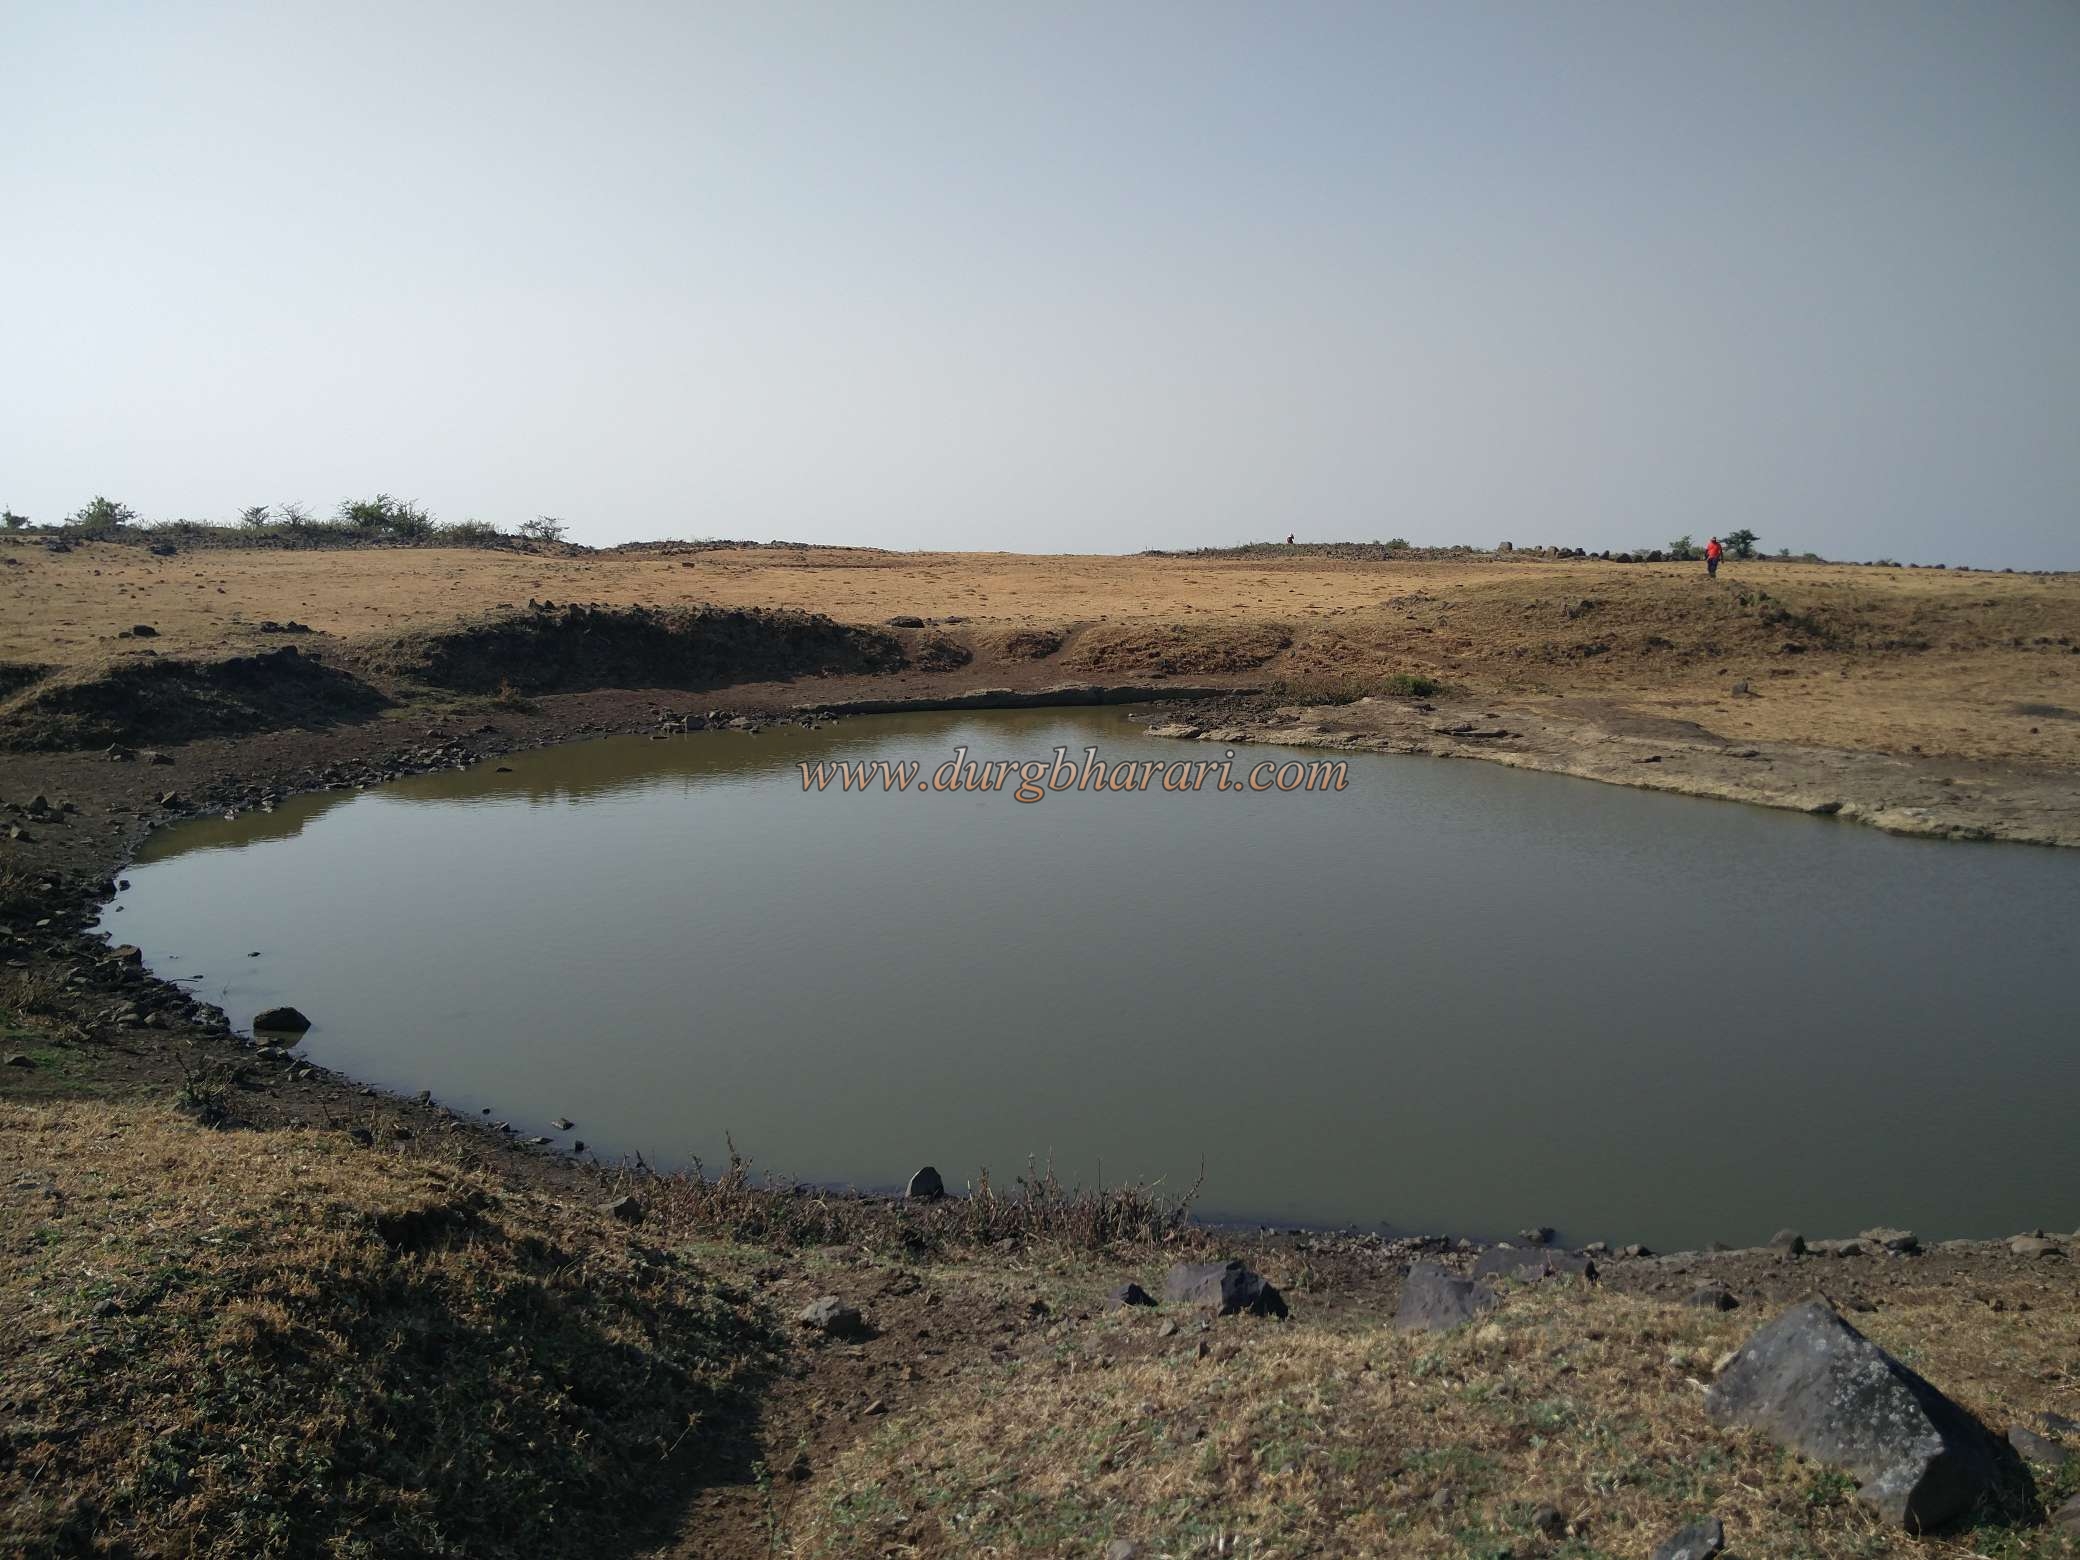
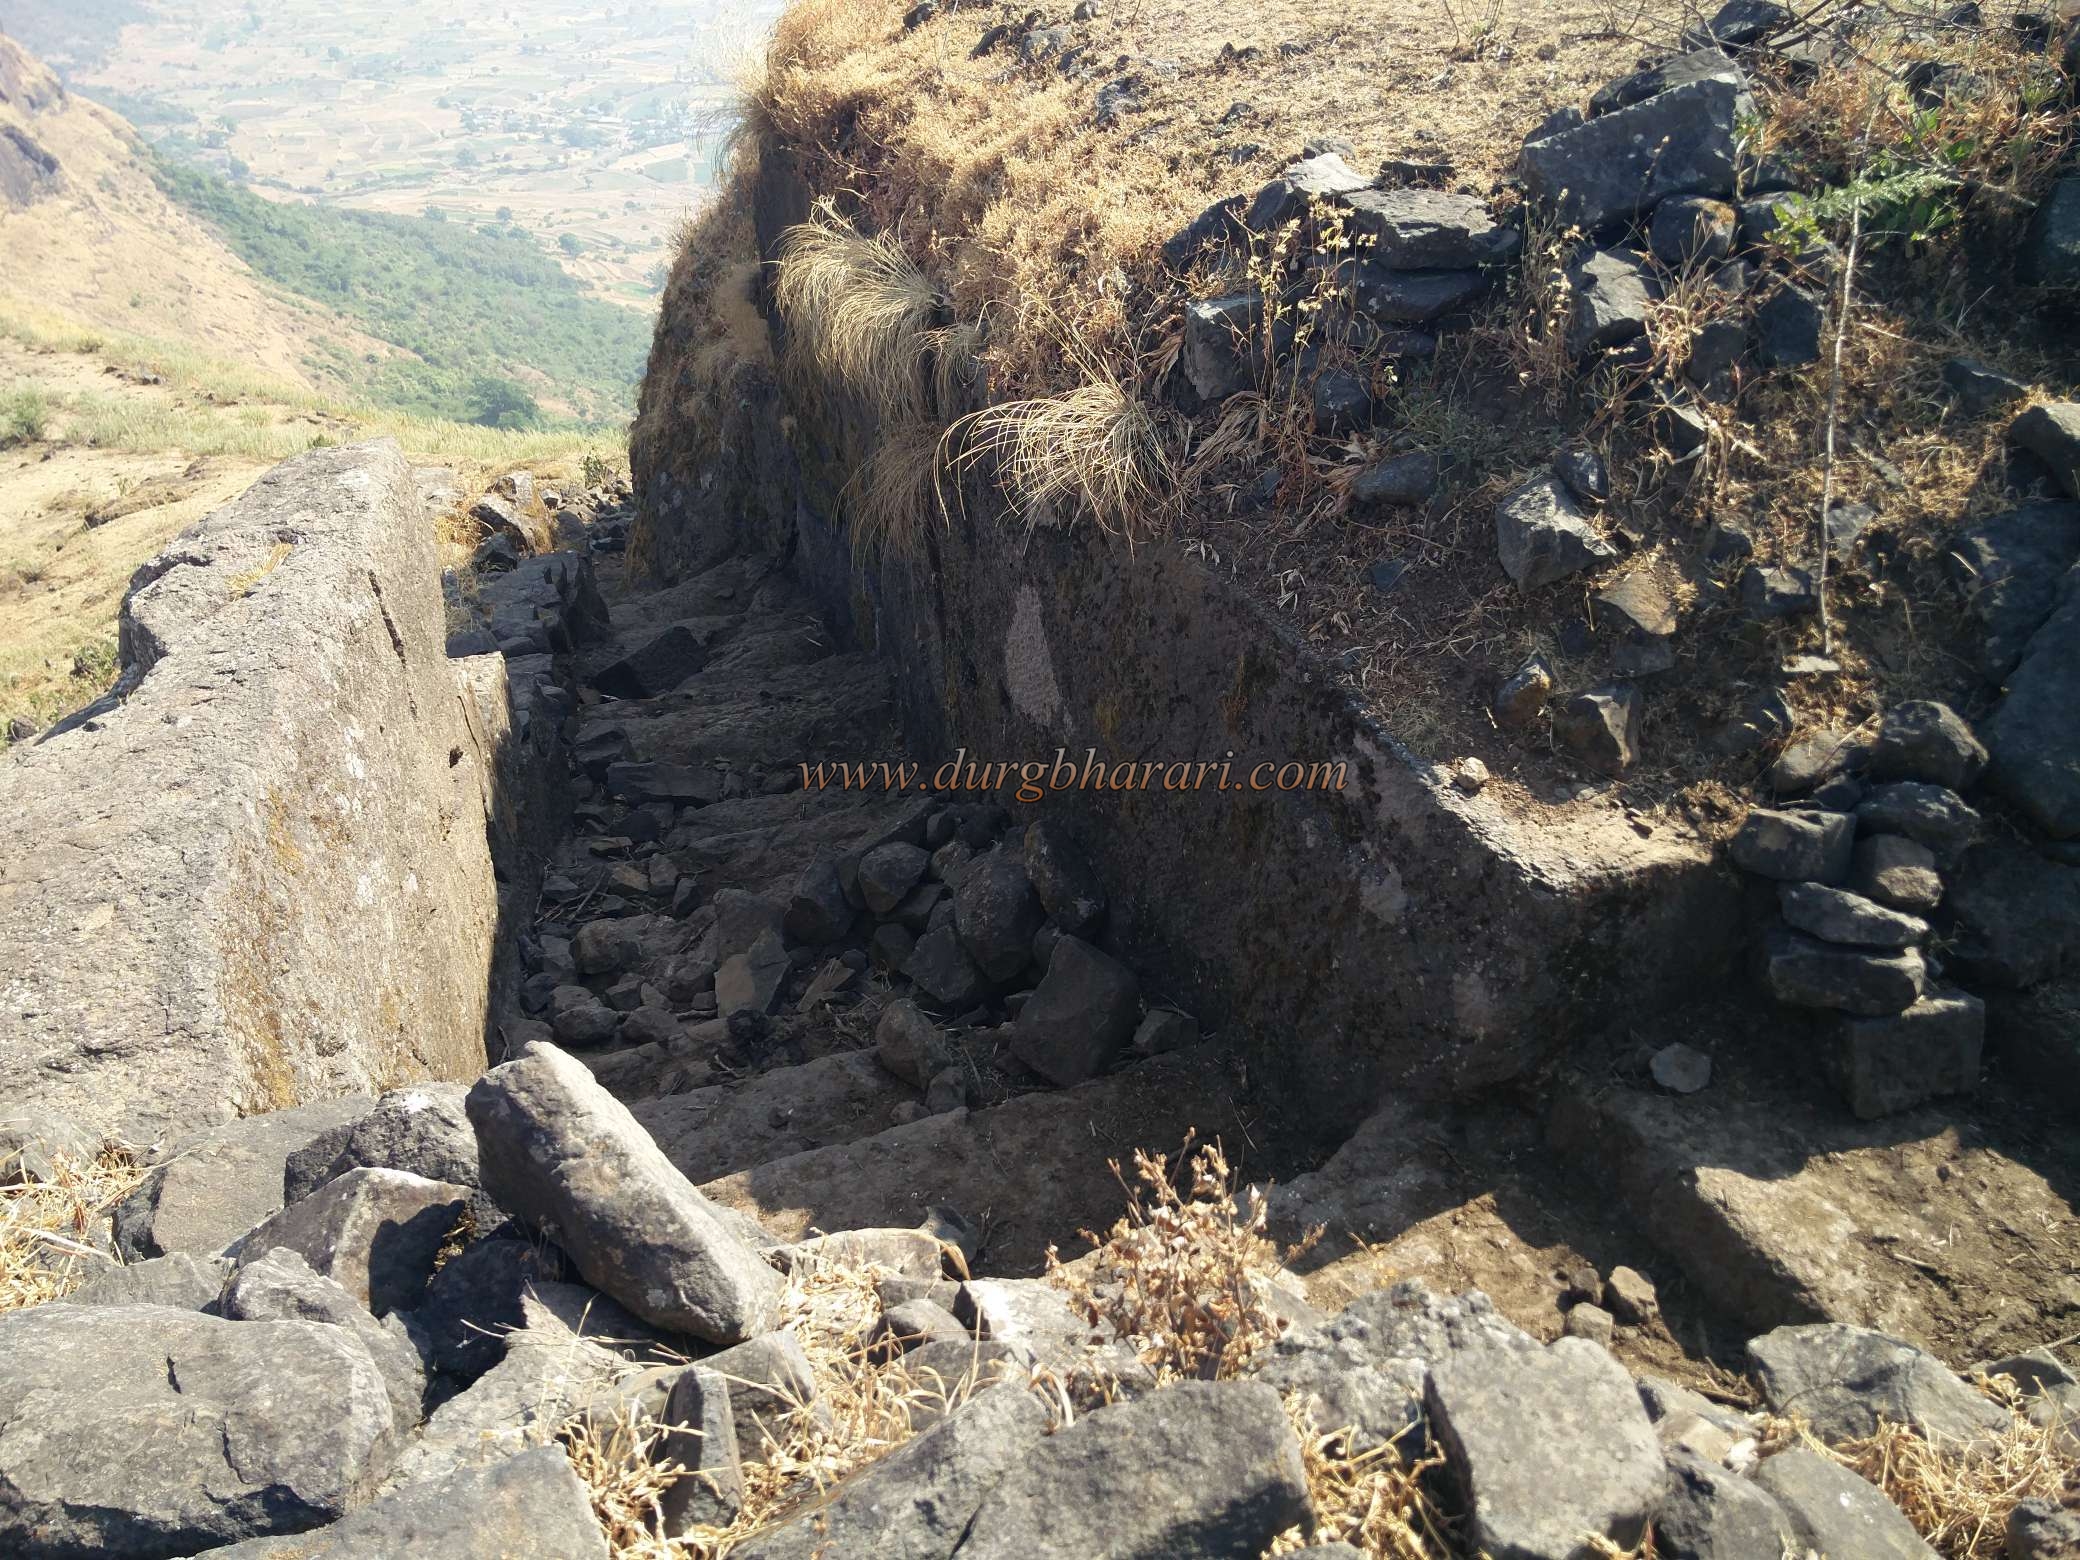
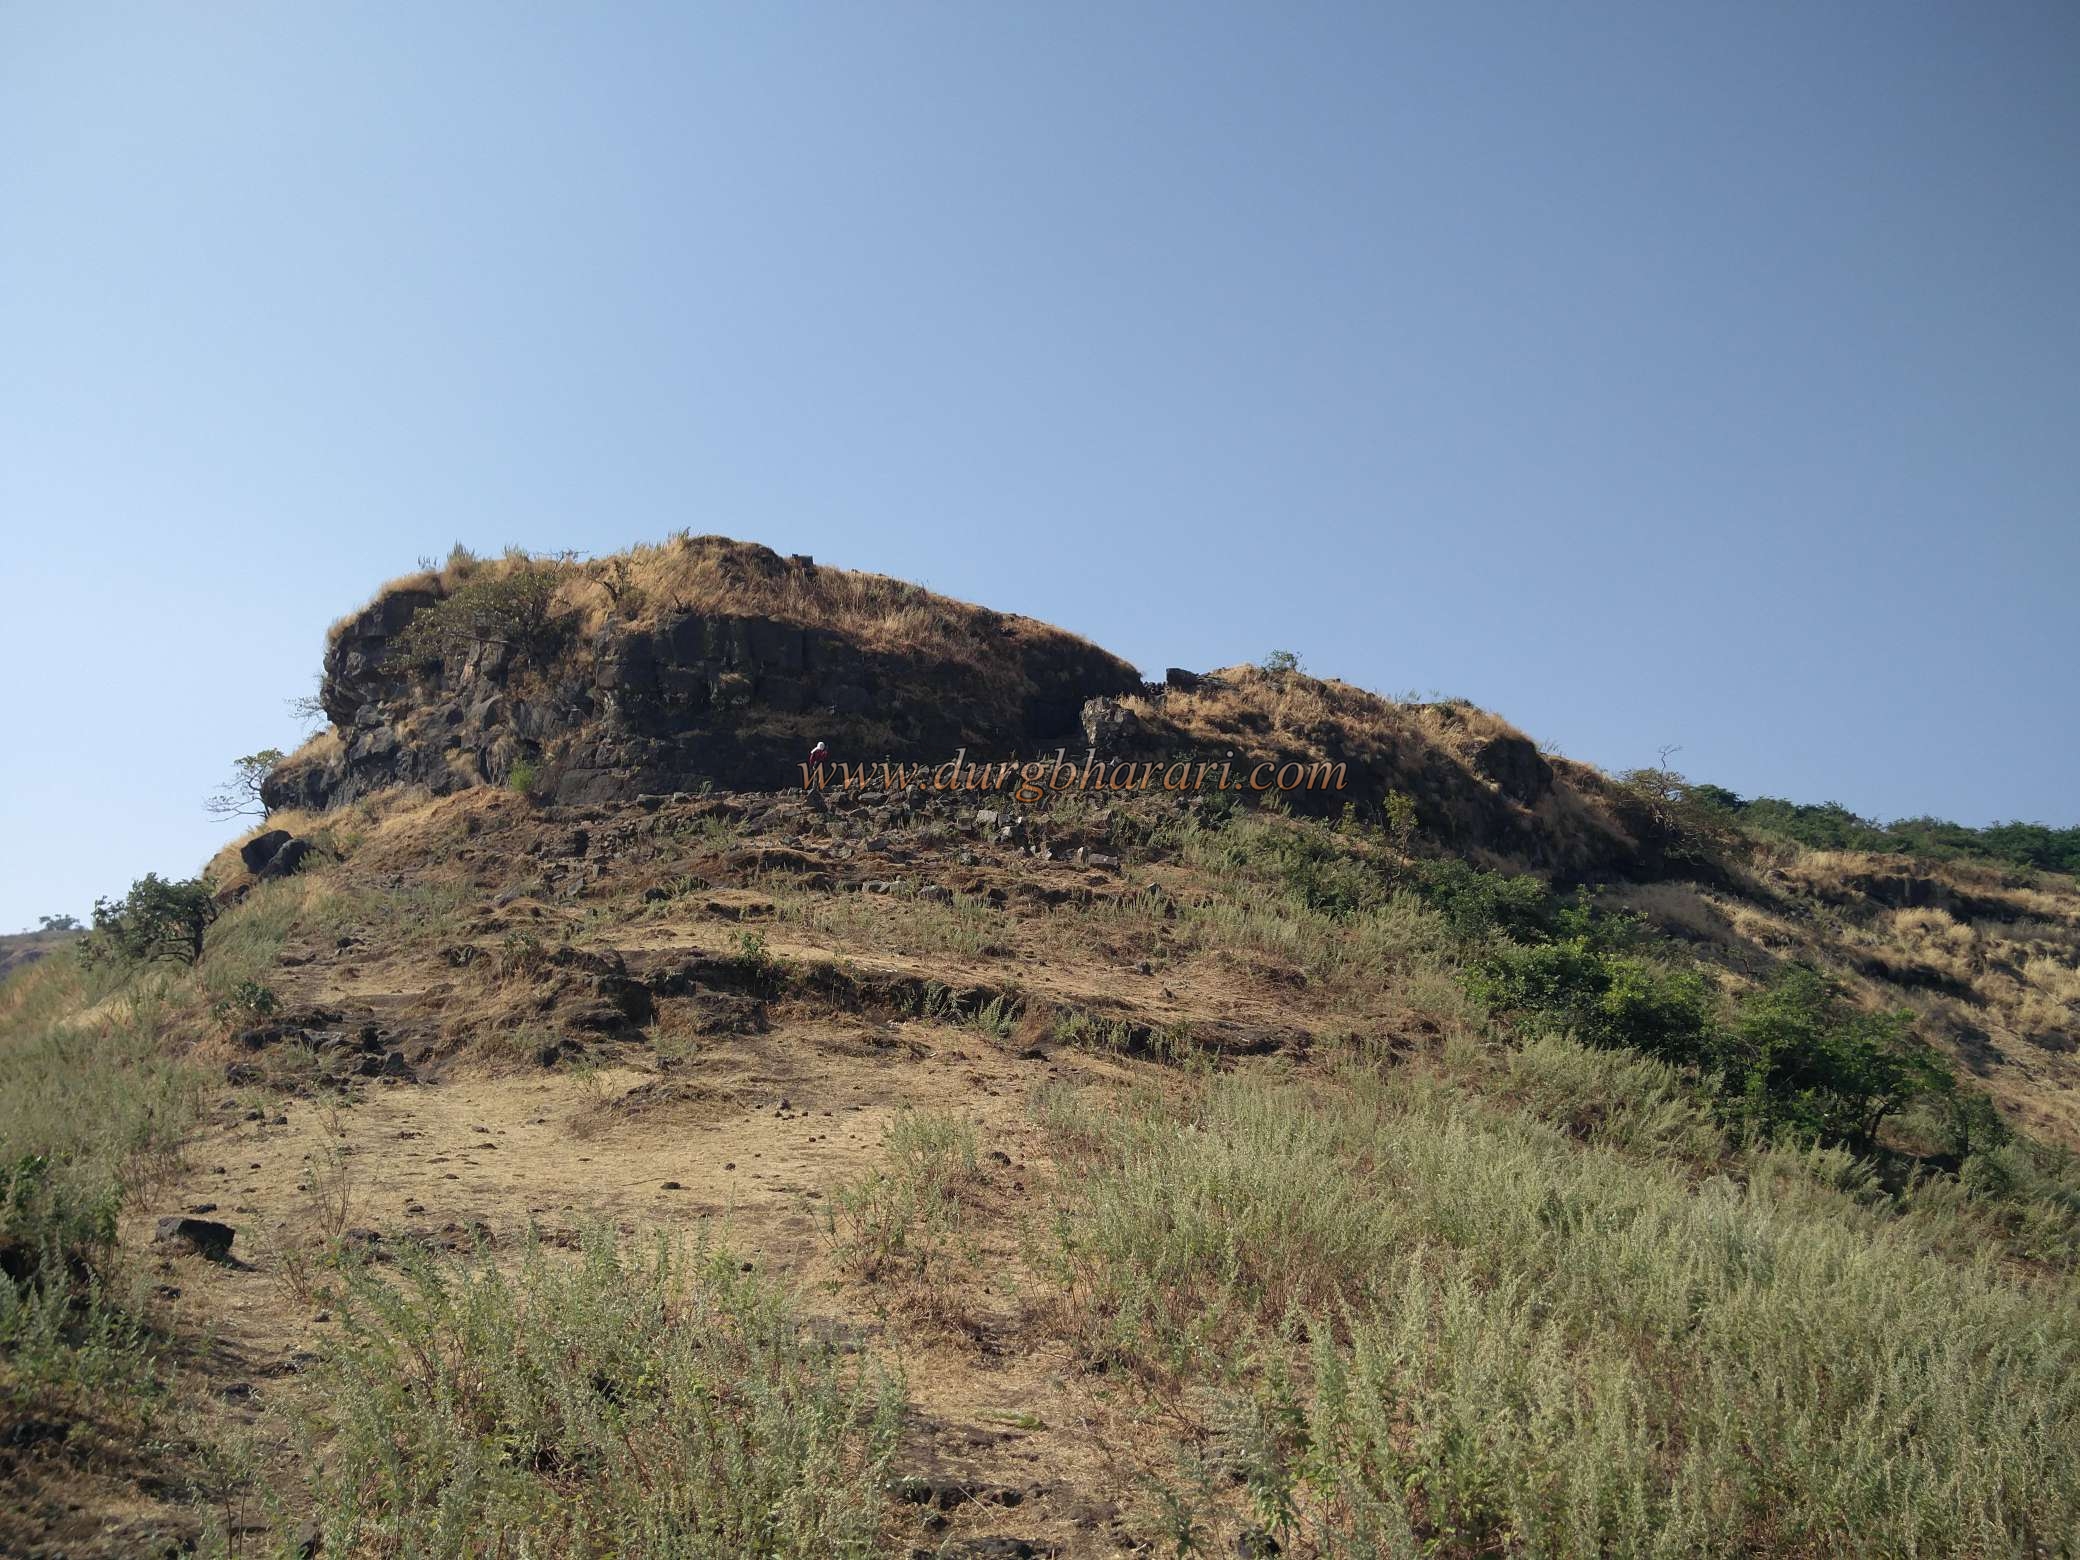
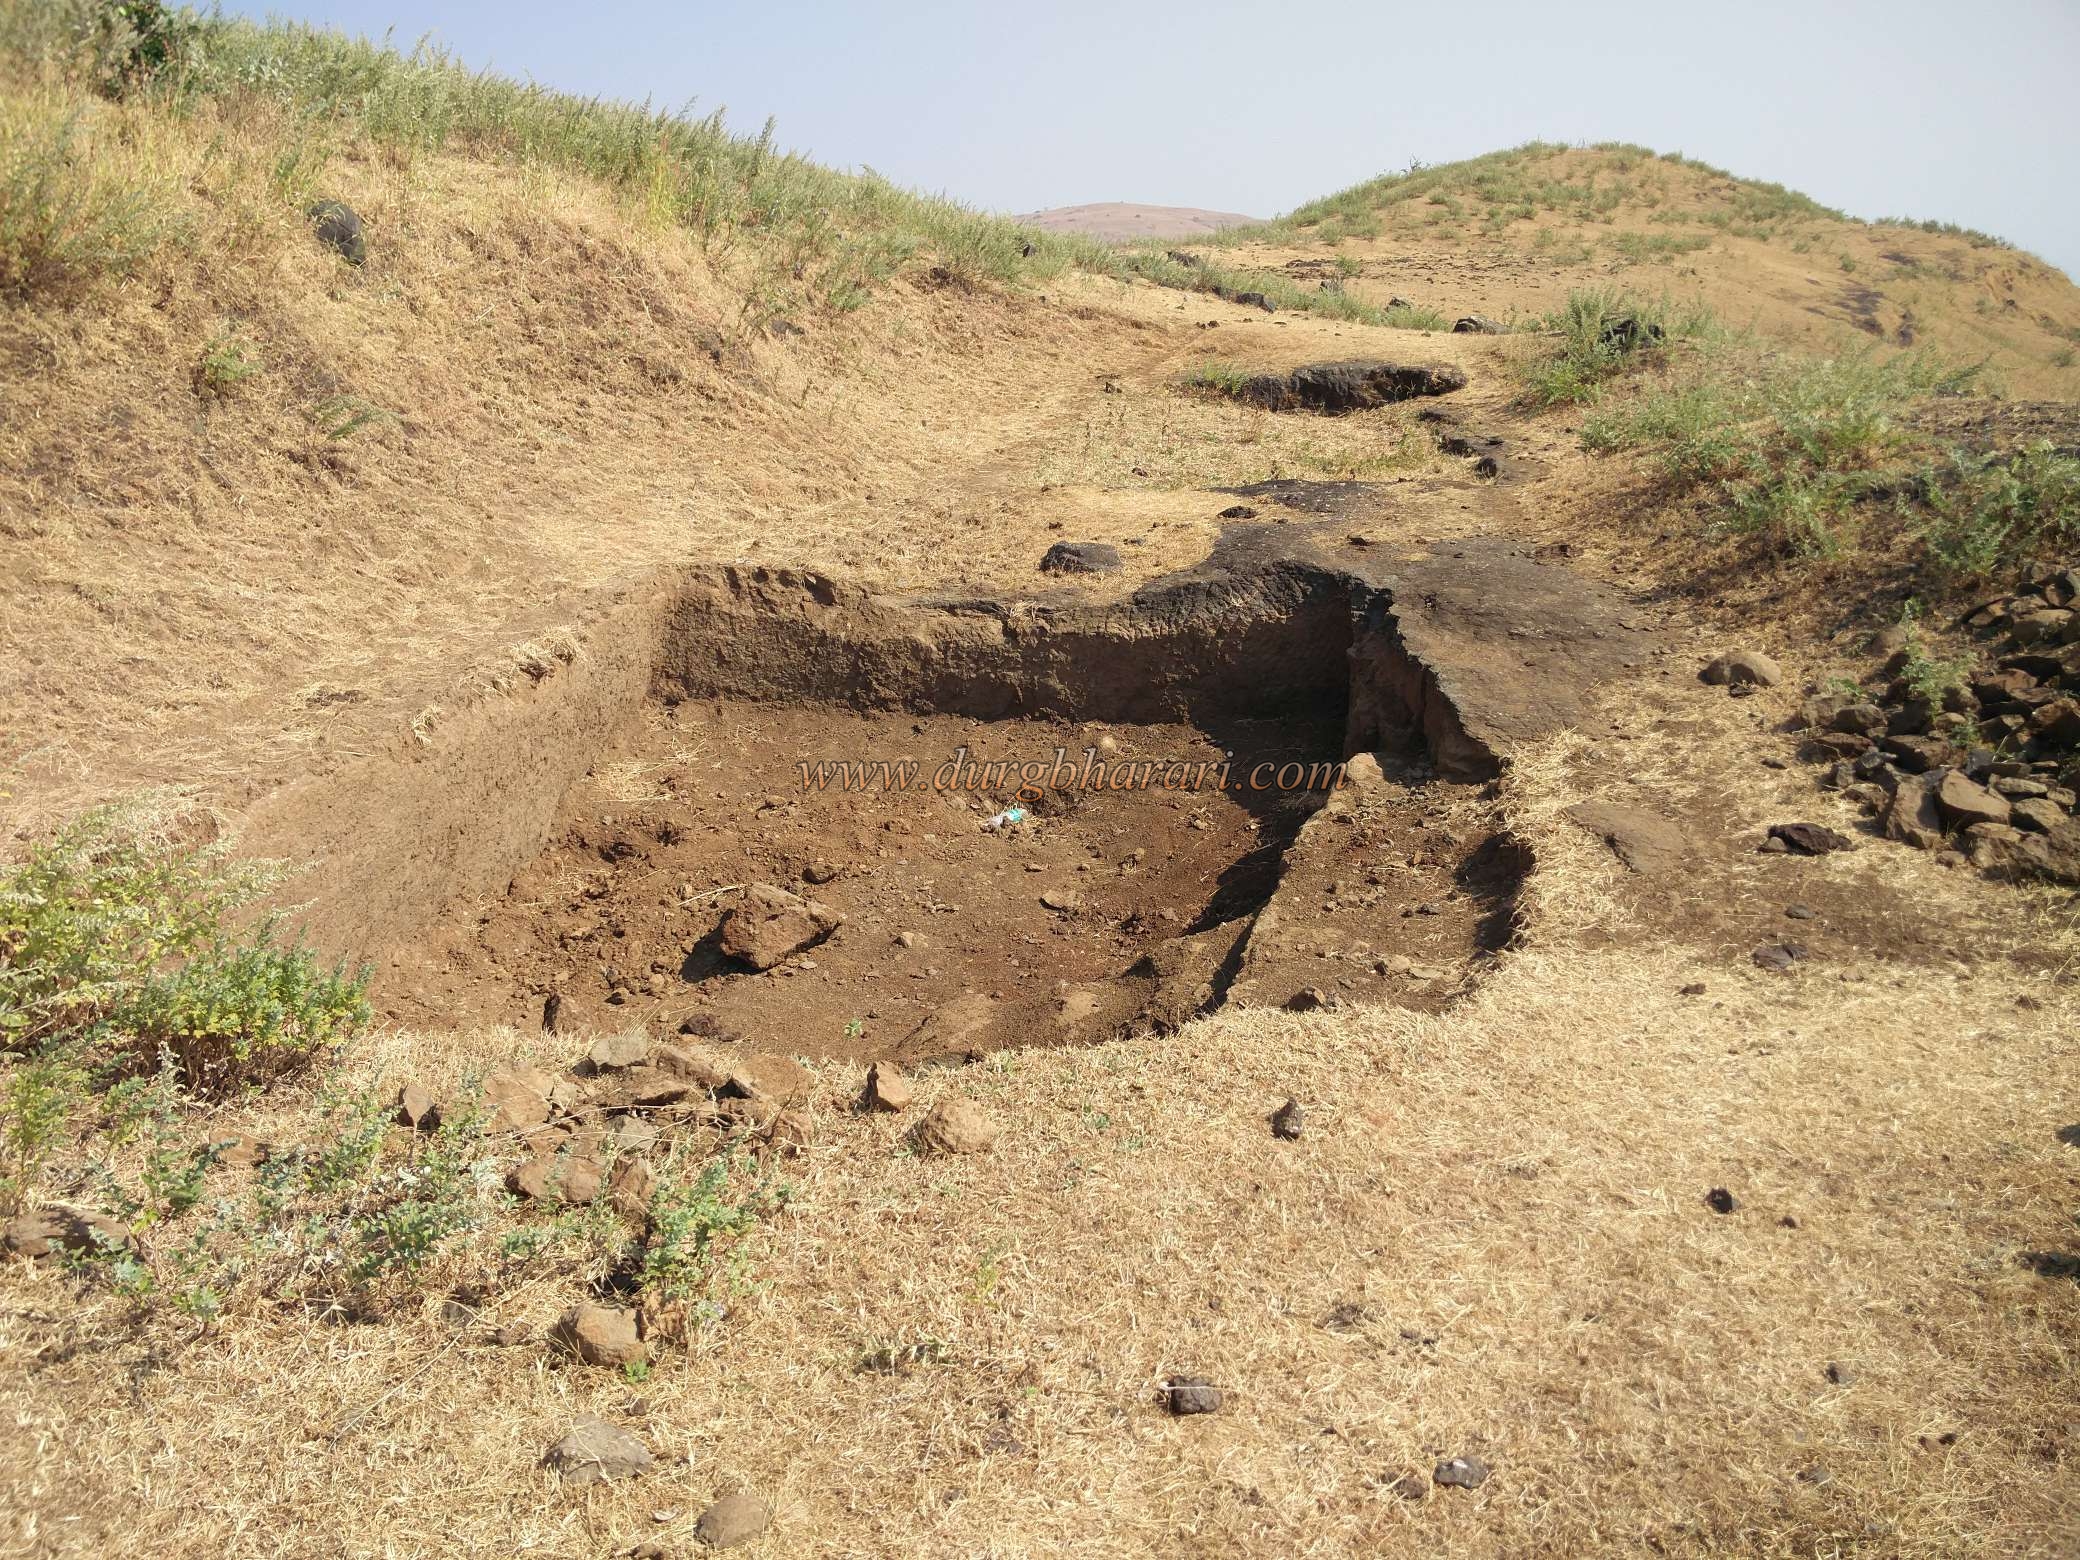
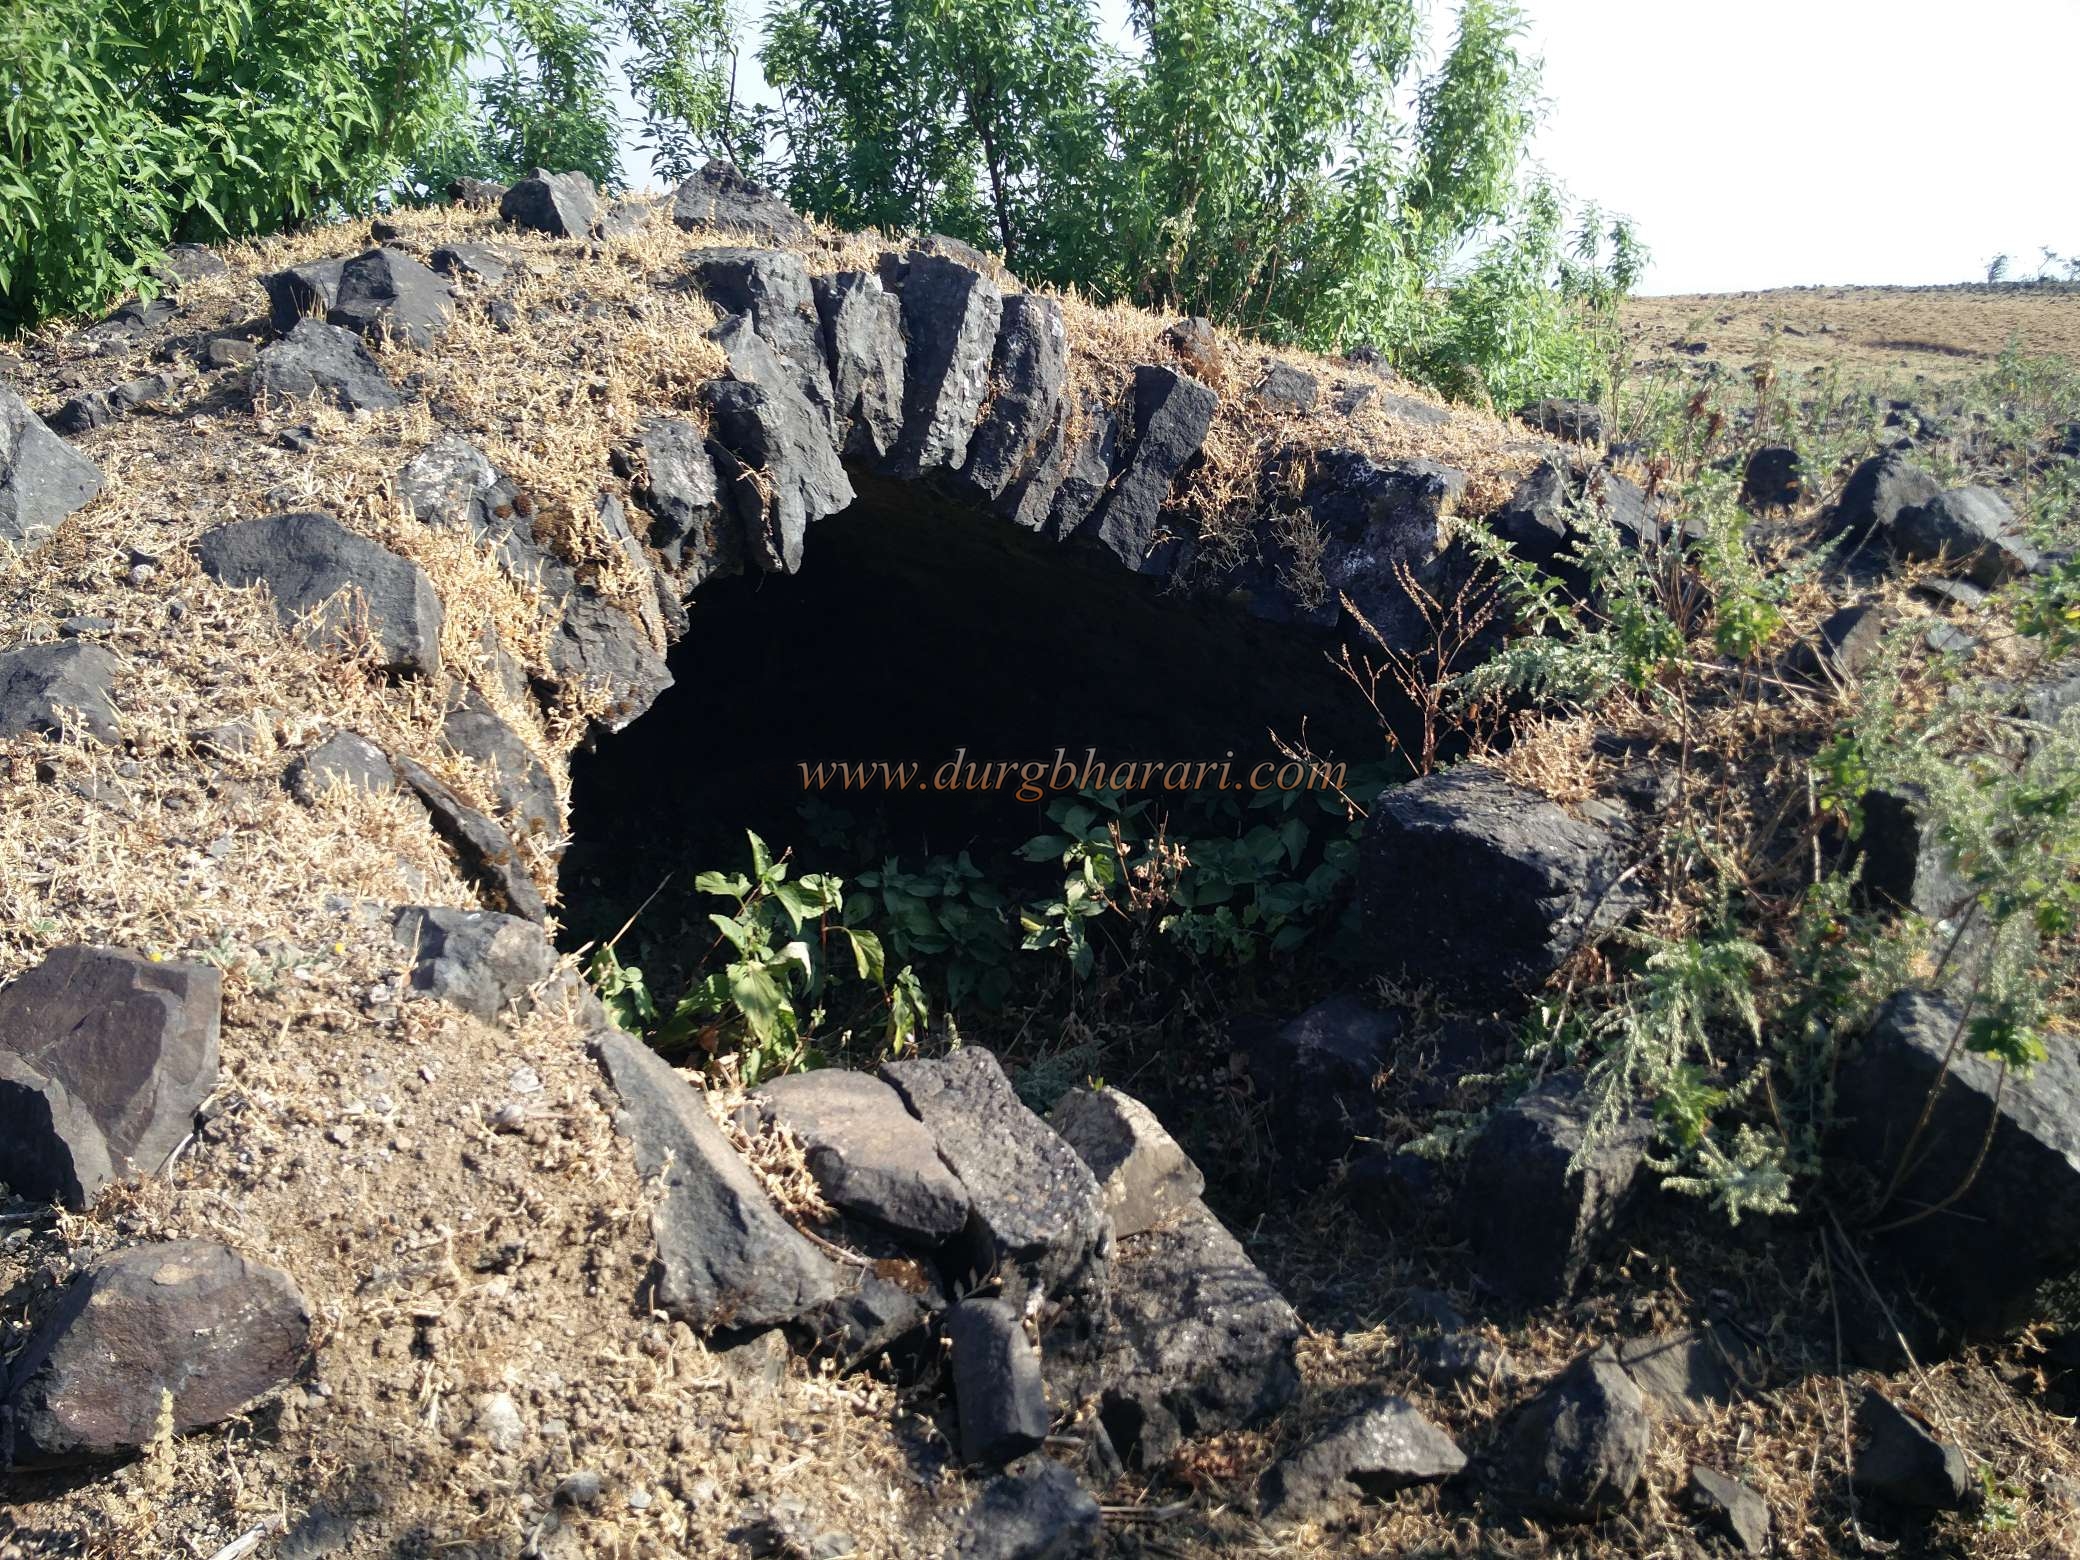
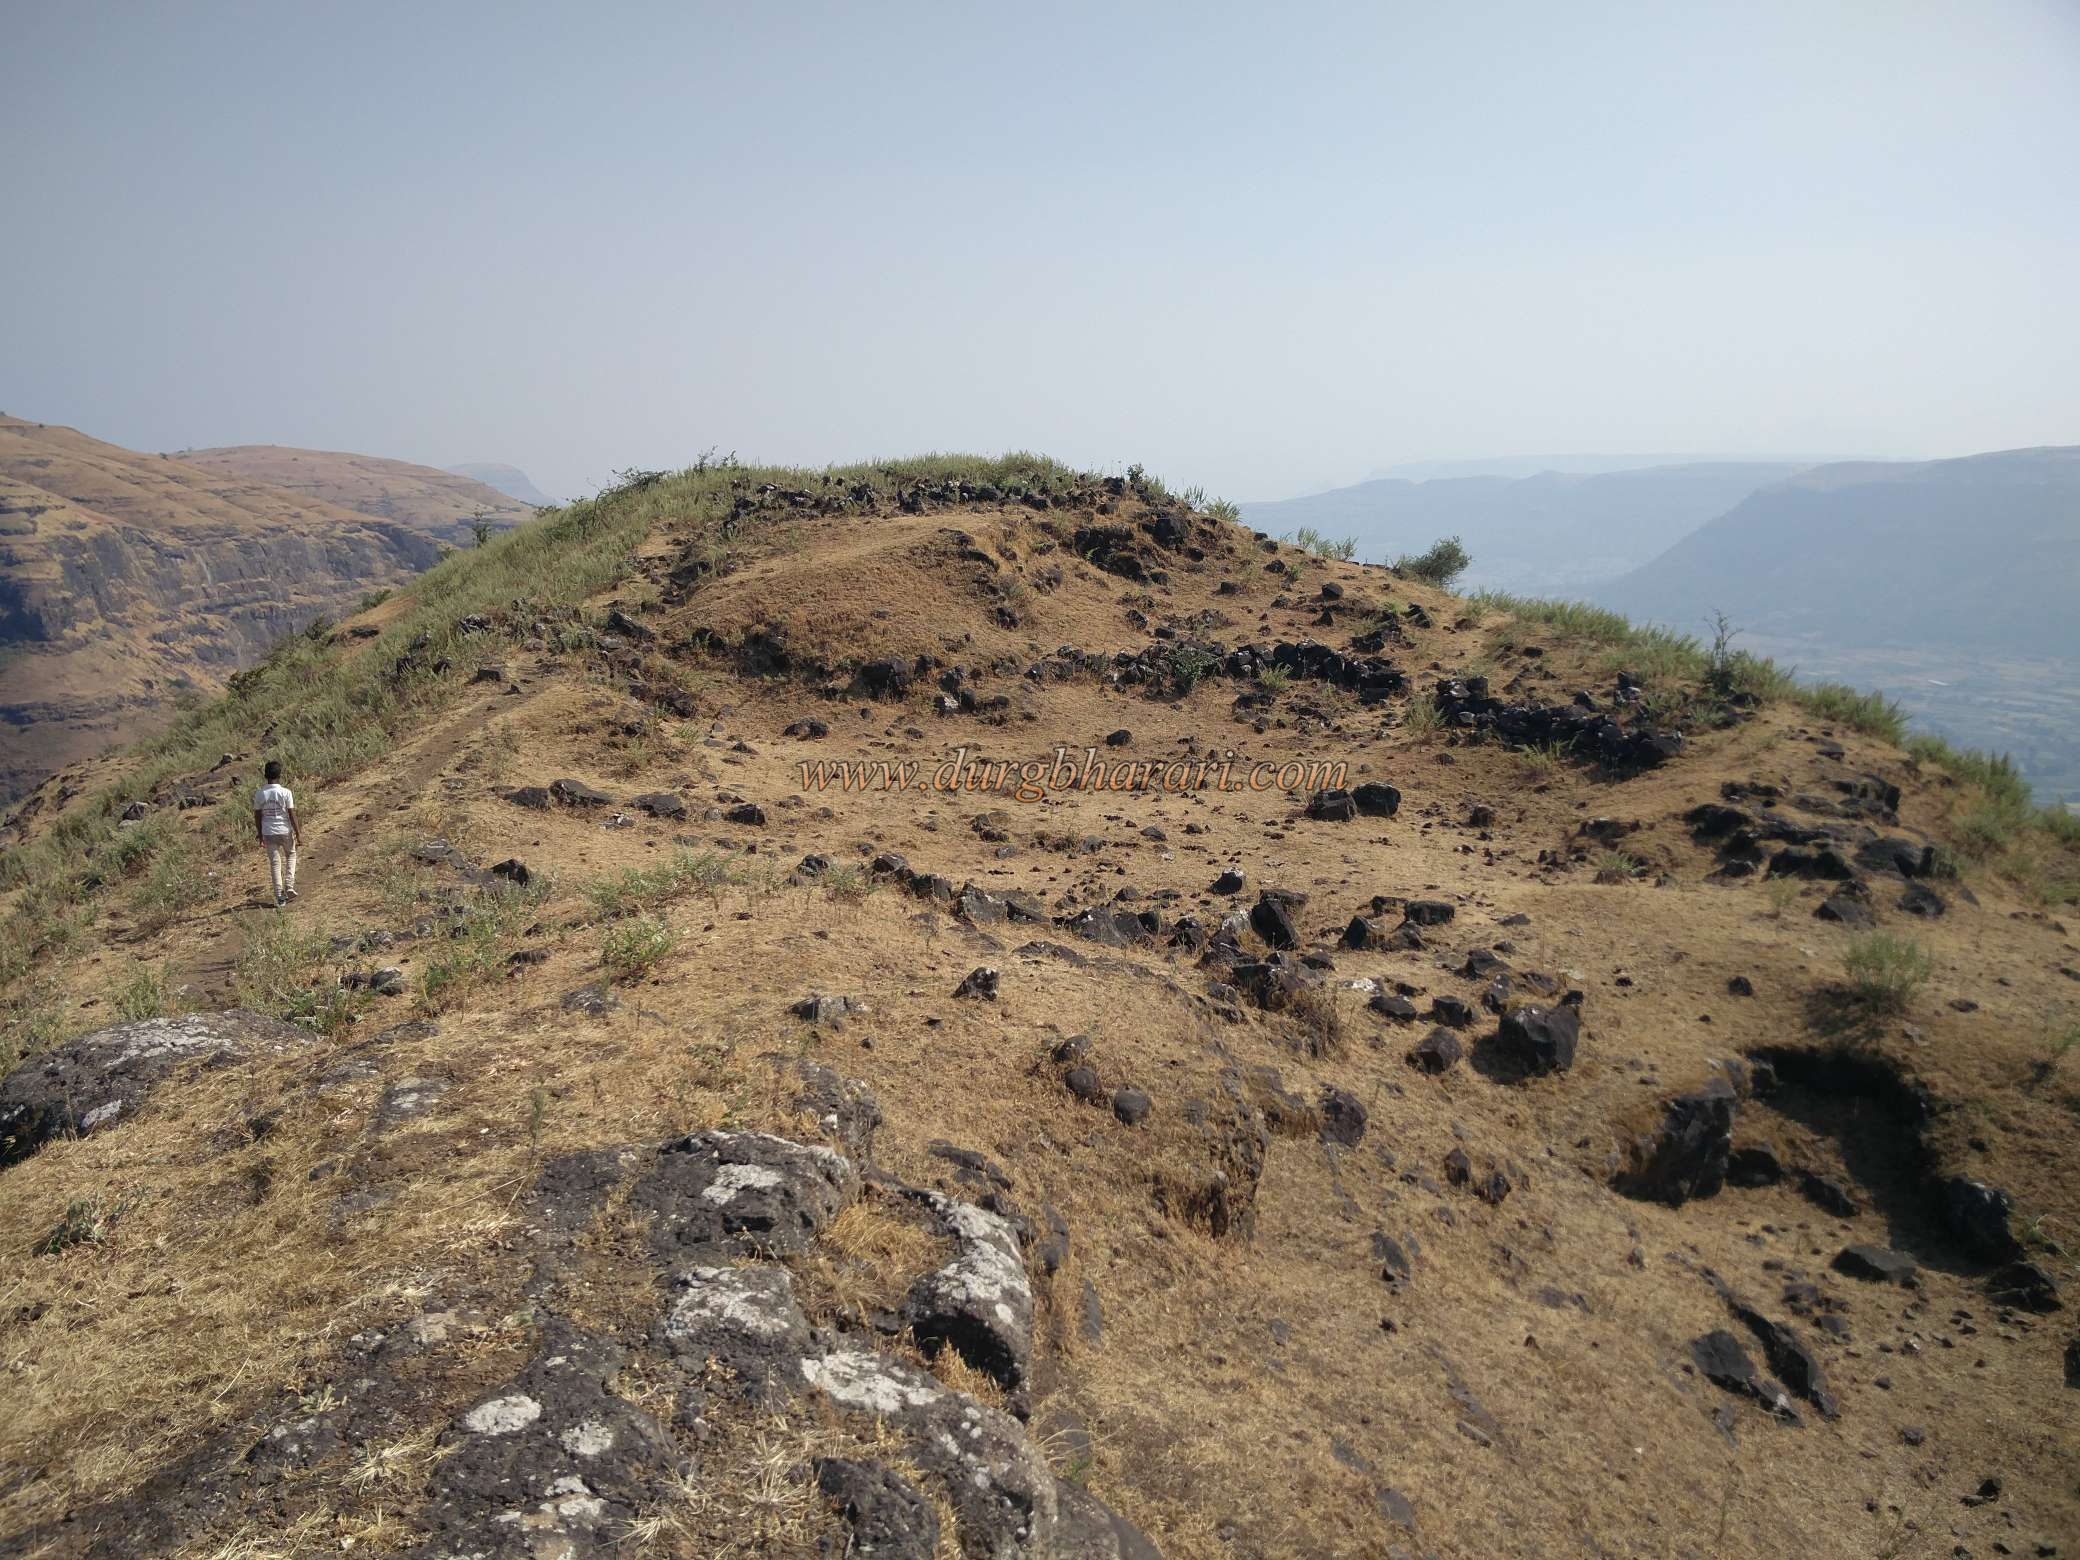
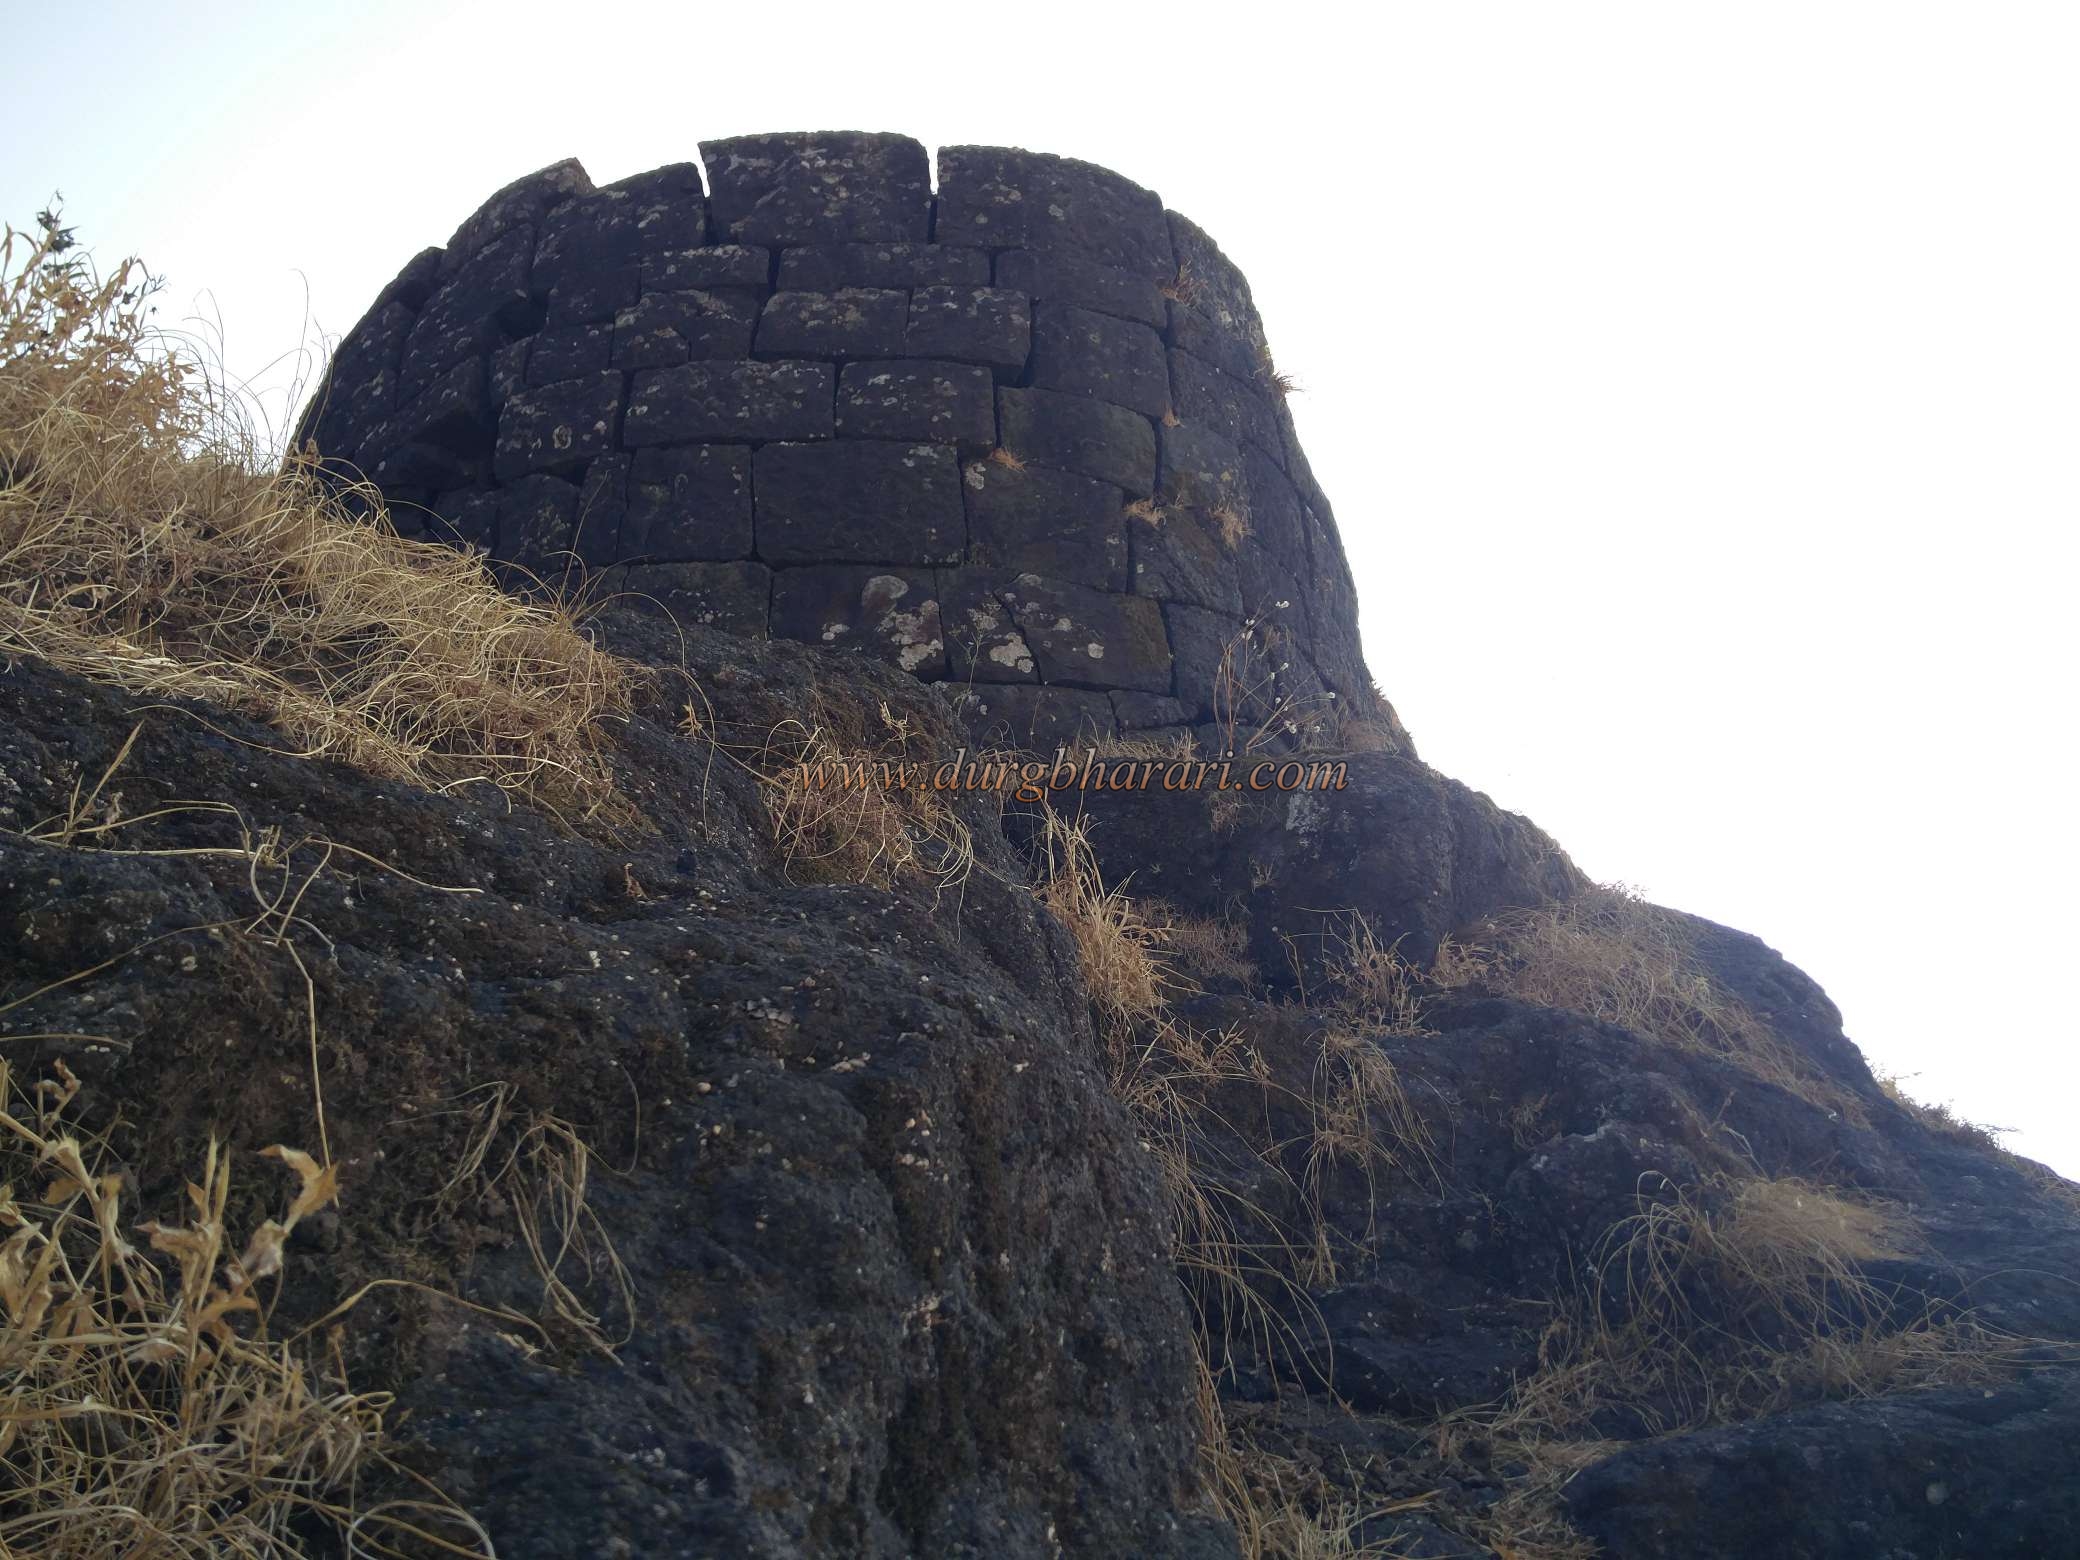
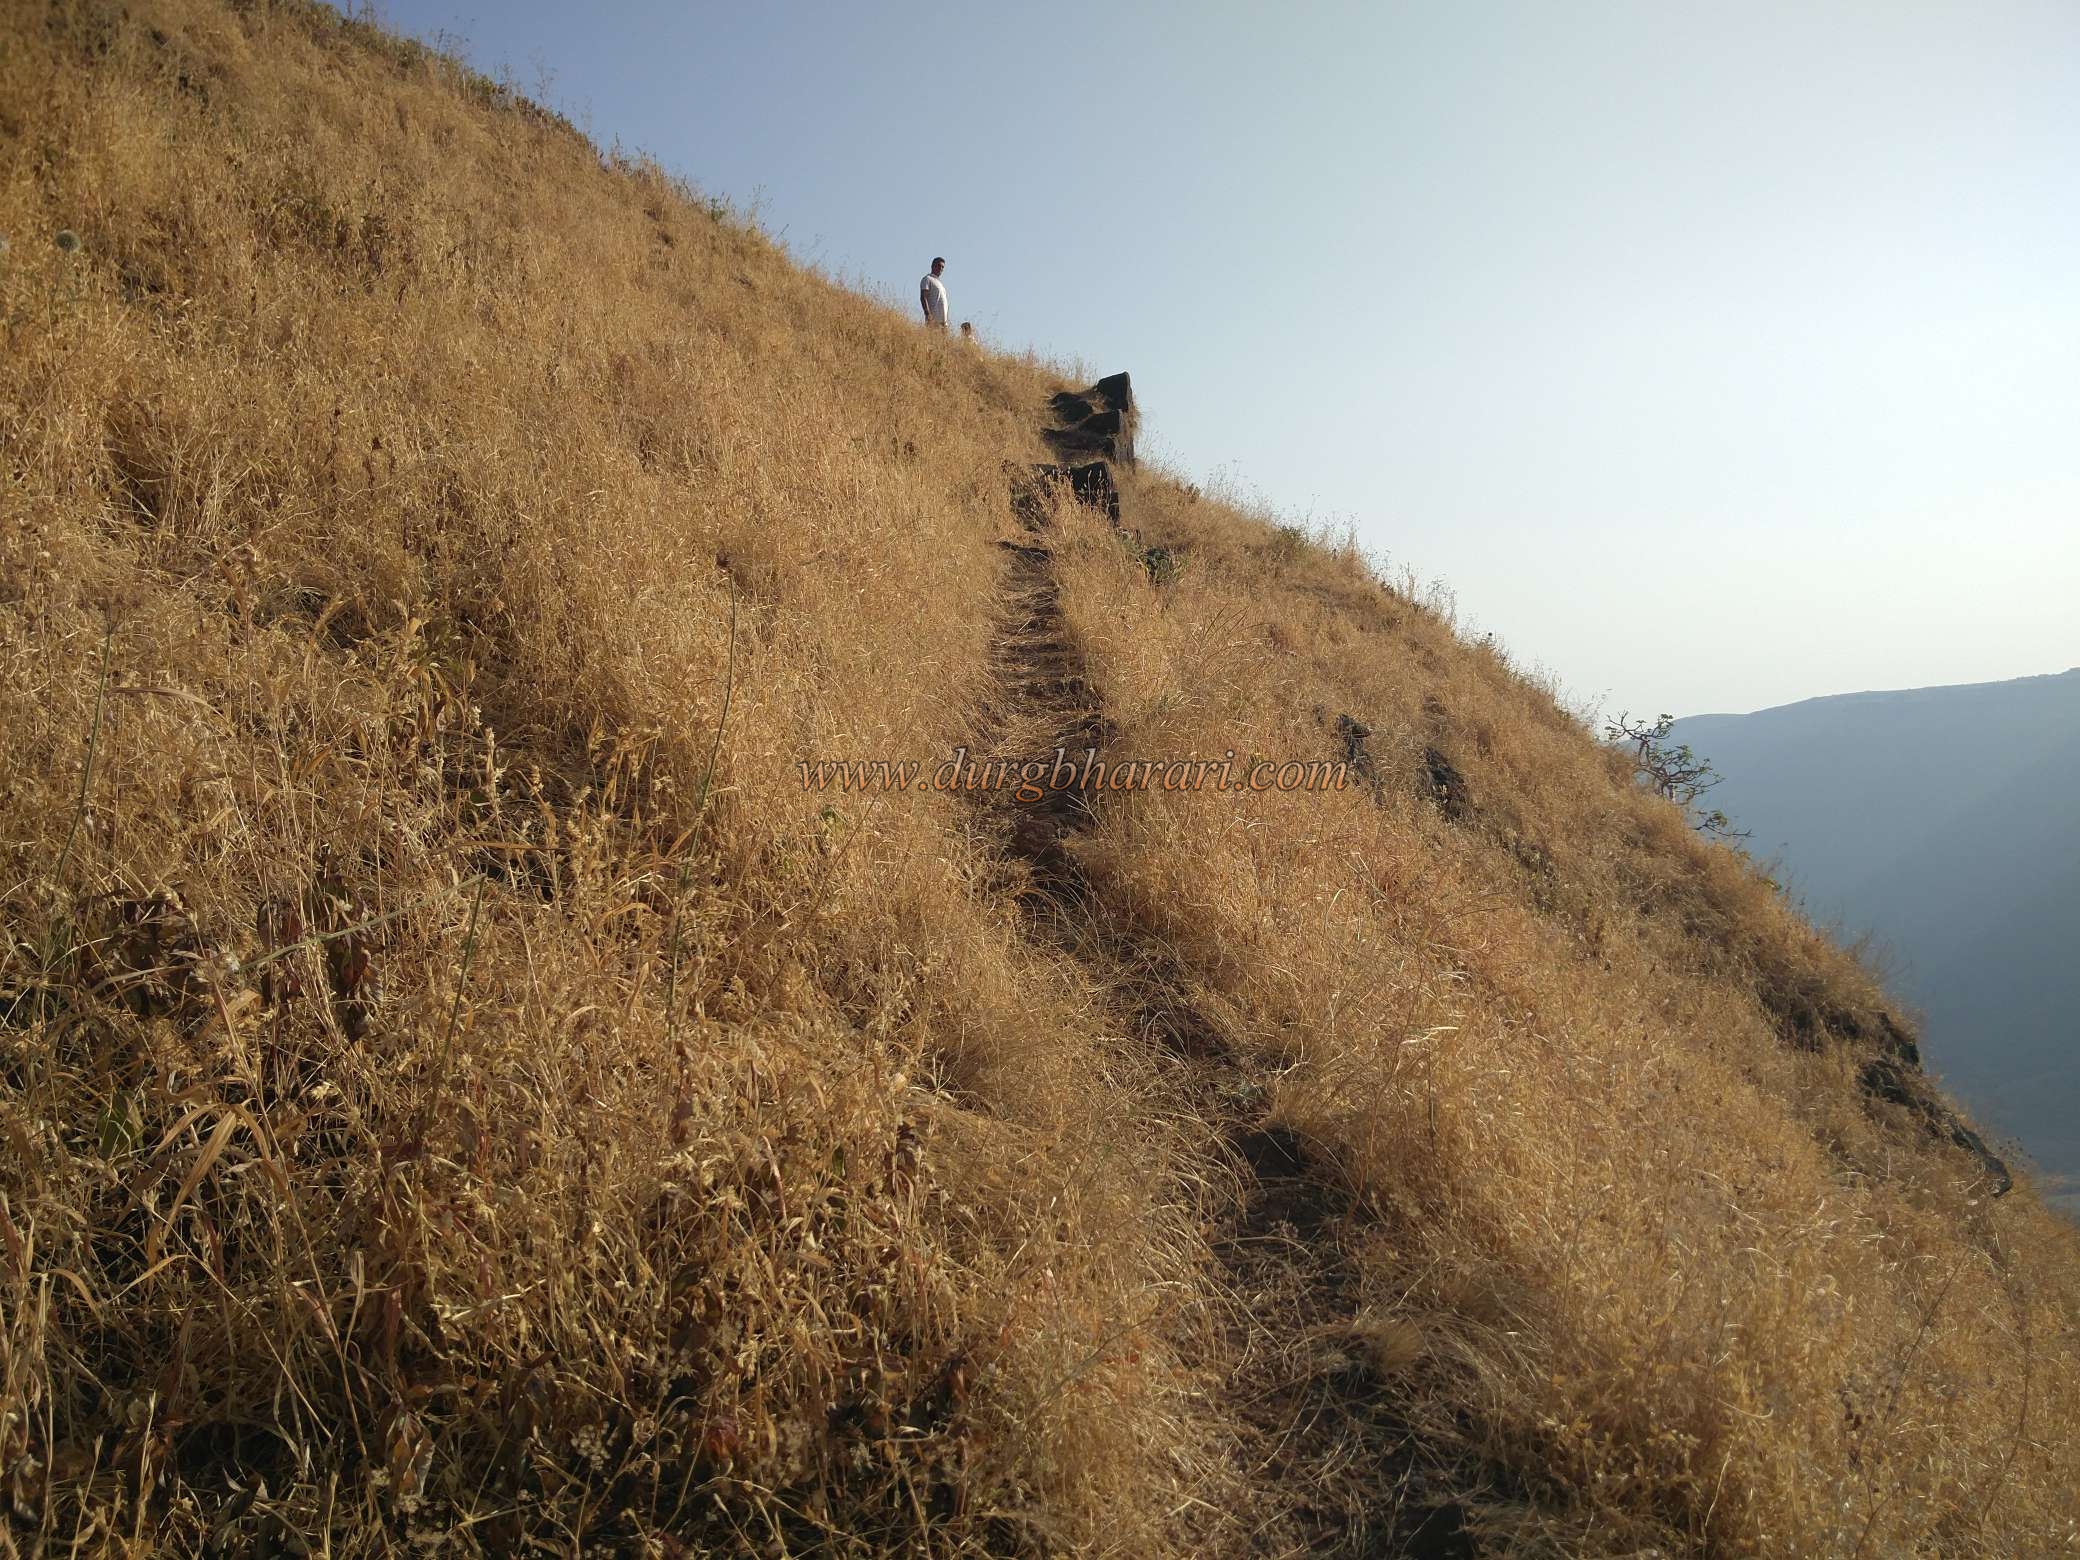
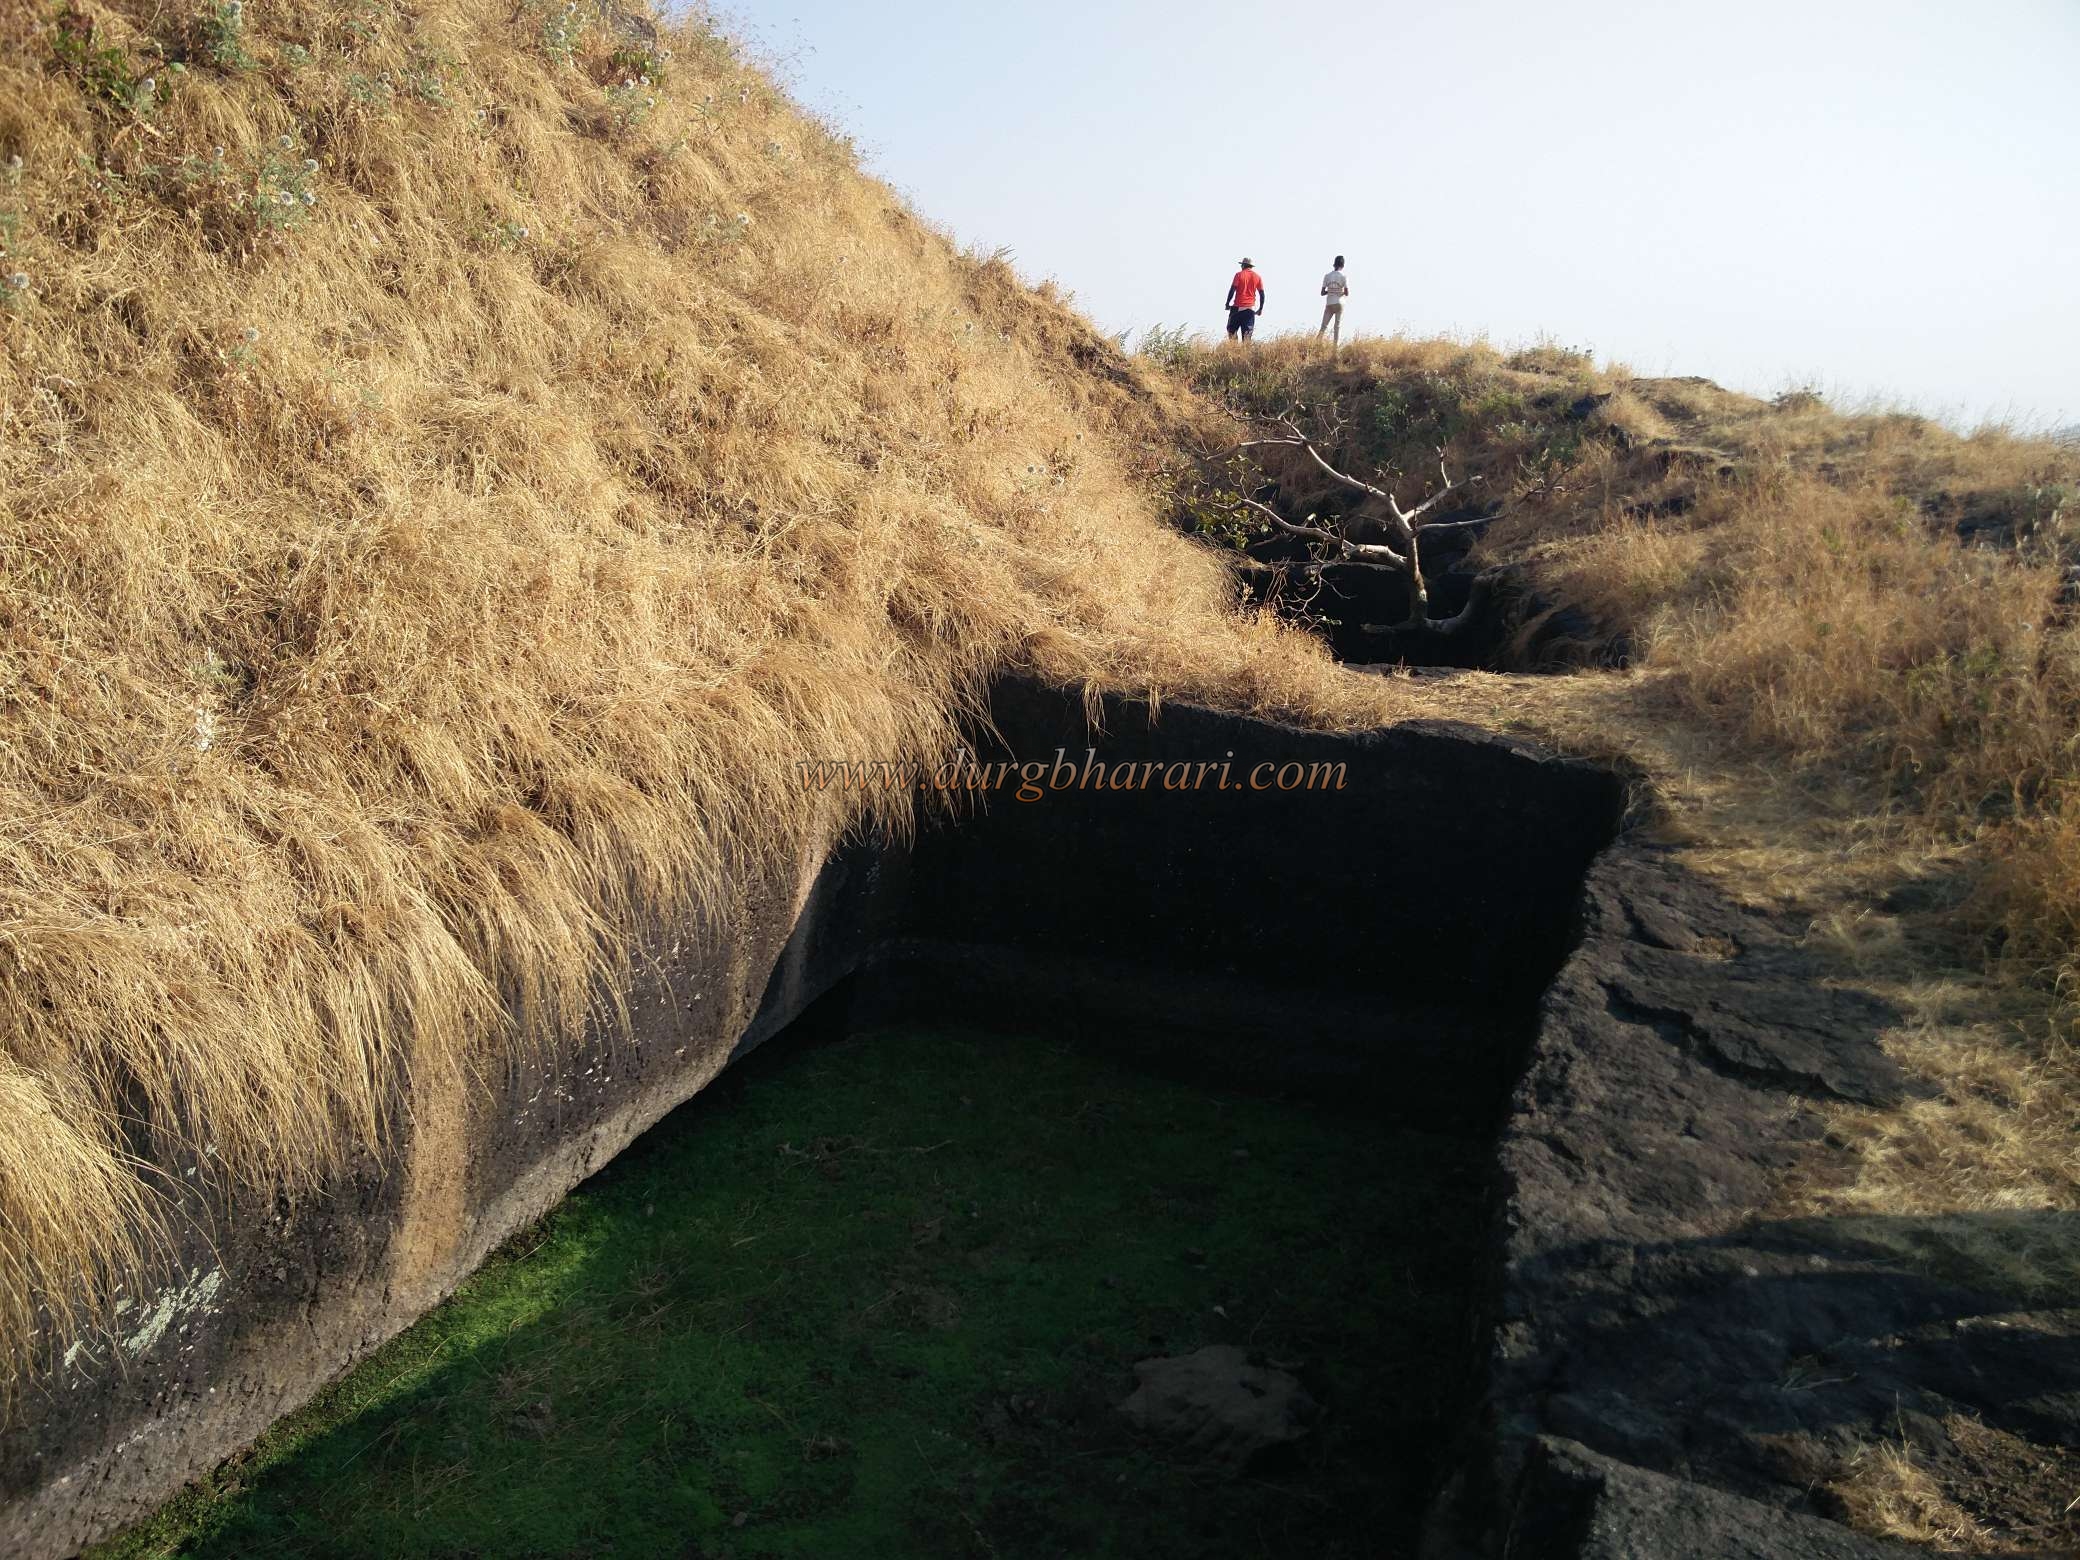
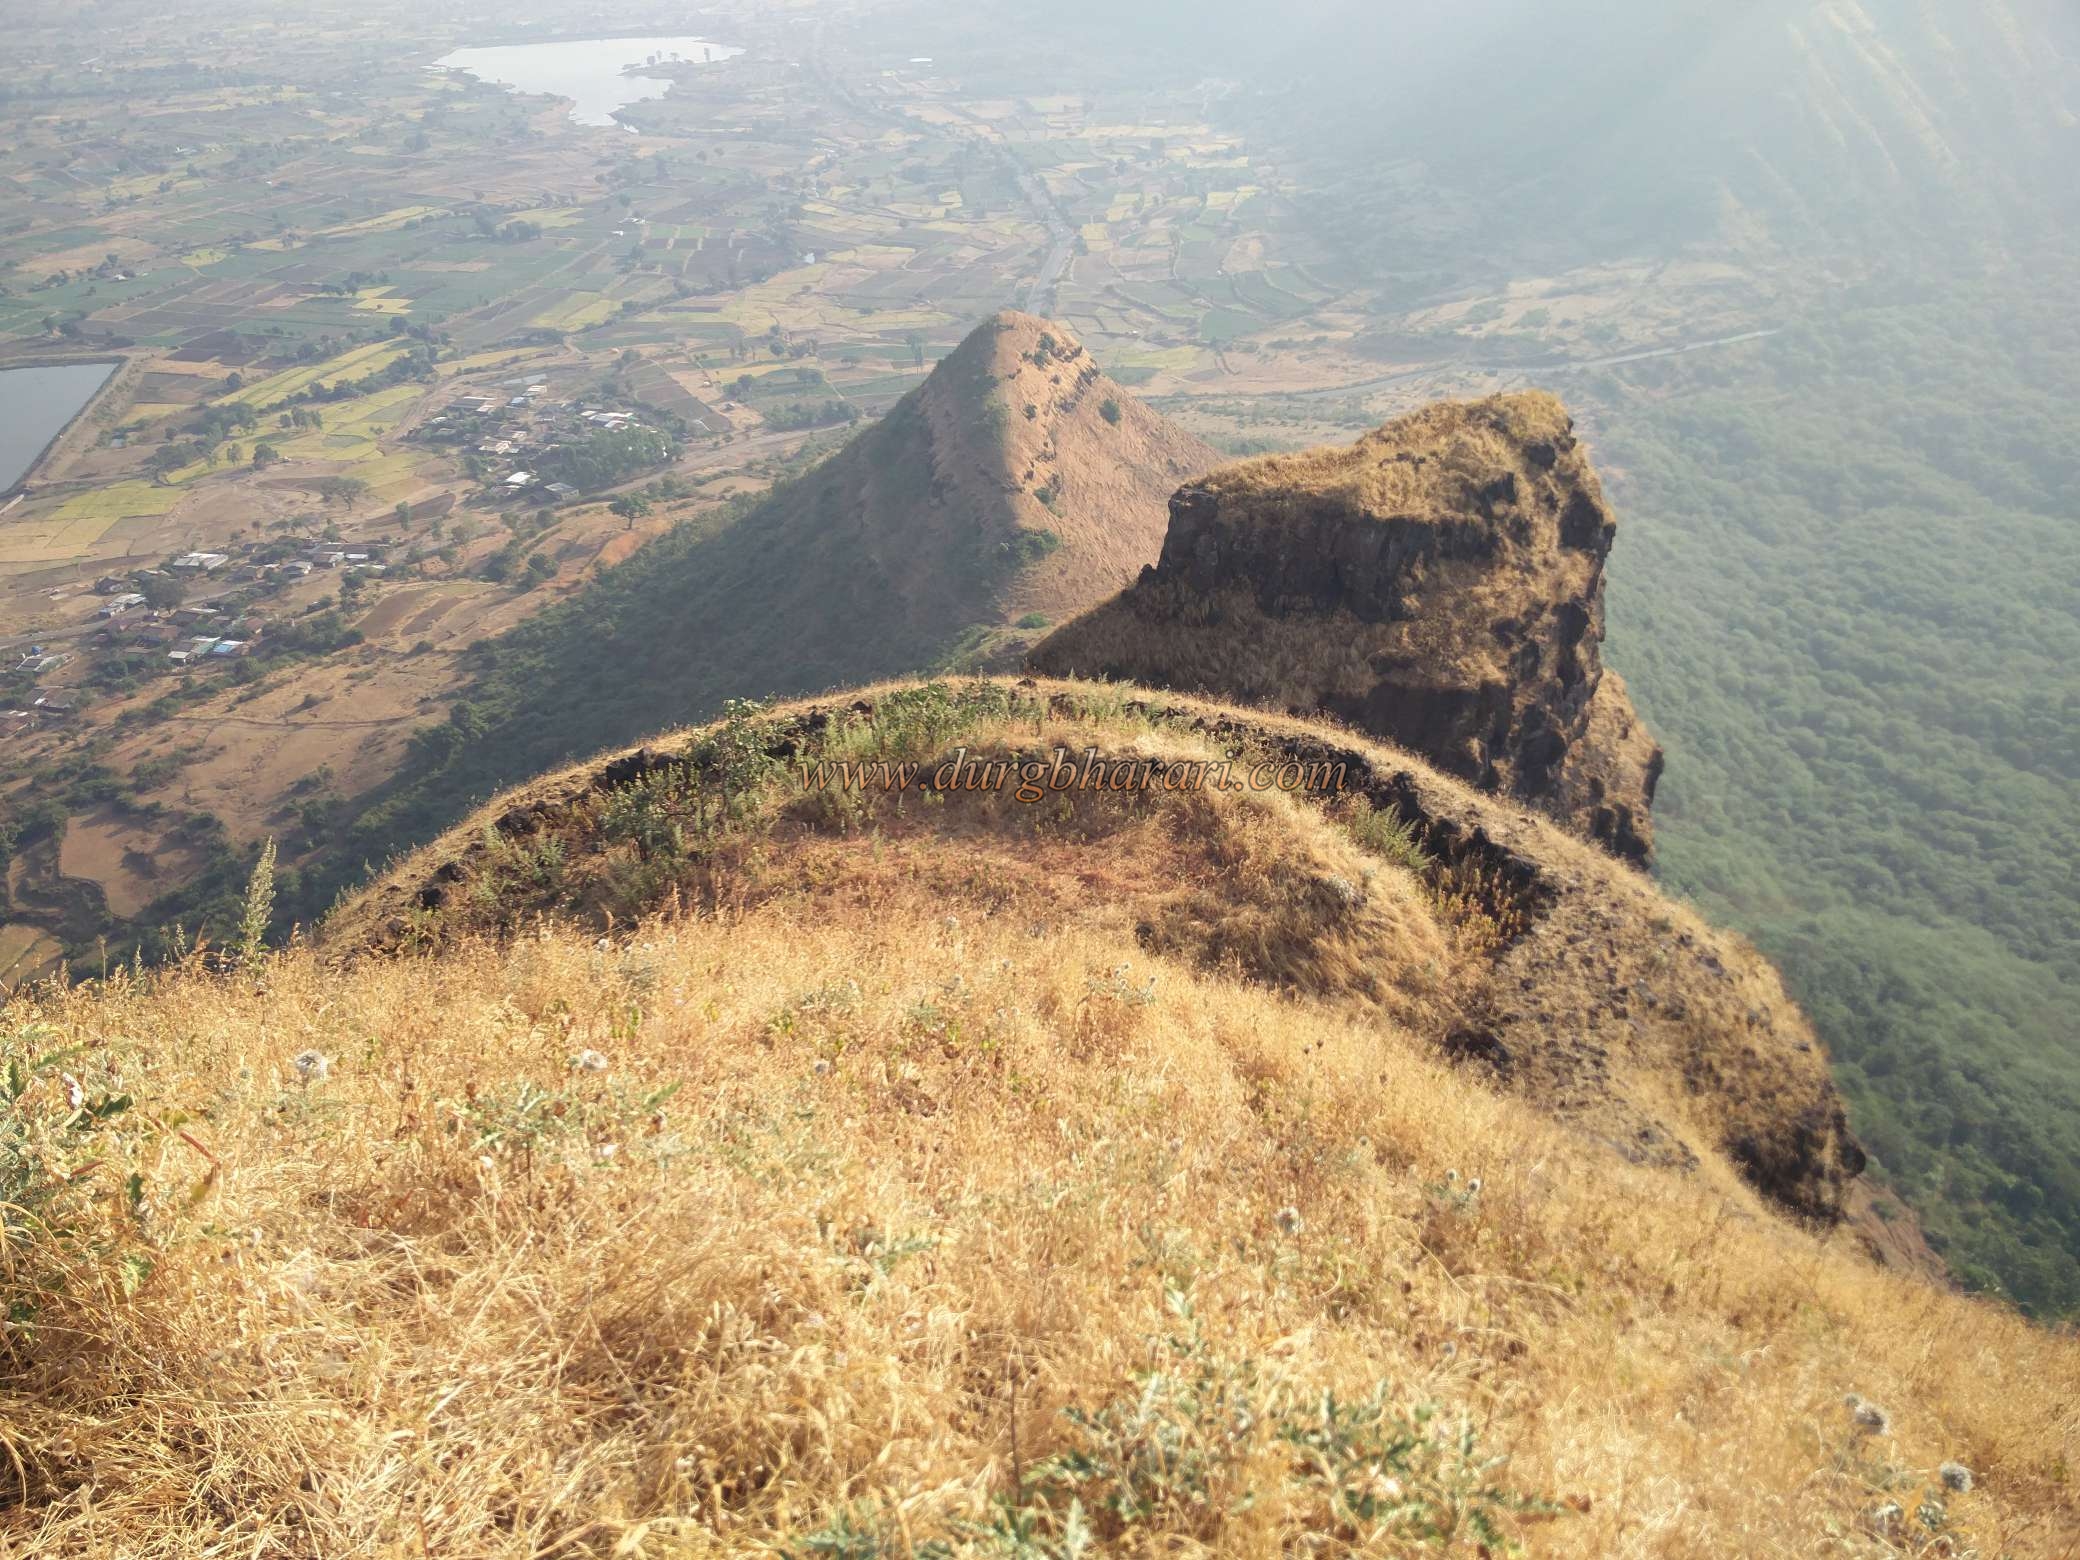
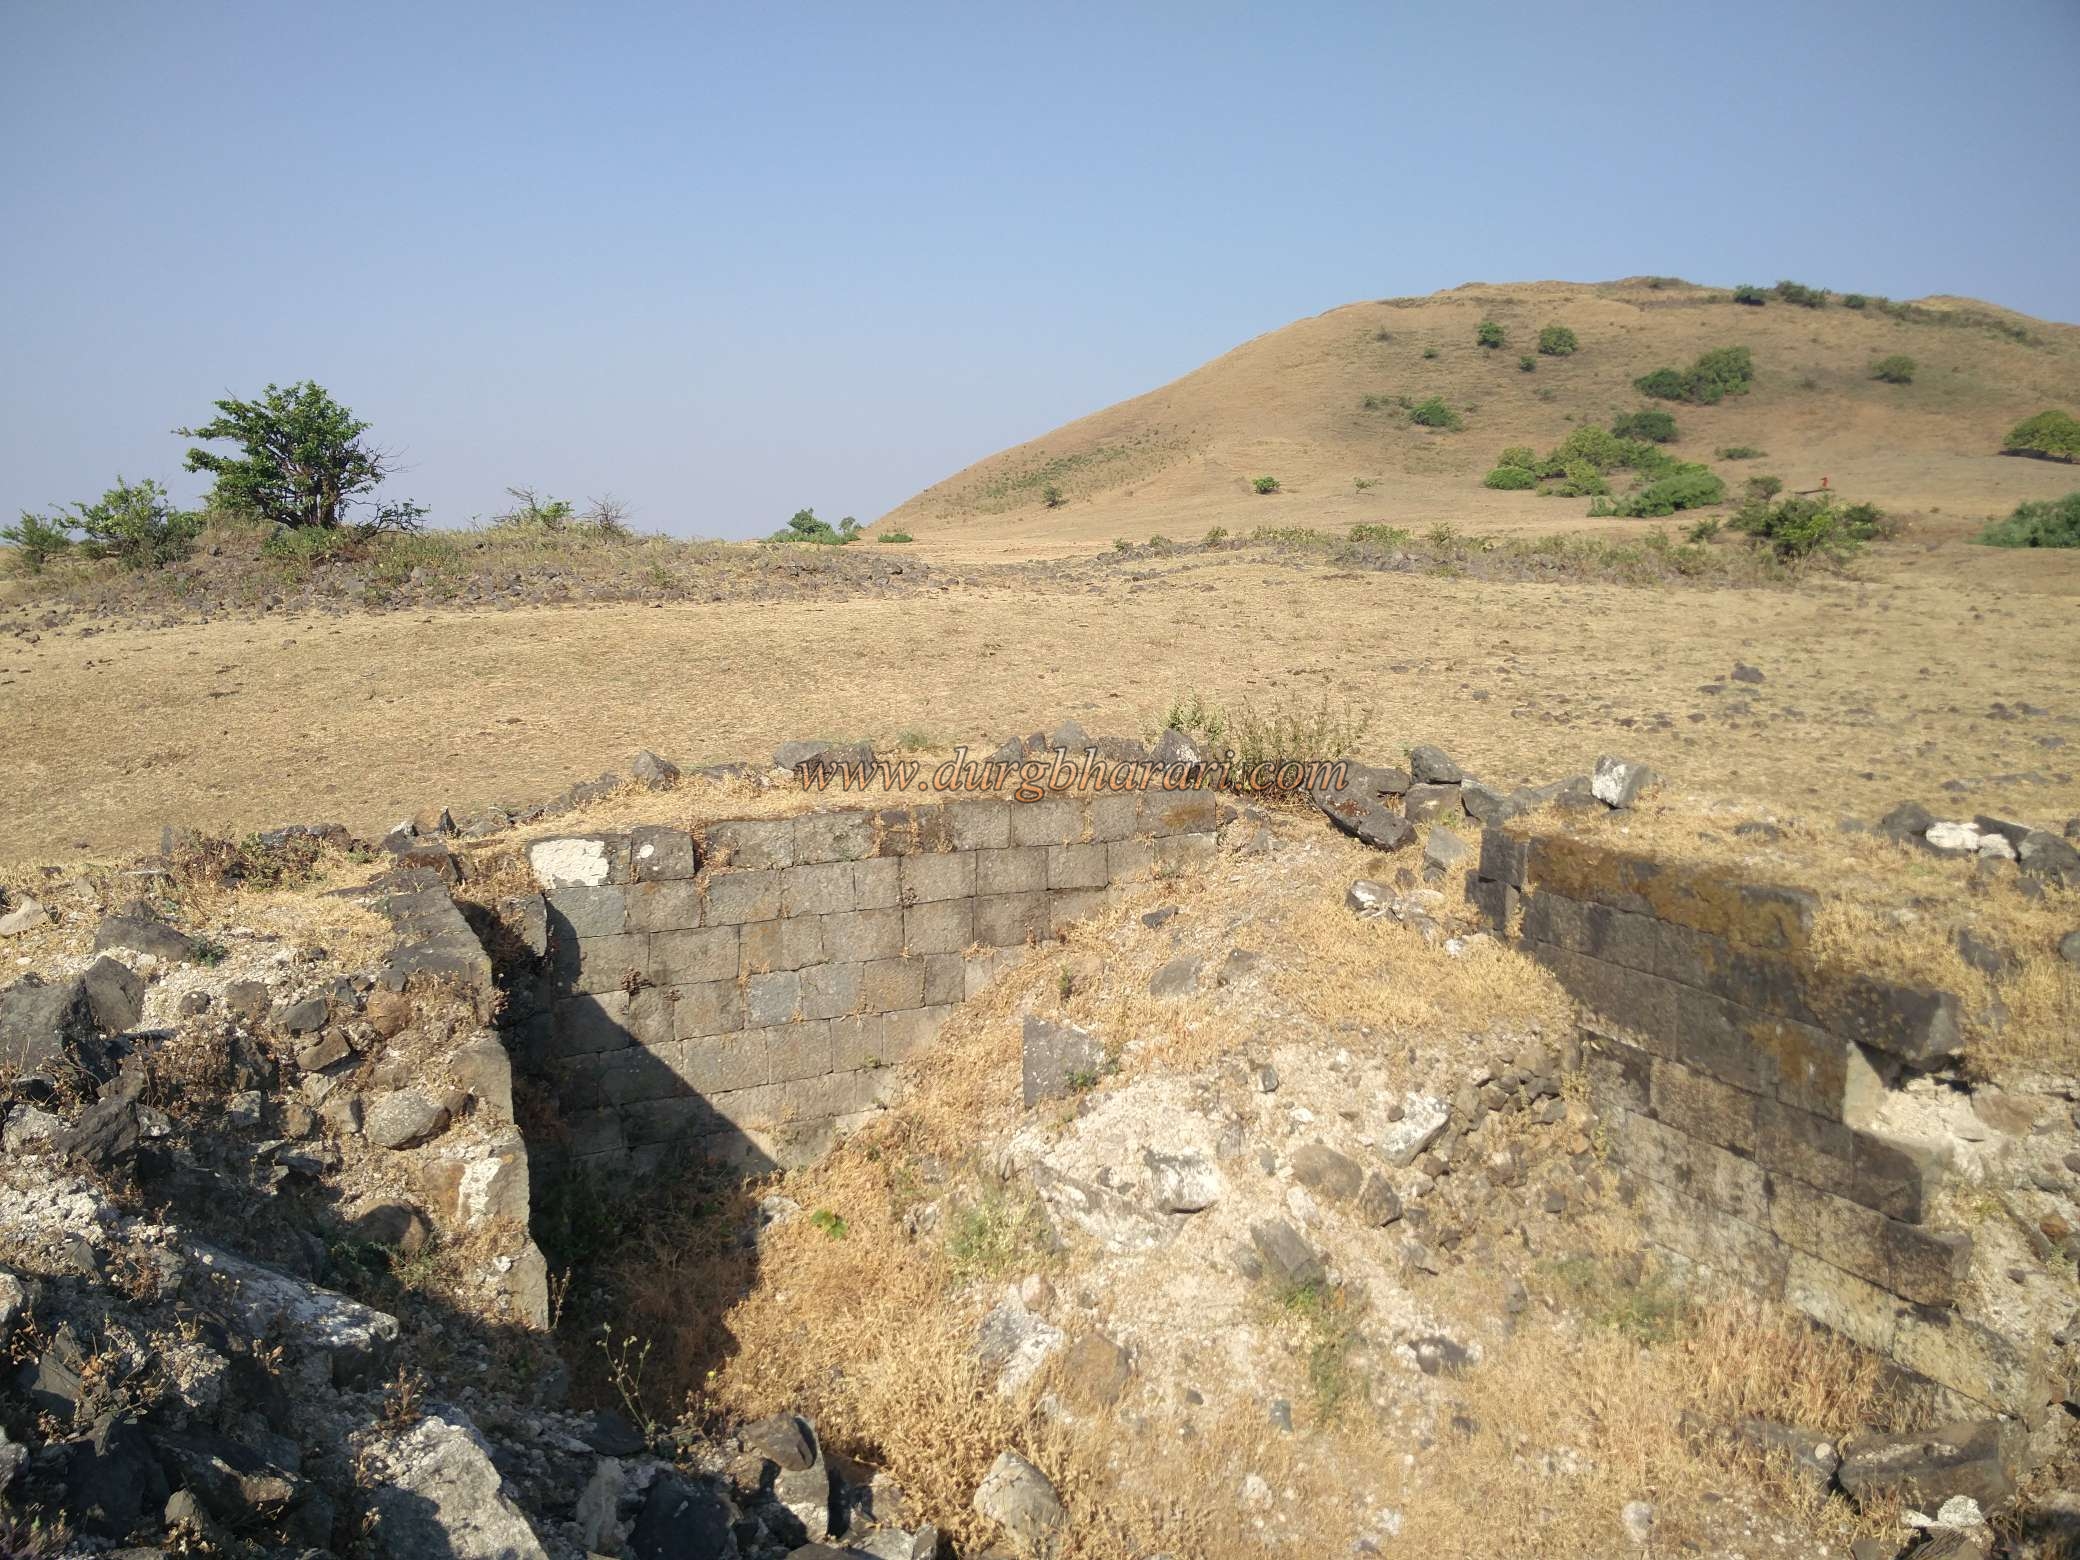
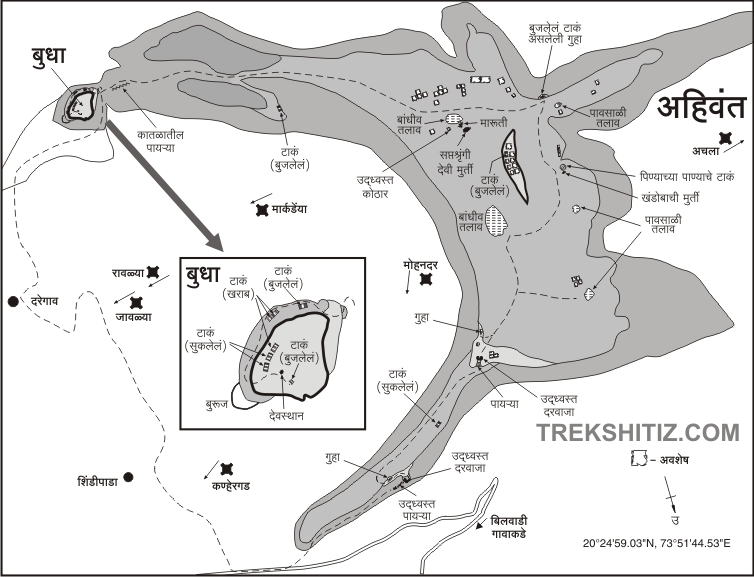
If you climb this fort and descend to Belwadi pass, you can see the entire fort in less time or vice versa. If you go to Belwadi pass by private vehicle, you will climb half the hill of the fort. Due to the huge size of Ahivantgad, it takes 6-7 hours to see Ahivant and its adjoining Budhya hill. Daregaon is a village at the foot of Ahivant fort at a distance of 55 km from Nashik via Wani and the distance from Wani to Daregaon is 10 km. After entering the village, Ahivantgad is a C shaped hill spread behind the village. Although the fort looks C shaped from the village, the five trunks at the back of the fort are spread in different directions. The road to the fort starts behind the Maruti Mandir. On the way to Ahivantgad, you can see the cone next to the fort, Budhya hill and there is another hill next to it. As you start to climb the fort, you take a detour from Budhya hill and the adjoining hill on the left side of the village to Ahivant. After climbing the valley and reaching the gorge between these two hills, the path on the right leads to Ahivantgad and the path on the left leads to Budhya hill. Budhya hill is a part of Ahiwantgad, so you should visit it first. On the left side, you can see the steps carved in the rock to reach Budhya mountain and the bastion on the top side. These steps are broken in some places, so you have to climb with the utmost care. The east-facing gate of the fort adjacent to the bastion has been destroyed and so has the bastion. Inside the door, you can see a dry cistern. From here, on the way up to the top of the fort, you can see three dry tanks carved in a row. At the turn of the next part of the road, there is a big bastion on the lower side and a circular structure can be seen on this bastion. Except for a small tank and two quarters, no other remains are visible here. As the head of the fort is very small, we reach back to the gorge in half an hour. Looking at the ramparts, bastions, water tank, and gate of Budhya hill, this hill should be a sub-fort of Ahivantgad. Now, after climbing a few steps carved in the rock on the right side of the gorge, we reach the top of Ahivantgad in 10-15 minutes. The ramparts, bastions, and gates of this area have collapsed and its stones have been scattered in large numbers. Although the door on the edge has been destroyed, there is still enough construction work left behind to identify its location. Inside the door, the remains of a watchtower can be seen on both sides. To the left side, there is a small cliff but there are no remains on it. The height of the fort is 3890 feet above the sea level and the fort is spread over about 250 acres. Since the extension of Ahiwantgad is beyond sight, you should start walking straight towards the hill in front. Normally, after 10 minutes of walk, we reach a ruined building. The walls of this building are still standing today but the roof above has collapsed. This should probably be a barn. This area is a ruined settlement of a large number of houses including the remains of some of the castles. Looking at the total remains, it seems that there is a large population in this area. On the right side of the barn, there is a lake carved in the rock. next to this lake, there is a hummock where the idol of Maruti & goddess saptashrungi kept under a tin shade. dilapidated basement can be seen near this hummock. Seeing these remains, keep the hill on the fort in your right hand and proceed along the edge of the ridge. There is a cave carved in the rock under the ridge on the left side. Since this cave is not visible from the upper side, it is necessary to have a local guide with you to see the cave. Steps are carved into the rock to descend to the cave. There are two pillars carved inside the cave and a dried-up water tank. This cave can easily accommodate 10-12 people but for that, it is necessary to reach a little early and clean the cave. After looking at the cave and a detour around the hill, you can see the remains of houses in various places. On the other side of the road, there is an octagonal shaped water tank that holds potable water throughout the year. Adjacent to the tank is a small stone basin and next to it is a broken equestrian idol of Khandoba. After seeing all this, you should go up the hill. On the hill are the remains of a large number of houses, and one can see a brick tank. As this is the highest part of the fort, the entire fort can be seen from here. From here, forts like Achala, Mohandar, Saptashrungi, Markandya, Rawalya-Jawalya, Dhodap are easily visible. On the opposite side of the hill, you can see a huge lake. Water should be supplied to the fort from this lake. On the way down towards this lake, on the right side, there is a large cave half-carved in the rock below the ridge. But it is difficult to know exactly where to go to see it so it is necessary to have a local guide with you to see the cave. The way down to the cave is a bit difficult, so you have to be careful. When you return after seeing the cave, a straight path takes you to the ruined gate of the fort. On the right-hand side of this path, some remnants of fortifications can be seen on the ridge. The entrance to the fort is carved in the rock and the gate and the surrounding ramparts and bastions are completely demolished. This should be the main road that once came to the fort. After descending the door, we come to the plateau below the fort. There are many but dry tanks of water carved in the rock on the surface. On the left side of the tank, a path is seen descending. This is the way down the fort, but since there are some remnants in the next part of the plateau, you have to turn around and come to this path later. Going beyond the tank, you can see a large number of houses remnants with their square stone construction. After crossing these remnants, you can see three water tanks carved in a row on the slope of the plateau. Two of these tanks are dry and the third is filled with soil. The plateau has steep slopes at the front and there are no relics in this area. From here, turn back and start descending the fort the way you saw earlier. Descending this path, one sees a cave with two pillars carved in a rock. There is another partially extinguished cave just down the road. The caves are uninhabitable as the villagers keep cattle in both the caves during the rainy season. After seeing the cave, we reach the ruined gate of the fort. Today, there is nothing left but the threshold of the door and the steps leading down from it. If you go straight down this road, you come down to Bilwadi road, but if you go in the direction of the edge of the fort, you come to the gorge on Daregaon-Bilwadi road. We reach Daregaon in half an hour by walking along the Daregaon Belwadi road through the gorge. Starting from Daregaon Maruti Mandir, it takes at least 6 hours to explore Budhya hill and Ahivantgad. In the sixteenth century, when the province of Baglan was under Nizamshahi, Shahjahan entrusted the responsibility of taking over the province to Shahistekhan. Alivardikhan, the chief of Shahistekhan, conquered Ahivantgad in 1636. Taking advantage of the quarrel between Prince Muazzam and Diller Khan, Prataprao Gujar conquered the fort of Ahivant in December 1670. In 1671, Aurangzeb sent his Sardar Mahabat Khan along with Kishan Singh, Sujan Singh, Shubhkarna Bundela, Anup Singh, Turktaj Khan, etc. to Ahivantgad. Mahabat Khan besieged Ahivantgad with Dawood Khan, the Mughal subheddar of Khandesh. Mahabat Khan marched on the main gate while Dawood Khan marched on the rear. An interesting incident that took place during this time is recorded in Bhimsen Saxena's book Dilkusha. The astrologer was called to the camp of DaudKhan and asked to conquer the fort. On this, the astrologer drew a map of Ahivant fort with sugar and showed the marches of Mahabat Khan and Dawood Khan on it. He then dropped an ant on the sugar fort. This ant marched from the front of Mahabatkhan to the front of Daudkhana and entered the fort from there. On this, the astrologer said that there would be a strong attack on the main gate from Mahabatkhan but after 6 days the fort would be captured from Daudkhan. Bhimsen Saxena writes that the fort of Ahivant is the head of the sky. But the astrologer's prophecy came true six days later. The Marathas decided to leave the fort as they were running out of ammunition and grain, but Maratha sent a messenger to Daudkhan without going to the main gate as mahabatkhan was attacking this door. DaudKhan gave the Marathas a safe passage out of the fort and captured the fort. Bhimsen writes that this negotiation took place after Mahabatkhana got very angry. Someone complained to the emperor about Mahabatkhan that he had joined Shivaji from within. In a letter sent by Shivaji Maharaj to Venkoji Raje in Thanjavur in 1680, he writes that Rajshri Moropant had sent him to that province. In 1818, the fort was conquered by Colonel Prother from the Marathas. In 1818, Captain Briggs described the Ahivant fort as a huge and shapeless hill. In 1820, General Lake wrote about the natural ramparts of the fort that are so amazing that it seems to have been built with great effort and skill.
© Suresh Nimbalkar
Gallery